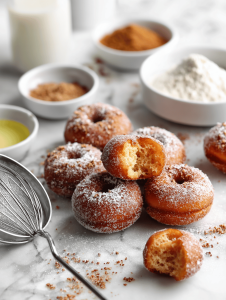
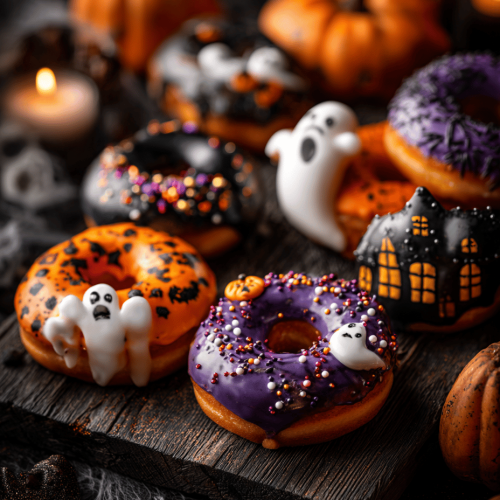
This Halloween, I wanted to go beyond the usual candy bag and make something a little more playful—donuts that scream spooky fun. It’s about turning a simple dough into a mini haunted house, with a crispy shell and soft interior. Plus, they’re so much more satisfying to decorate than just dunking candies.
Why I keep coming back to these Halloween donuts.
Their unpredictable shapes, the crispy exterior, and the soft, flavorful interior make each batch a little different. Decorating them is a fun chaos—sometimes spooky, sometimes cute. Plus, they bring back memories of childhood Halloweens, with a grown-up twist. No matter the season, they remind me why I love simple baking—creative, imperfect, and always delicious.
Breaking down the spooky essentials.
- Flour:: The foundation, gives structure and chew. Use bread or all-purpose for best results.
- Sugar:: Adds sweetness and helps with browning. Brown sugar gives a richer flavor.
- Baking powder:: Leavening to lift the donuts. Make sure it’s fresh for a good rise.
- Spices (cinnamon, nutmeg):: Warm, cozy aroma, perfect for fall vibes.
- Eggs:: Bind everything together, adds richness.
- Milk:: Moistens the dough and helps gluten develop.
- Butter:: Tenderizes and enriches the dough, smell of toasted butter is divine.
Tools you’ll need to craft your spooky delights.
- Rolling pin: To roll out dough evenly.
- Donut cutter or two round cutters: To cut out perfect donut shapes.
- Deep-fry thermometer: To monitor oil temperature.
- Slotted spoon: To lift donuts out of hot oil.
- Cooling rack: To let excess oil drip off and cool.
Step-by-step guide to spooky, flaky Halloween donuts.
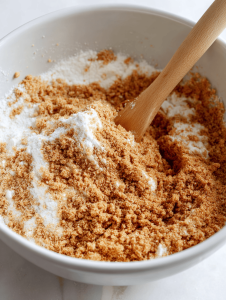
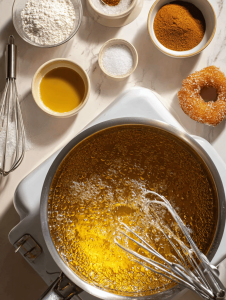
Step 1: Mix flour, sugar, baking powder, and spices in a large bowl.
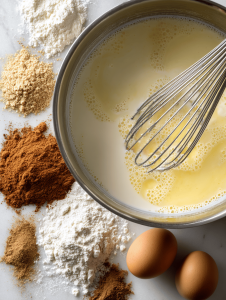
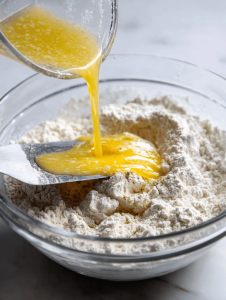
Step 2: Whisk together eggs, milk, and melted butter. Pour into dry ingredients.
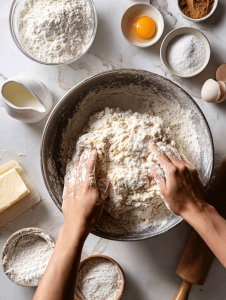
Step 3: Knead gently until dough is just combined. Don’t overmix to keep donuts tender.
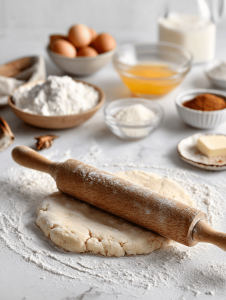
Step 4: Roll out dough to about 1.5 cm (0.6 inch) thickness on a floured surface.
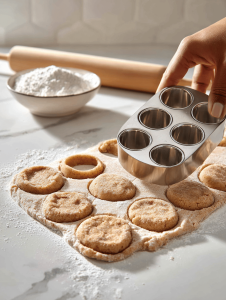
Step 5: Cut out circles with a donut cutter or a large round cutter and a smaller one for the hole.
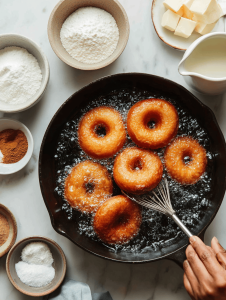
Step 6: Heat oil to 180°C (356°F) in a deep pot or fryer.
Step 7: Fry donuts in batches, turning once, until golden brown, about 2-3 minutes per side.
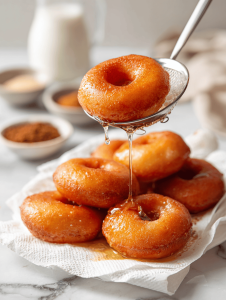
Step 8: Remove with slotted spoon, drain on paper towels.
Step 9: Let donuts cool slightly before decorating.
Cooking checkpoints and tips for perfect Halloween donuts.
- Dough should be soft but manageable, not sticky.
- Oil temperature must stay steady around 180°C (356°F) for even frying.
- Donuts should turn a deep golden color, not pale or burnt.
- Cooling on paper towels helps absorb excess oil, keeping them crisp.
Common pitfalls and how to dodge them.
- Oil too hot burns donuts before cooking through.? Use a thermometer to keep oil steady.
- Tough donuts from overworked dough.? Don’t overmix dough; handle it gently.
- Decorations melting or sliding off.? Cool donuts slightly before decorating.
- Dough sticking to surface, making cuts difficult.? Ensure dough is not sticky.
Spooky Halloween Donuts
Equipment
- Rolling pin
- Donut cutter or two round cutters
- Deep-fry thermometer
- Slotted spoon
- Cooling rack
Ingredients
- 2 ½ cups all-purpose flour or bread flour
- ¼ cup granulated sugar
- 1 tablespoon baking powder ensure it's fresh
- 1 teaspoon ground cinnamon
- ½ teaspoon ground nutmeg
- 2 large eggs beaten
- ½ cup milk
- ¼ cup unsalted butter melted
- Vegetable oil for frying enough to fill a deep pot
Instructions
- Mix the flour, sugar, baking powder, cinnamon, and nutmeg in a large bowl until well combined. The mixture should look crumbly and fragrant with spices.
- Whisk together the eggs, milk, and melted butter in a separate bowl until smooth and slightly frothy, releasing a rich, buttery aroma.
- Pour the wet mixture into the dry ingredients and gently fold everything together with a spatula or spoon until just combined. The dough will be soft but manageable—avoid overmixing to keep the donuts tender.
- Turn the dough out onto a lightly floured surface and knead gently for a minute just to bring it together, then flatten into a disc.
- Roll out the dough to about 1.5 cm (0.6 inch) thickness using a rolling pin, keeping the surface lightly floured to prevent sticking.
- Use a donut cutter or two round cutters to cut out shapes from the dough, creating circles and small holes for the centers—these will become your spooky donuts.
- Heat vegetable oil in a deep pot or fryer to 180°C (356°F), checking with a thermometer to ensure precise temperature.
- Fry the donuts in batches, turning once with a slotted spoon, until they are golden brown and crispy—about 2 to 3 minutes per side. Listen for a gentle bubbling sound and watch for a deep, golden color.
- Remove the fried donuts with a slotted spoon and drain on paper towels to absorb excess oil. Let them cool slightly—this helps the decorations stick better.
- Decorate your donuts with spooky faces, ghosts, or other fun Halloween motifs using icing, chocolate, or sprinkles. Let the decorations set for a few minutes before serving.
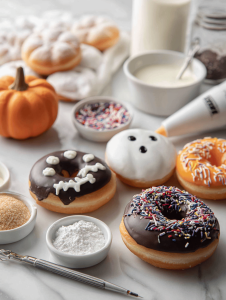
- Enjoy your crispy, soft Halloween donuts—perfectly spooky and delicious for any festive celebration!