If you’ve ever wandered the cobblestone streets of Italy or sampled a slice from a wood-fired oven in Naples, you know the importance of a well-made pizza dough. This stand mixer pizza dough recipe brings that international essence right to your kitchen.
Using your stand mixer to knead the dough may feel like a shortcut, but it’s also a nod to the efficiency of professional kitchens around the world. The machine mimics the vigorous hand kneading that’s often used in artisan pizzerias.
The beauty of pizza dough lies in its versatility – much like the global influences on pizza itself. Whether you prefer a classic Neapolitan crust or something with a bit more southern soul, this dough recipe is your canvas.
What’s So Great About This Dish!
- Perfect consistency every time: I’ve made this dough countless times, and each batch comes out just right – soft, yet sturdy enough to hold up toppings.
- Quick and easy: With the help of the stand mixer, I save time and energy. No more sore arms from kneading by hand, and the results are still top-notch.
- Customizable: Over the years, I’ve experimented with adding garlic or olive oil to the dough, giving it a unique twist. It’s always fun to play around.
- Family favorite: Everyone loves pizza night now, and I find myself making this dough regularly. It’s become part of my family’s tradition.
- It just tastes good: The texture, the flavor – there’s something incredibly satisfying about a pizza made from dough you’ve crafted with your own hands.
Stand Mixer Pizza Dough Recipe
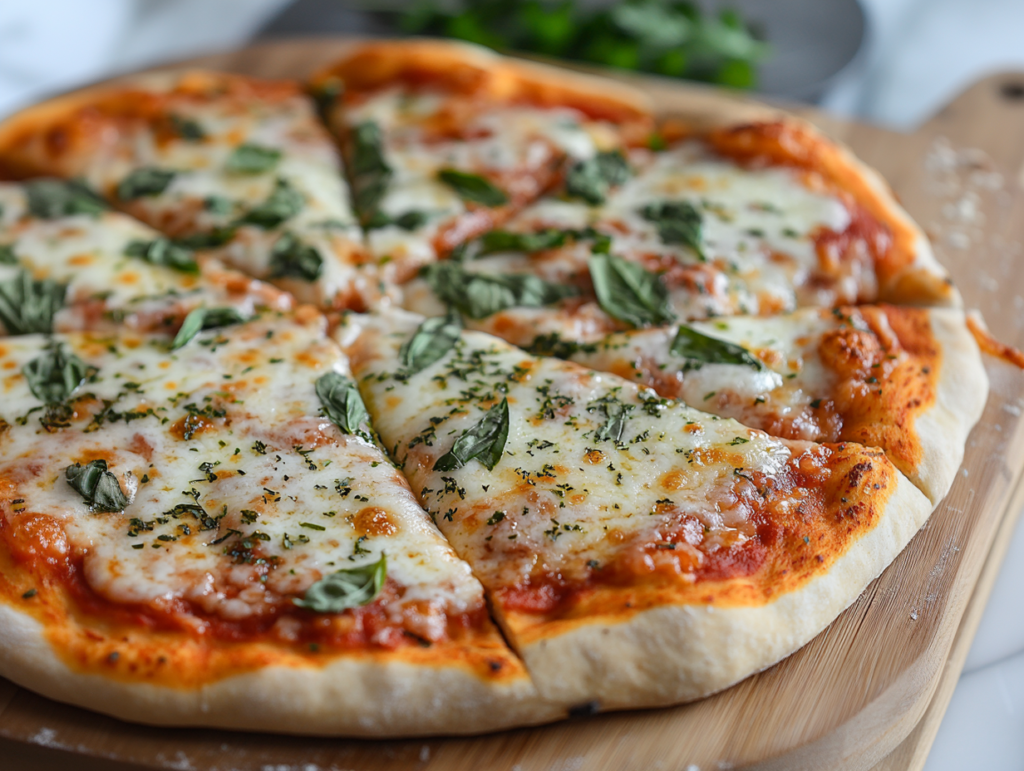
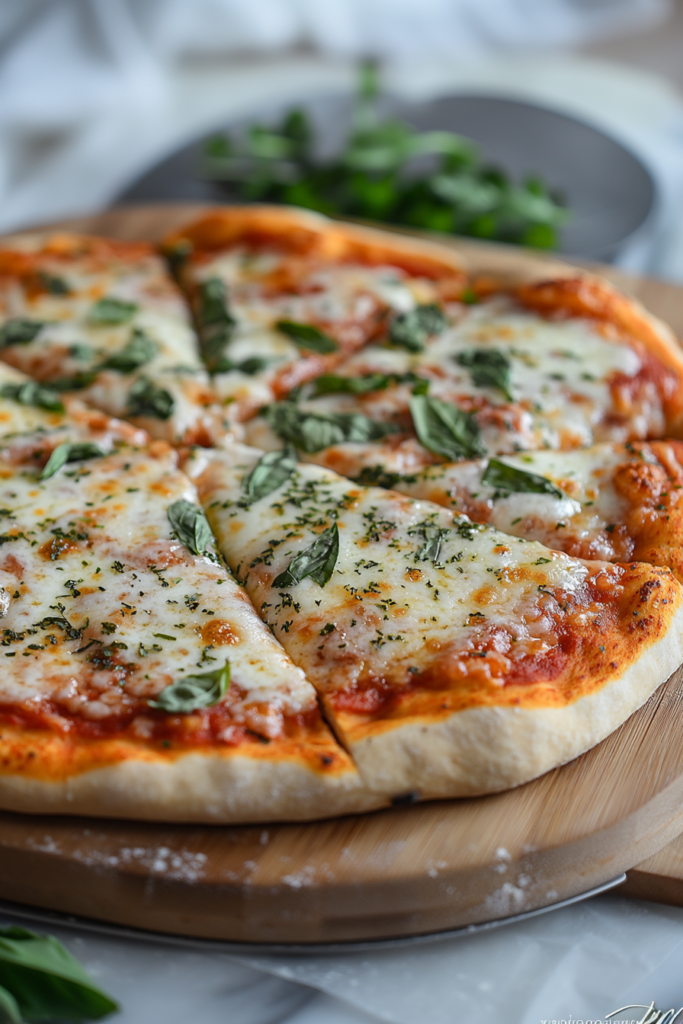
This stand mixer pizza dough is easy, foolproof, and perfect for homemade pizza nights. With a chewy, airy texture and a crispy crust, it comes together effortlessly using a dough hook. Just mix, knead, let it rise, and bake with your favorite toppings for a delicious pizza.
Equipment
- Stand mixer with a dough hook attachment
- Large mixing bowl
- Measuring cups and spoons
- 14-inch pizza pan
- Pastry brush
- Dough scraper or spatula
Ingredients
- 1 cup warm water
- 3½ cups all-purpose flour
- 1 package of active dry yeast
- 2 tsp olive oil
- ½ tsp salt
Instructions
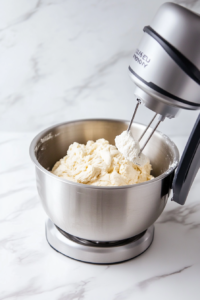
- Begin by dissolving yeast in warm water in a pre-warmed mixing bowl.

- Add salt, olive oil, and 2 ½ cups of flour.
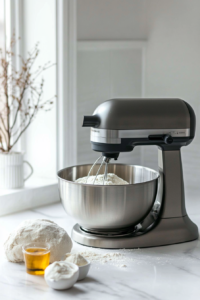
- Attach the dough hook and mix on speed 2 for about a minute.
- Continue mixing on speed 2 while gradually adding the remaining flour, ½ cup at a time, until the dough pulls away from the sides of the bowl and clings to the hook.
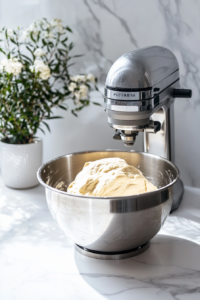
- Knead for another two minutes on speed 2.
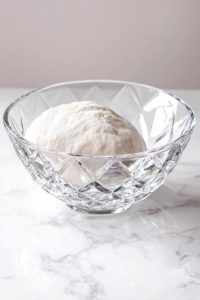
- Transfer the dough to a greased bowl, turning it to coat the top, then cover and let it rise in a warm place until doubled in size, about one hour.
- Punch the dough down, then brush a 14-inch pizza pan with oil.
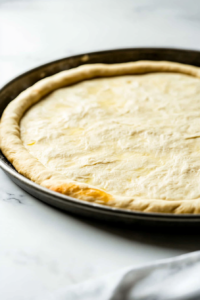
- Press the dough evenly across the pan, forming a slight edge to hold the toppings.
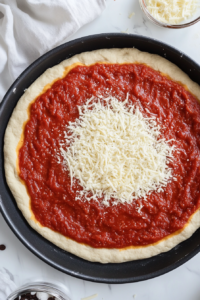
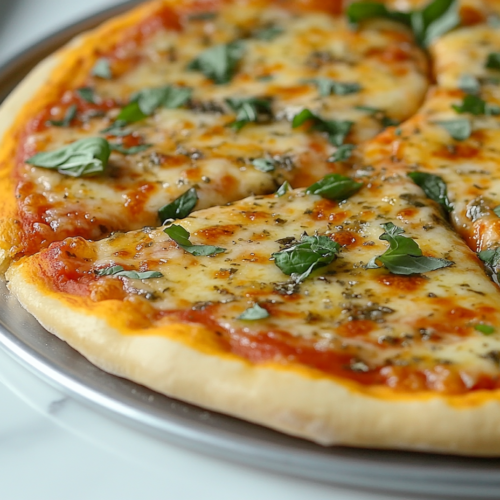
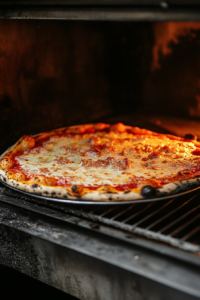
- Add desired toppings and bake at 450°F for 15 to 20 minutes until golden and crisp.
Notes
- The exact flour amount may vary based on humidity and flour type; start with 2 cups and add gradually until the dough is soft and slightly tacky.
- For extra flavor, increase the salt slightly (just under a teaspoon) and brush the crust with olive oil before baking.
- A preheated pizza stone can help create a crispier crust if you prefer a more artisanal texture.
| Nutrition | Value |
| Calories | 310kcal |
| Carbohydrates | 60.4g |
| Fibre | 2.6g |
| Fat | 3.1g |
| Protein | 8.8g |
Tips To Ease Your Job!
- Use a Kitchen Thermometer: Ensure the water is around 105–110°F for optimal yeast activation. Too hot or too cold can affect the dough rise.
- Lightly Oil Your Hands: This prevents sticking when handling the dough, making shaping much easier.
- Flour Gradually: Start with less flour and add slowly until the dough is soft but not overly sticky.
- Preheat the Oven Early: A fully heated oven (or pizza stone) ensures a crispier crust.
- Use Parchment Paper: If shaping is tricky, roll the dough on parchment paper, then transfer it to the pizza pan.


