Crumbly, crunchy, and unapologetically rich, these Butterfinger Balls take candy-bar nostalgia for a spin through classic Southern no-bake technique. Think of it as a cross between an Alabama church potluck favorite and something you’d find in a tucked-away patisserie in Brussels—surprising, yet comforting.
Inspired by my time learning about tempering and truffle-making in Europe, I’ve simplified the method so you can nail texture and flavor without fancy tools. The balance of creamy and crisped textures is found in traditional Middle Eastern confections like halawa.
This recipe invites you to play—try using dark chocolate or a dusting of sea salt for added depth. Whether you’re a seasoned baker or just dipping into dessert-making, this one’s a flavorful passport to candy bliss.
What I Didn’t Expect About This Recipe?

- I didn’t think crushed Butterfingers could turn into something so elegant—like street food getting a Parisian makeover.
- They’ve become my go-to “no-bake fix” during summer heatwaves—no oven, no sweat, all flavor.
- I once swapped the chocolate coating with tahini-infused white chocolate, and it gave the whole thing a Mediterranean vibe.
- Honestly, they’re surprisingly satisfying for portion control—I eat one and actually feel content (a small win for my weight goals!).
- The mix of crisp, creamy, and chocolaty just tastes good, like biting into a little ball of joy.
Butterfinger Ball Recipe
Equipment
- Medium mixing bowl
- Electric mixer or stand mixer with paddle attachment
- Rubber spatula
- Measuring cups and spoons
- Cookie scoop or tablespoon
- Baking sheet
- Parchment paper
- Microwave-safe bowl
Ingredients
- 1 cup creamy peanut butter not all natural types
- 8 oz chocolate bark or chocolate chips
- ½ cups crushed butterfinger bars
- coarse salt or crushed butterfingers holiday sprinkles Garnishing
- 1 cup powdered sugar
- 4 tbsp butter softened
- ¾ cup graham cracker crumbs
- 1 tsp vanilla extract
Instructions
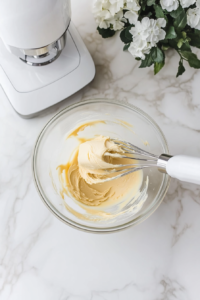
- In a medium bowl, combine the peanut butter and softened butter, then beat with an electric mixer on medium speed until the mixture is smooth and well blended.
- Add in the vanilla extract and mix again until incorporated.
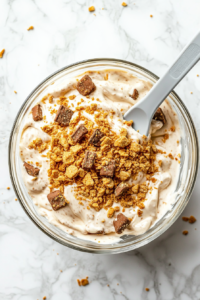
- Gradually add the powdered sugar in small batches, mixing on low speed and scraping down the sides of the bowl as needed.
- Gently fold in the graham cracker crumbs and crushed Butterfingers until fully combined.
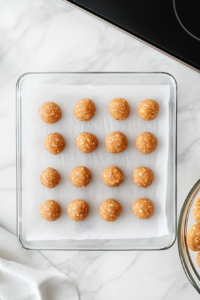
- Line a baking sheet with parchment paper and use a cookie scoop or spoon to portion out 1 to 1½ tablespoons of dough.

- Roll each portion into a smooth ball and place it on the prepared sheet.
- Once all the balls are formed, transfer the sheet to the freezer and chill for about 30 minutes.
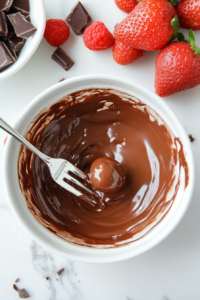
- After chilling, melt the chocolate in a microwave-safe bowl using 30-second intervals at 50% power, stirring between each interval.
- Stop microwaving when only a few chunks remain and stir until the chocolate is fully melted.

- Dip each chilled ball into the melted chocolate, either fully or partially coating them, and place them back on the sheet.
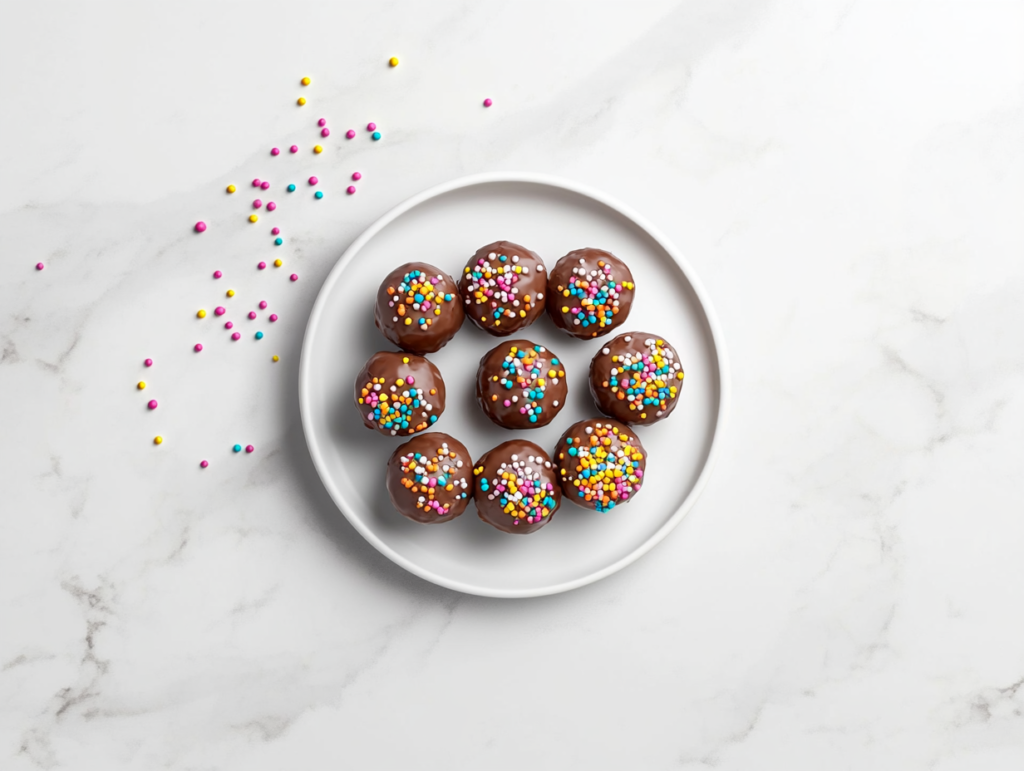
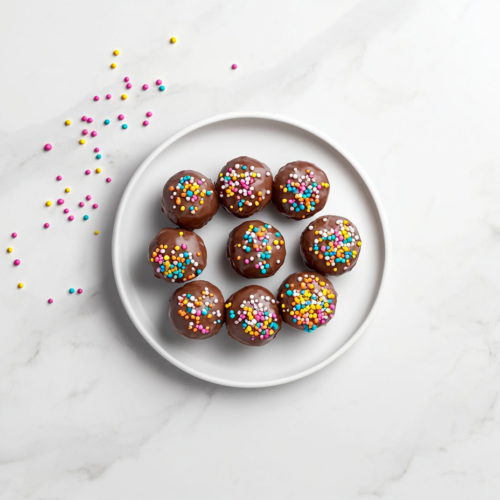
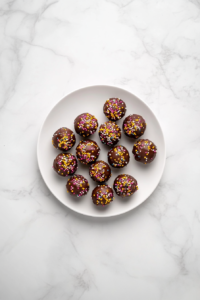
- Sprinkle with extra crushed Butterfingers, festive sprinkles, or a touch of sea salt.
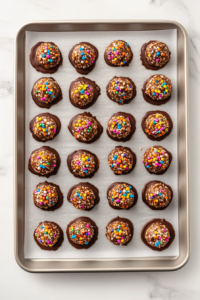
- Let the chocolate set completely before serving.
Notes
- For extra crunch, use chunky peanut butter instead of smooth.
- If the dough feels too sticky to roll, add an extra tablespoon of graham cracker crumbs.
- Use a fork or toothpick to help dip and coat the balls in chocolate more easily.
| Nutrition | Value |
| Calories | 219kcal |
| Carbohydrates | 23g |
| Fibre | 1g |
| Fat | 13g |
| Protein | 3g |
| Cholesterol | 6g |
Tips To Ease Your Job!
- Soften butter quickly: Cut it into small cubes and leave it at room temp for 10–15 minutes to speed things up.
- Chill the dough before rolling: If it’s too soft, pop it in the fridge for 10 minutes—it makes rolling way easier.
- Crush Butterfingers easily: Place them in a zip-top bag and gently smash with a rolling pin or heavy spoon—less mess, perfect texture.
- Use a dipping tool or fork: For neat and easy chocolate coating, use a fork or dipping tool and tap off the excess chocolate by gently shaking over the bowl.


