When the day feels a little long and my thoughts are still catching up with everything I’ve done, I find myself drifting toward the kitchen for something familiar.
Some days, I don’t want anything complicated, just a recipe I can ease into. Something that lets me knead, shape, and breathe for a moment.
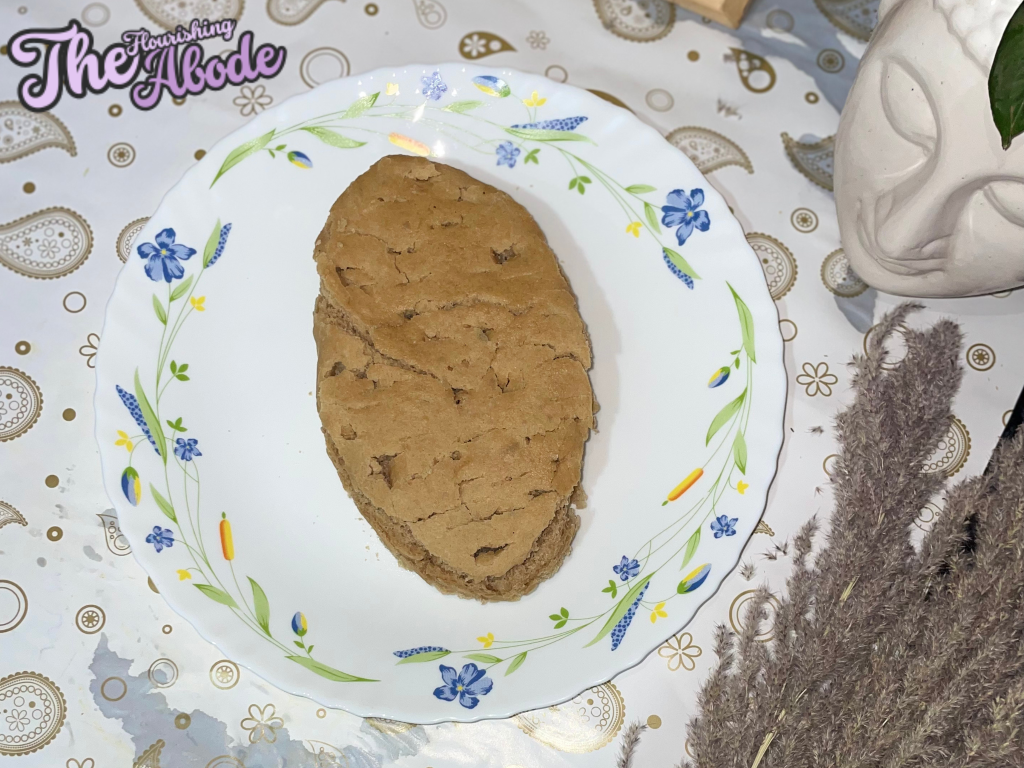
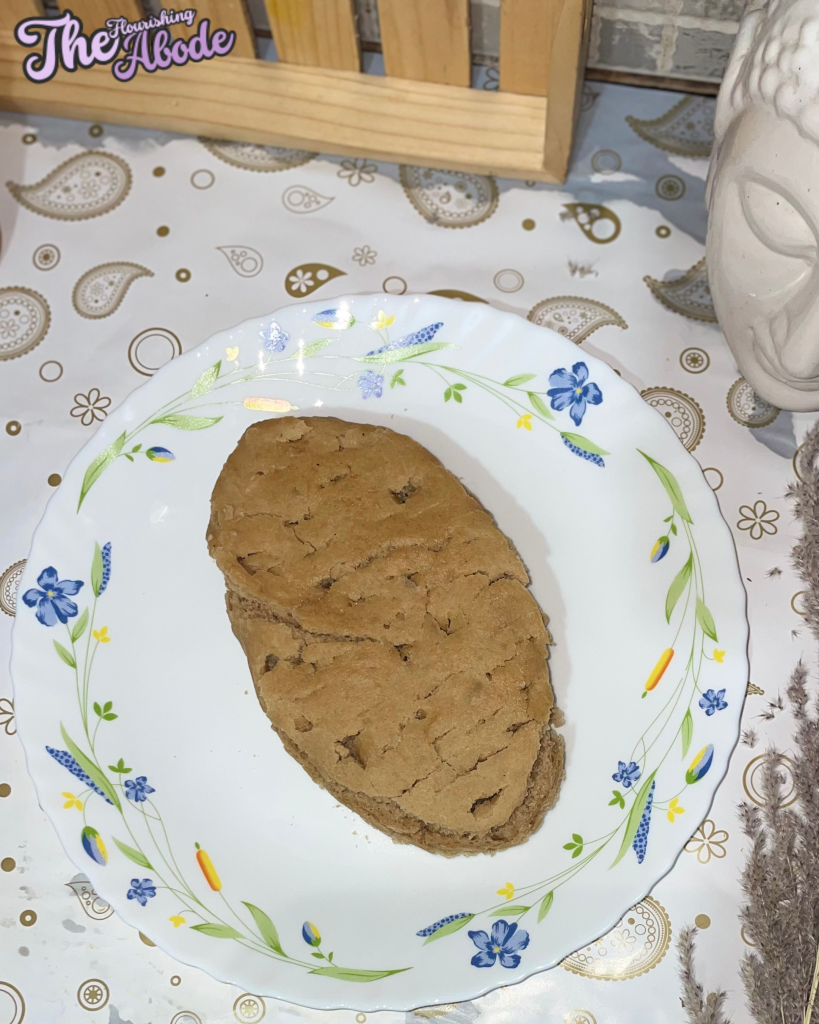
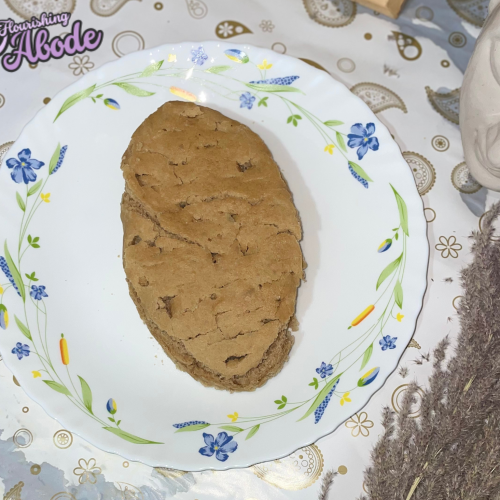
That’s when this Amish Sweet Bread comes to mind. It’s soft, lightly sweet, and comforting without trying too hard.
The dough comes together gently, and the scent that fills the kitchen feels warm and familiar from the very first rise. What I enjoy most is how this bread stays simple all the way through.
Behind the Recipe
This loaf was inspired by traditional Amish kitchen staples, where bread making is part of everyday life rather than a special project.
Amish Sweet Bread isn’t overly sugary the sweetness is subtle, just enough to complement butter or jam.
When I began baking more often at home, this was one of the first recipes that made me feel confident.
Why You’ll Love This Recipe?
- There’s something magical about pulling freshly baked sweet bread out of the oven in the middle of a sunny summer day. The fragrance fills your home, beckoning family and friends to gather around.
- I’ve found that this bread works wonderfully for casual outdoor picnics. Its sweetness is a great complement to both savory and sweet dishes alike, offering a balanced contrast.
- This bread can even be enjoyed on warm evenings with a dollop of whipped butter or a drizzle of honey, offering comfort and refreshment after a day of summer adventures.
- Over time, I’ve modified the recipe, adding a touch of vanilla extract or a sprinkle of sugar on top before baking these small changes elevate the flavor profile and keep things fresh.
- Tastes good when shared with loved ones, especially after a long day outdoors.
Chef’s Pro Tips for Perfect Results
- Use warm water, not hot, this ensures proper yeast activation.
- Add flour gradually until the dough is soft but not sticky.
- knead for 8–10 minutes until smooth and elastic.
- Allow the dough to rise in a warm, draft-free area for best volume.
- Brush the loaf with butter after baking for a soft, golden crust.
Kitchen Tools You’ll Need
- Large mixing bowl
- Medium saucepan
- Wooden spoon or whisk
- Measuring cups and spoons
- 2 Loaf pans
- Wire cooling rack
- Oven
Ingredients For This Recipe
- ⅔ cup white sugar
- 2 cups water
- 1½ tbsp active dry yeast
- 5½ cups all-purpose flour
- ¼ cup vegetable oil
- 1½ tbsp salt
Ingredient Substitutions
- Sugar: Swap with honey or brown sugar for deeper flavor.
- Vegetable Oil: Use canola oil, melted butter, or coconut oil.
- Flour: Bread flour for chewier texture; whole wheat for heartiness.
- Yeast: Instant yeast works, skip the proofing step.
- Water: Replace half with milk for richer bread.
Ingredient Spotlight
Yeast:
Properly activated yeast gives the bread its lift and softness. When combined with warm water and sugar, it creates bubbles that form the bread’s airy crumb.
Vegetable Oil:
The addition of oil keeps the bread soft for days and gives the crumb a tender texture.
Instructions for Making This Recipe
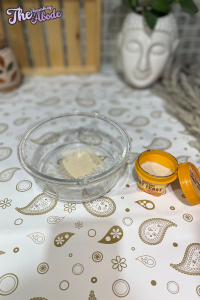
Step 1: Heat the water in a pot over moderate heat, then remove from the stove.
Step 2: Stir in the yeast and let it sit for 10 minutes until foamy and activated.
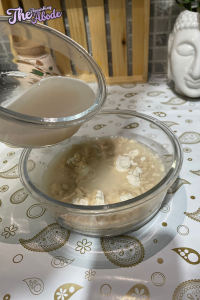
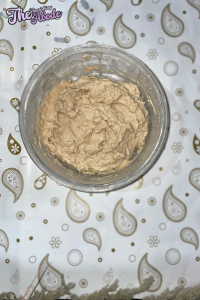
Step 3: Add the vegetable oil and salt, then gradually mix in the flour one cup at a time until a soft, slightly sticky dough forms.
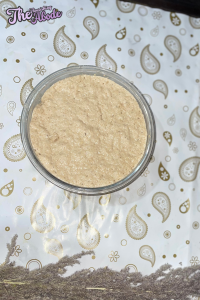
Step 4: Lightly grease a bowl, place the dough inside, cover, and let it rise in a warm place for about 1 hour or until doubled in size.
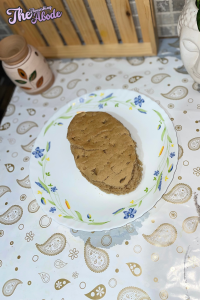
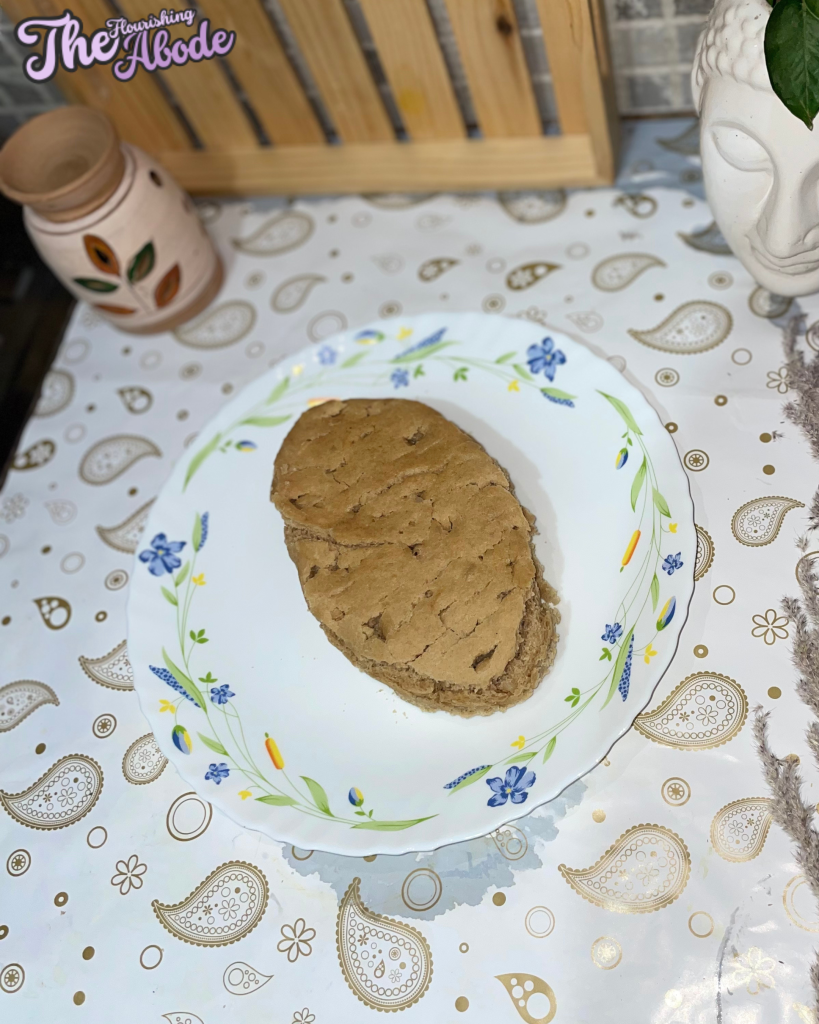
Step 5: Punch down the dough, divide it evenly, and place into greased loaf pans.
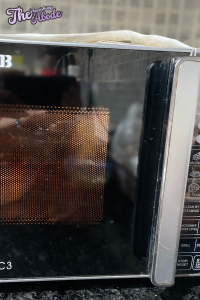
Step 6: Preheat the oven to 350°F (175°C). Bake for about 30 minutes or until the loaves are golden brown and sound hollow when tapped.
Step 7: Remove from the oven, cool on a wire rack, and brush the tops with butter for a soft finish.
Amish Sweet Bread Recipe
Equipment
- Large mixing bowl
- Medium saucepan
- Wooden spoon or whisk
- Measuring cups and spoons
- 2 Loaf pans
- Wire cooling rack
- Oven
Ingredients
- ⅔ cup white sugar
- 2 cups water
- 1½ tbsp active dry yeast
- 5½ cups all-purpose flour
- ¼ cup vegetable oil
- 1½ tbsp salt
Instructions
- Heat the water in a pot over moderate heat, then remove from the stove.
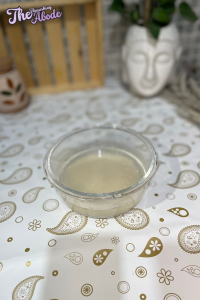
- Stir in the yeast and let it sit for 10 minutes until foamy and activated.
- Add the vegetable oil and salt, then gradually mix in the flour one cup at a time until a soft, slightly sticky dough forms.
- Lightly grease a bowl, place the dough inside, cover, and let it rise in a warm place for about 1 hour or until doubled in size.
- Punch down the dough, divide it evenly, and place into greased loaf pans.
- Preheat the oven to 350°F (175°C). Bake for about 30 minutes or until the loaves are golden brown and sound hollow when tapped.
- Remove from the oven, cool on a wire rack, and brush the tops with butter for a soft finish.
Notes
- If your yeast doesn’t foam after 10 minutes, it may be expired or your water was too hot or cold.
- Kneading properly develops gluten, giving the bread a light and airy texture—don’t skip this step.
- Letting the bread cool in the pan for 10 minutes before transferring to a rack prevents it from becoming soggy.
Nutrition Facts (Approximate per slice, 16 slices)
| Nutrition | Value |
| Calories | 220kcal |
| Carbohydrates | 410g |
| Fibre | 14g |
| Fat | 12g |
| Protein | 53g |
Texture & Flavor Secrets
- Kneading develops gluten, giving the bread structure and lift.
- Oil keeps the crumb soft and moist.
- Sugar adds gentle sweetness and encourages browning.
- Proper rising time results in a fluffy, airy loaf.
Cooking Tips & Tricks
- Add extra sugar for more sweetness.
- Use milk instead of water for a richer loaf.
- Sprinkle sesame seeds on top before baking.
- If dough is sticky, add flour 1 tablespoon at a time.
What to Avoid
- Don’t use hot water, it can kill the yeast.
- Avoid adding all flour at once; dough can become dense.
- Don’t skip the second rise, it affects the texture.
- Avoid slicing the bread while hot, it becomes gummy.
Preparation Time
- Prep Time: 20 minutes
- Bake Time: 30 minutes
- Total Time: 50 minutes
Make-Ahead and Storage Tips
- Store at room temperature 3–4 days.
- Freeze whole loaves or slices up to 2 months.
- Dough can be refrigerated overnight after first rise.
- Reheat slices gently for best texture.
What to Serve With It
- Jam
- Scrambled Eggs
- Soup
- Tea or Coffee
- Fresh Fruit
- Cheese Spread
Creative Leftover Transformations
- French toast
- Bread pudding
- Grilled cheese
- Homemade croutons
- Breakfast strata
Additional Tips
- Add cinnamon for a lightly spiced loaf.
- Mix in raisins for a sweet breakfast bread.
- Use half whole wheat flour for a healthier version.
- Brush with butter for a glossy finish.
Make It a Showstopper
Place the warm loaf on a wooden board, brushed with melted butter and sliced gently. Serve with small bowls of honey and jam — simple but beautiful presentation that fits the comforting nature of the bread.
Variations to Try
- Honey Bread: Replace sugar with honey.
- Milk Bread: Use milk instead of part of the water.
- Cinnamon Swirl: Roll dough with cinnamon sugar.
- Whole Wheat Blend: Swap part of the flour.
- Dinner Rolls: Shape into rolls and bake 15–18 minutes.
FAQs
- Can I use instant yeast?
Yes, skip the proofing step. - Why didn’t my dough rise?
Water may have been too hot or yeast expired. - How can I make it richer?
Add milk, butter, or extra sugar. - Can I make this without sugar?
Yeast needs some sugar, but you can reduce the amount. - Can I freeze the dough?
Yes, freeze after first rise. - How do I get a softer crust?
Brush with butter after baking. - Why is my bread dense?
Too much flour or not enough kneading. - Can I add seeds?
Yes, sesame, poppy, or sunflower seeds work well. - Can I make rolls instead of loaves?
Absolutely, reduce bake time. - Can I use olive oil?
Yes, but flavor will change slightly.


