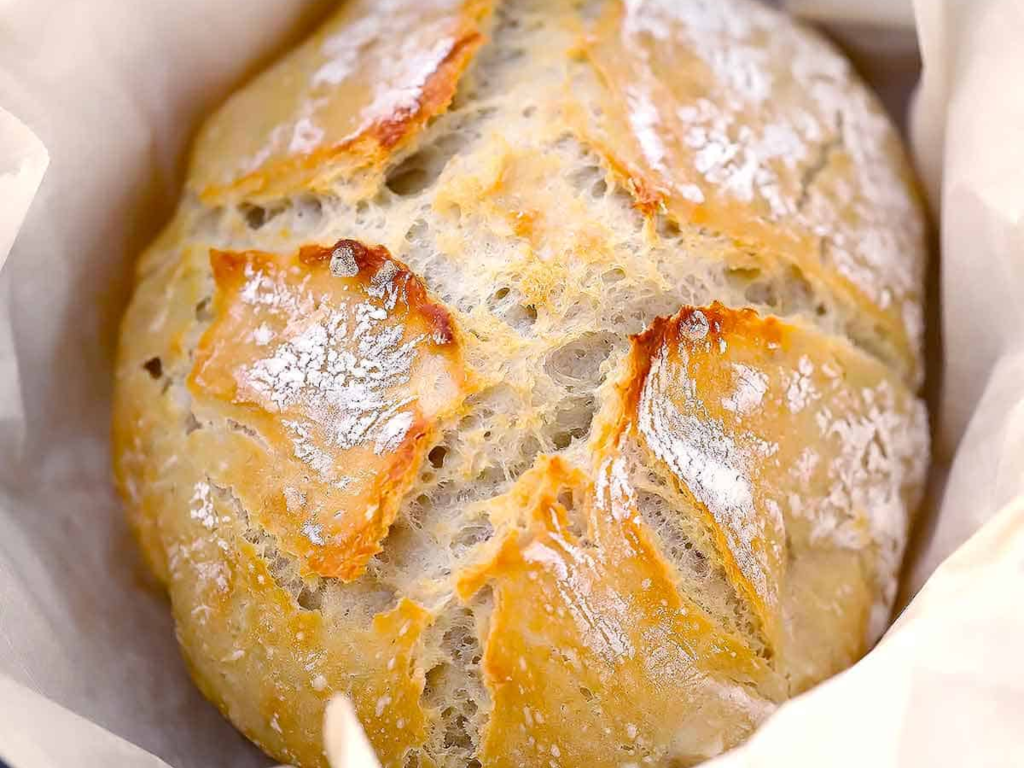
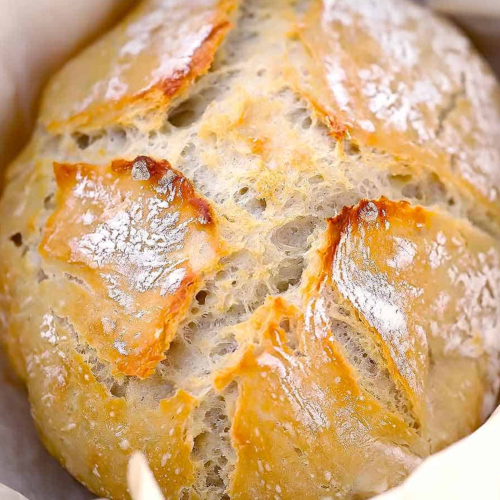
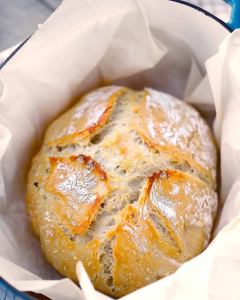
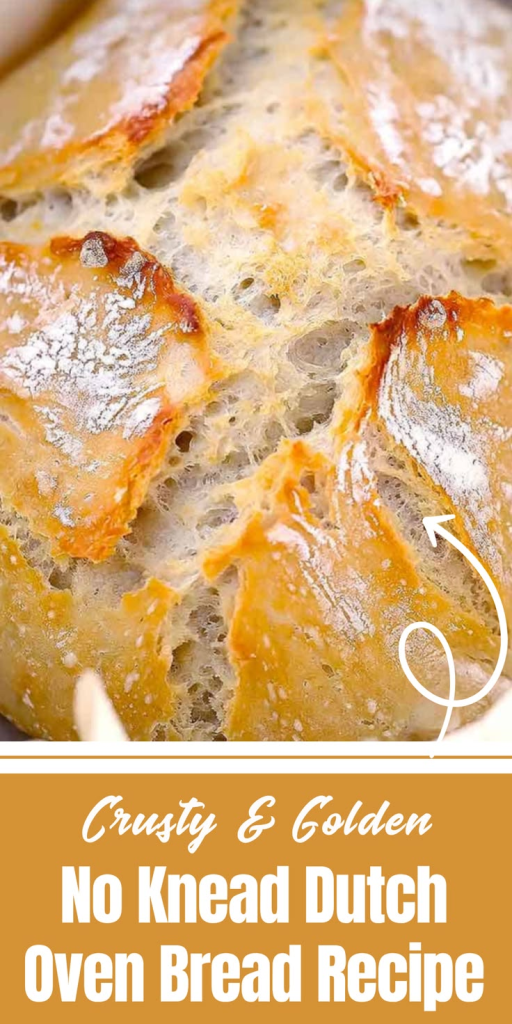
This no knead Dutch oven bread recipe is an easy homemade bread that creates a crusty artisan-style loaf with very little effort. The dough comes together quickly, rises slowly, and bakes into a golden loaf with a crisp crust and soft chewy center.
The Dutch oven traps steam while baking, helping create bakery-style texture without complicated techniques. It is perfect for beginners, cozy dinners, sandwiches, soups, or fresh slices served warm with butter.
Why You’ll Keep Making It
- No Knead: Long rise develops texture naturally no effort required.
- Crispy Crust: Dutch oven traps steam for bakery-style crust.
- Soft & Chewy Interior: Balanced with a slightly airy crumb.
- Versatile: Pairs with soups, pasta, sandwiches, or charcuterie boards.
Absolutely loved this recipe! I made it last night after a long workday and couldn’t believe how easy it was, no kneading, just mix and wait. The crust came out golden and crisp, and the inside was soft and airy. My whole kitchen smelled like a bakery! This one’s going into my regular rotation for sure. Thanks for making bread feel doable again!
Rachel M.
Key Ingredient Tips & Simple Swaps
- All-Purpose Flour: Creates a soft chewy interior with a crisp crust. Bread flour can also be used for extra chewiness.
- Warm Water: Helps activate the yeast and hydrate the dough properly. The water should feel warm, not hot.
- Yeast: Helps the dough rise and creates airy texture throughout the loaf. Instant or active dry yeast both work well.
- Salt: Enhances flavor and balances the yeast activity during rising. Fine sea salt also works nicely.
- Extra Flavor Option: Add garlic powder, rosemary, thyme, or shredded cheese for extra flavor.
- Flour for Shaping: Lightly flouring your hands and surface helps prevent sticking while shaping the dough.
No Knead Dutch Oven Bread Recipe
Equipment
- Dutch Oven: A heavy pot with a lid is essential for baking this bread. It traps moisture, helping to create a crispy crust.
- Large Mixing Bowl: For combining the dough ingredients.
- Measuring Cups and Spoons: To accurately measure out your ingredients.
- Kitchen Towel or Plastic Wrap: To cover the dough while it rises.
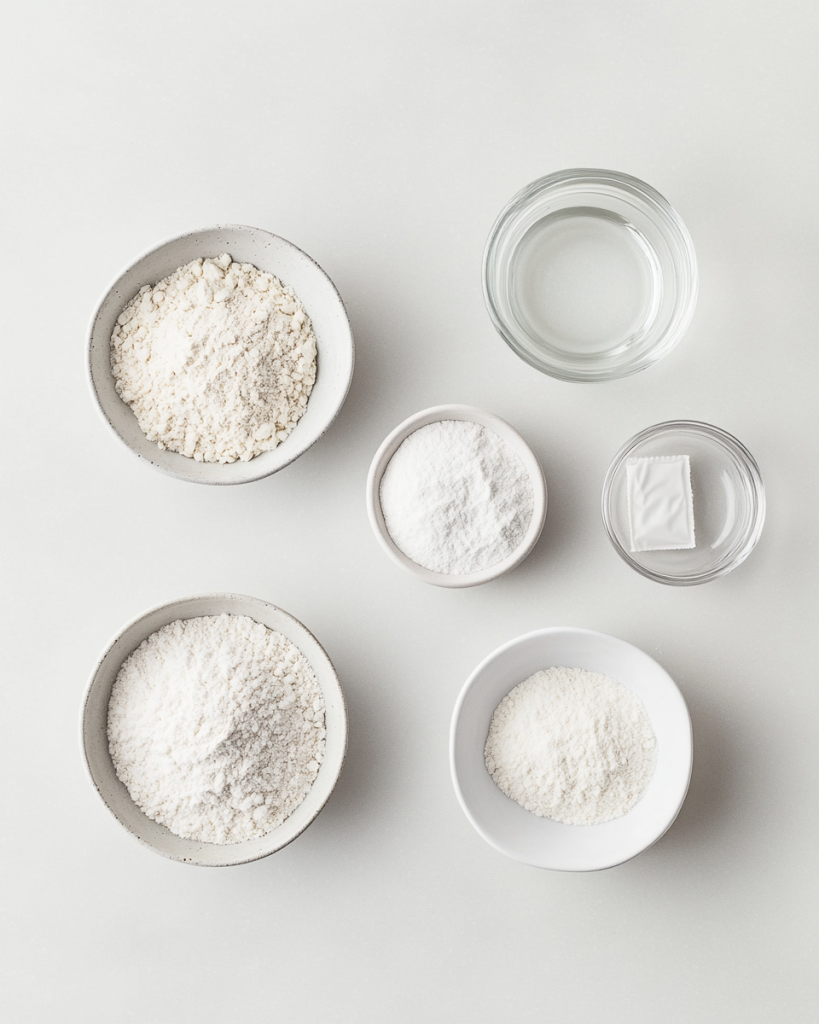
Ingredients
- 1½ cup Warm Water: Water is essential to activate the yeast. It should be warm not hot, to create the perfect dough.
- 3¼ cup All-Purpose Flour: This is the base of your bread dough. All-purpose flour works best for this recipe as it creates the right texture.
- 1½ tsp Fine Grain Salt: Salt enhances the flavor of the bread and controls the yeast’s activity.
- 1 Packet Yeast: Yeast is the leavening agent that makes the bread rise. Make sure it’s fresh for the best results.
Instructions
- Prepare the Dough: In a large bowl, combine the warm water, yeast, and salt. Stir until the yeast and salt dissolve. Gradually add the flour and mix until a sticky dough forms.
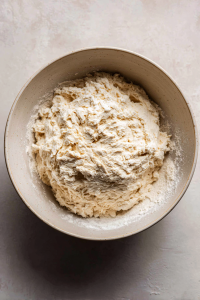
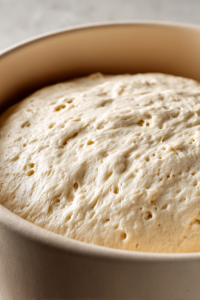
- Let It Rise: Cover the bowl with a kitchen towel or plastic wrap and let the dough rise at room temperature for 12 to 18 hours. The dough should be bubbly and doubled in size.
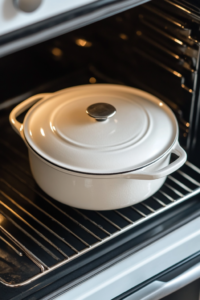
- Preheat the Dutch Oven: About 30 minutes before the dough is ready, preheat your oven to 450°F (230°C). Place the Dutch oven with its lid inside the oven while it heats up.
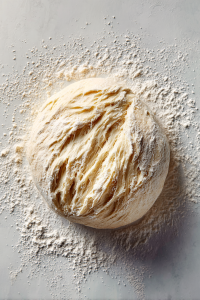
- Shape the Dough: Once the dough has risen, lightly flour your hands and a surface to shape the dough. Turn the dough out onto the surface and gently shape it into a round loaf.
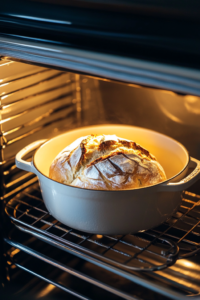
- Bake the Bread: Carefully remove the hot Dutch oven from the oven. Place the dough inside and cover with the lid. Bake for 30 minutes. After 30 minutes, remove the lid and bake for an additional 15-20 minutes to get a deep golden color on the crust.
- Cool and Serve: Let the bread cool for at least 30 minutes before slicing to allow the crumb to set.
Notes
- Adjust flour or water in small amounts to achieve a sticky, yet workable dough consistency.
- Scoring the bread improves the rise and creates a beautiful finish, but it’s optional.
Nutrition Information
| Nutrient | Per Serving |
|---|---|
| Calories | 188 |
| Carbs | 36g |
| Protein | 5g |
| Fat | 1g |
| Fiber | 1g |
| Sugar | 1g |
| Sodium | 290mg |
Keys to Success & Common Mistakes
- Dense Bread: Make sure the dough rises long enough and the yeast is fresh.
- Dough Too Sticky: Lightly flour your hands and work surface while shaping.
- Flat Loaf: Avoid adding too much flour, which can make the dough heavy.
- Pale Crust: Remove the lid during the final baking time for better browning.
- Burnt Bottom: Place a baking sheet under the Dutch oven if the bottom browns too quickly.
- Gummy Texture: Let the bread cool fully before slicing so the crumb can set properly.
Prep Ahead and Store Like a Pro
- Room Temperature Storage: Store bread wrapped loosely for up to 2 days.
- Freezer Friendly: Freeze sliced bread in airtight bags for up to 2 months.
- Reheat Tip: Warm slices in the oven or toaster for fresh texture.
- Dough Prep Option: The dough can rise overnight for easier baking the next day.
- Best Freshness: Homemade bread tastes best within the first 24 hours.
More Bread Recipes You’ll Love!
Delicious Variations and Serving Ideas
- Herb Bread Version: Add rosemary, thyme, or Italian seasoning to the dough.
- Cheesy Bread: Mix shredded cheddar or parmesan into the dough before rising.
- Seeded Crust: Sprinkle sesame seeds or everything seasoning on top before baking.
- Soup Side Option: Serve warm with soup, stew, or chili.
- Sandwich Style: Slice for sandwiches, toast, or breakfast spreads.
- Garlic Butter Finish: Brush warm bread with melted garlic butter after baking.
Frequently Asked Questions
- Do I really not need to knead the dough?
Yes, the long resting time develops the texture naturally without kneading. - Why is a Dutch oven important for this recipe?
It traps steam inside, helping create a crispy artisan-style crust. - Can I use instant yeast?
Yes, both instant yeast and active dry yeast work well. - Why is my dough very sticky?
No knead dough is naturally wetter than regular bread dough. - Can I let the dough rise overnight?
Yes, overnight rising helps develop deeper flavor and texture. - How do I know when the bread is done baking?
The crust should look deep golden brown and sound hollow when tapped. - Can I add herbs or cheese to the dough?
Yes, herbs, garlic, cheese, and seeds all work well in this bread. - Why should the bread cool before slicing?
Cooling helps the inside texture fully set and prevents gumminess.


I just baked this No Knead Dutch Oven Bread, and it turned out amazing! Seriously, so easy and the crust was perfect crispy on the outside, soft on the inside. I love that there’s no kneading involved, which makes it super beginner-friendly Definitely my new go-to bread recipe
This bread recipe is fantastic! Took me no time to mix it up, and the Dutch oven did all the magic. The crust was nice and crunchy, and the inside was fluffy and soft. Perfect for sandwiches or just eating with butter
I’m so glad I found this no-knead bread recipe! It’s super simple, and the smell that filled my kitchen was incredible. The bread came out with a beautiful crust and a soft, chewy inside just like bakery bread. Highly recommend for anyone who wants great homemade bread without the fuss