A couple weeks ago for the Hack-a-Week Challenge, I took the idea of a no-assembly-required hack and posted several ideas on that theme. This week is another multiple idea post, but this time all of the ideas revolve around upcycling the same item: a sign stake. You can pick one up at the hardware store for about a dollar, and ram it into the ground, and use the two coils to hold up a sign (as it is intended to be used) … or you can buy two and think outside the box on how to use them!
A couple points … You might prefer to spray paint them first, but since I was using the same ones for different projects, I just left the neutral metallic. And if they sit too low to the ground for your preference, you could insert them into two planters, instead of the ground, to make them higher and also be able to display indoors. Here are the repurposing ideas I came up with…
‣ ‣ ‣ IDEA #1: Bunting Holder!
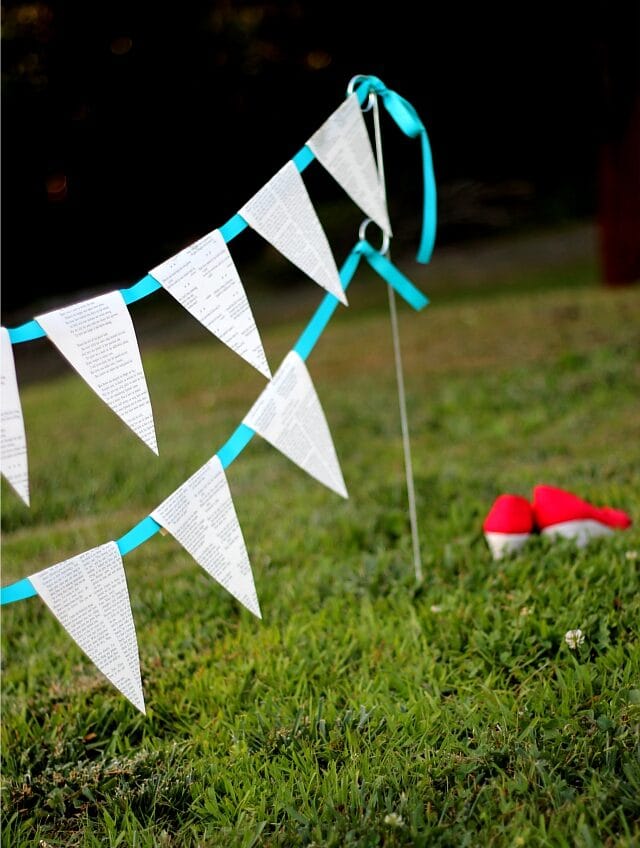
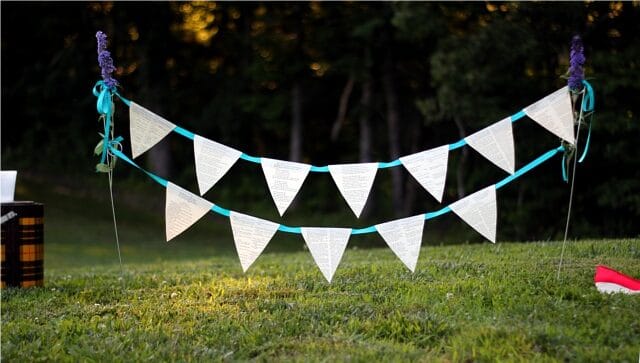
I simply love buntings, but the two things that generally stop me from making/displaying them are that 1: time-consuming sewing is involved, and 2: I don’t seem to have any handy ways to hang them. But this bunting setup solves both of those problems!
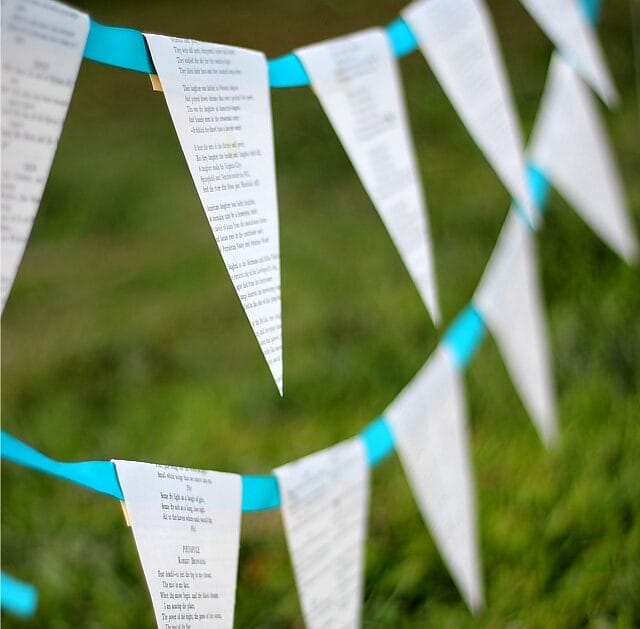
Instead of a fabric bunting, this is made from book pages and ribbon, so it is a completely no-sew project. Simply find a book that is no longer used for reading (you can find plenty of beat-up books at the thrift store), remove pages from the book, and then cut out the shape you need for the bunting pennants. For the kind of bunting I made here, it’s just a triangle with the top side extended and reshaped to be able to fold over the ribbon and still have enough overlap past the ribbon to have a gluing surface to hold it together. Then just spread glue on that top edge, and fold each bunting piece over the ribbon – and you have your bunting! I made two lengths, because the sign posts have two loops, and I liked the idea of a double layer. Stick the sign posts in the ground, and tie on the bunting. If you want to make the metal loops less noticable, you can just weave something decorative through them – for instance, I used a couple long stemmed flowers:
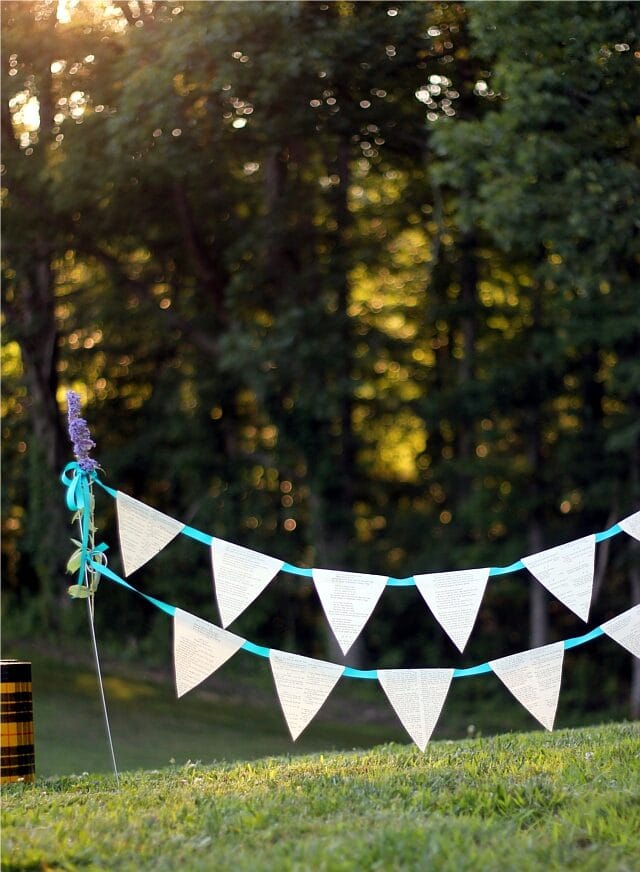
Now, isn’t that cheery?
‣ ‣ ‣ IDEA #2: Have a kid’s painting party!
My little one loves to paint. Our apartment has carpet in every single room – and in most rooms, very light carpet. So basically any painting has to happen outside! Which is a lovely place to paint, of course, but the main problem is that the wind likes to sweep away the freshly made masterpieces. But stick a couple sign stakes in the ground, tie on some ribbon, gather art supplies and invite some other kids over to have a painting party! Display the new paintings, as they dry, by attaching them with clothespins to the ribbon. Depending on how many kids you have, you may want more than one “drying rack”, but the good news is that they are so cheap to make.
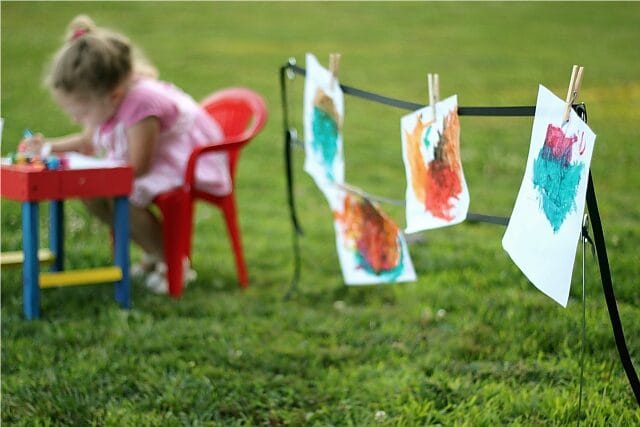
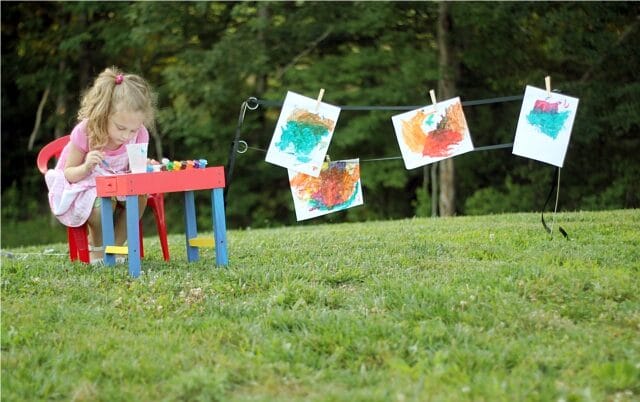
My little girl loved it. 🙂
‣ ‣ ‣ IDEA #3: Crafty display!
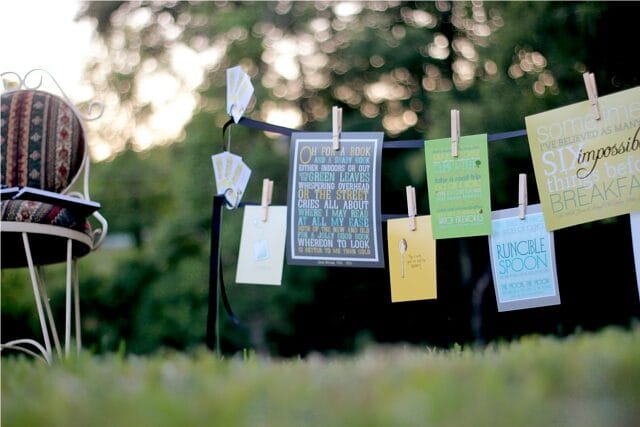
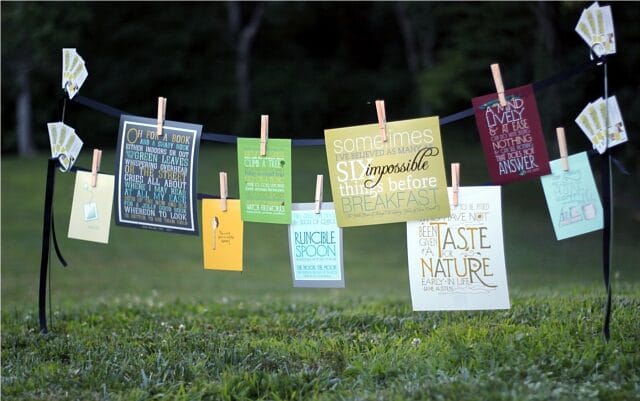
Displaying art is not just for little kids, of course. Sometimes you have your own art and such to display … such as if you have a craft booth at a farmer’s market or fair. And it wouldn’t be limited to hanging art .. you could hang signs or info about your goods, or even fliers for people to take. But it might be a new and eye catching way to display your crafty wares. Here it is, with some of my own prints from my shop, FlourishCafe.
‣ ‣ ‣ IDEA #4: Wedding sign!
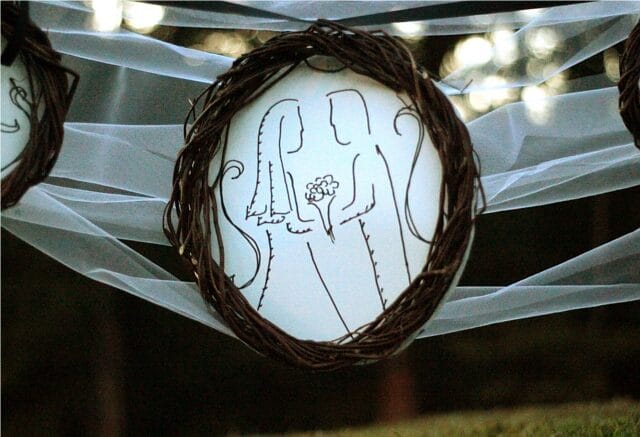
One of the things I learned in getting ready for our wedding, almost six years ago, was that anything labelled “wedding” or “bridal” automatically cost twice as much as the same exact item not labelled “wedding”. For instance, white wedding table cloths vs. just white table cloths. There may be no discernible difference between them except for the fact that one has the word wedding on the label, but it’s generally going to cost a lot more. As a result, I found that buying non-official-wedding-items-that-were-still-white-and-looked-just-like-wedding-items and using them for the wedding was a lot more cost effective. The same idea struck me with these. Now I’m sure you would want to disguise them or paint them, but at an outdoor wedding (like mine was) I imagine the stakes in the ground with swags of tulle going back and forth, with bows at either side, and maybe a sign hanging in the middle that says “Seating this way” or “take a program”, and have a basket of programs next to it, etc. For this particular example, I recreated a quick version of the illustration I made for our wedding invitations and attached it to the back of a light-weight willow wreath, and hung it in front of sways of tulle. Unfortunately the light was failing as I was working on this last night, and so I didn’t get a decent shot of the whole thing, but I’m sure you get the picture. Here is a shot, though, of the “framed” illustration hung between the sign stakes:
Tim liked seeing it. 🙂
Anyway, those are a few ideas for ways to repurpose a simple item – a sign stake!
Which is your favorite? Or do you have another idea to share?
Let me know in the comments below, I love to hear from you! 🙂

