It’s week 3 of the hack challenge! And I must admit, it was a close call this week to get a project done.
But, ta da, here it is!
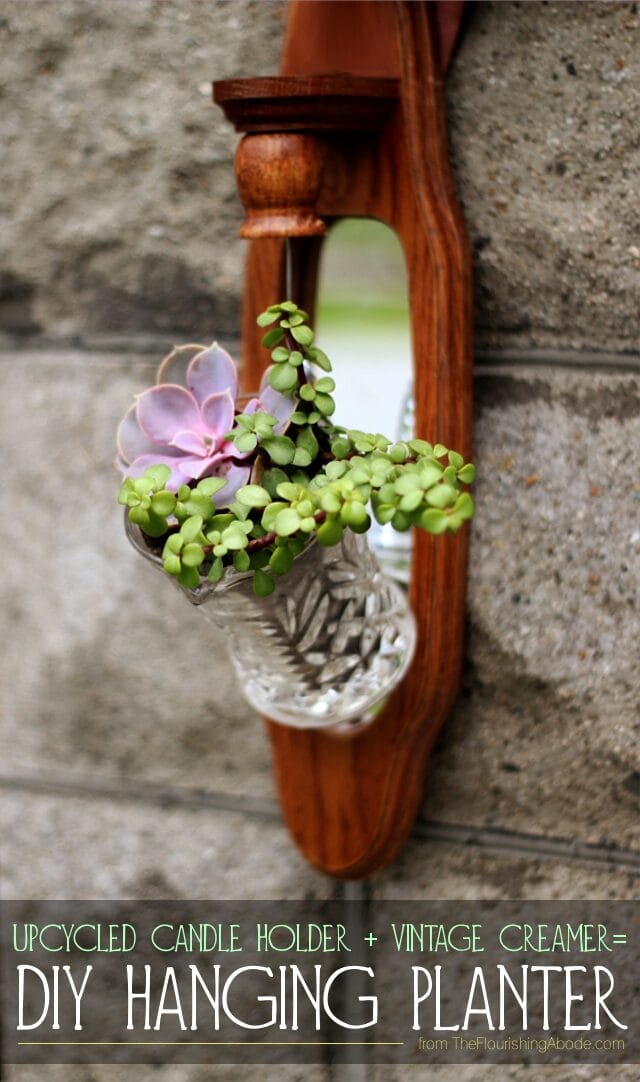
I wasn’t quite sure how I was going to get any project finished for this week’s post done while we are out of town … I had a back up plan in mind, but I’m glad I didn’t have to use it because I wasn’t terribly thrilled about. Fortunately, my sister in law up here in New England was having a craft night at her house this week, and I realized it would be the perfect opportunity to work on a hack challenge project! First, though, a trip to the local thrift store was in order. I’ve been asked how I come up with these project ideas – well, basically I go to a thrift store or hardware store or somewhere else that has interesting items I might be able to upcycle … and I hunt there until that “aha!” moment. This time, I was at the thrift store and spotted this:
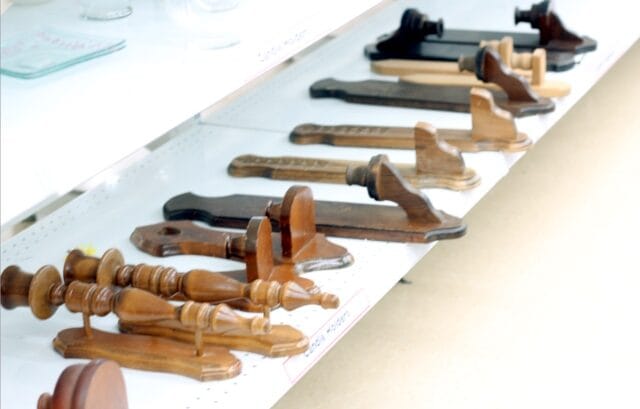
A row full of old wooden wall mount candle holders. Tip: when in doubt, pick something up, turn it upside down and figure out what to do with it then. 😉
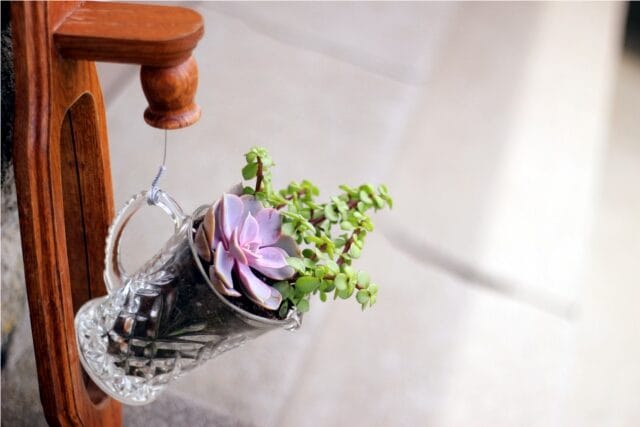
This week’s project turns one of these candle holders upside down and suspends a little creamer pitcher from it to create a unique small hanging planter. Aha! 🙂
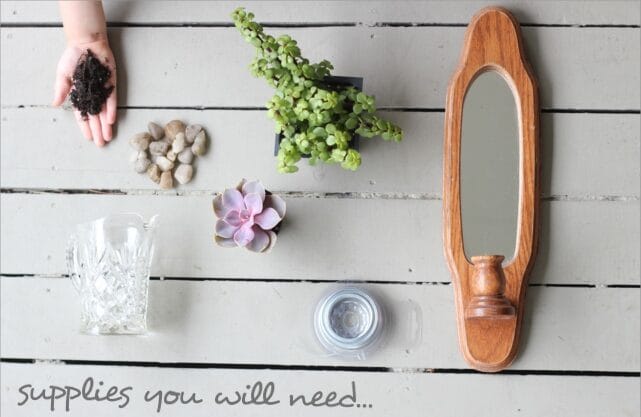
For this project you will need:
Supplies:
– A wall mount candle holder. Make sure it is one that has the actual candle holder part secured on with a screw. (Most are like that, so it’s not hard to find.) I chose one with a mirror, but it certainly doesn’t have to have a mirror. Just pick one you like.
– A small creamer pitcher. Or small jar, etc., as long as it has a handle. Try to find one that has a handle which is weighted toward the top. In other words, if you just hang it on your finger by the handle, it should still be facing mostly upward, not completely sideways or upside down. If the handle is toward the bottom of the creamer, it will face downward, and would spill the contents if hanging. You want one with a handle toward the top so the contents will stay inside when it is hanging.
– Wire. I used about an 19 gauge wire. You definitely want it to be sturdy, because of the weight it will be supporting – but it also needs to be pliable for tight wrapping.
– Pebbles. This is for drainage in the bottom of your planter.
– Plants. Just whatever you like! I think something that trails some would be pretty due to the way the pitcher will look like it is almost pouring out the plant. Like ivy, or a trailing succulent, etc. Nothing large, this is a small planter.
– Soil. Whatever type of soil is appropriate for the plants you chose.
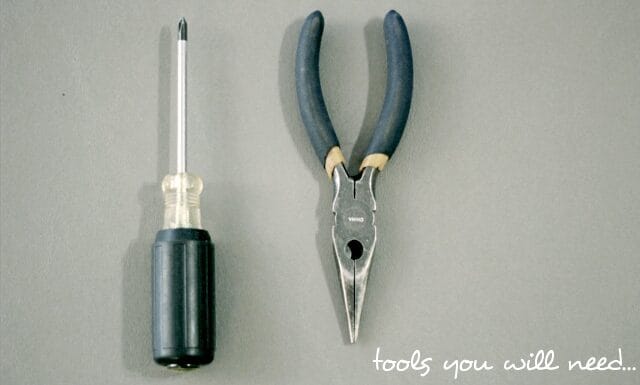
Tools you will need:
– A screwdriver. It will need to fit the screw that secures the candle holder.
– Wire pliers/wire cutter. For the wire. Um, yeah, pretty straightforward. 🙂
And now that you have everything you need, here’s how to make it!
UPCYCLED HANGING PLANTER TUTORIAL:
Step 1: In the bottom of the little cup that holds the candle, there should be a screw. Unscrew it completely.
Step 2: Since you will be hanging the entire finished project upside down from the original orientation of the candle holder, remove the hanging bracket on the back of the candle holder, and attach it to the other end, so it can hang the direction you want.
Step 2: (Photographed below) Using the wire pliers, tightly wrap around the screw (the one that had attached the candle holder) a couple times between the head of the screw and where the threading begins. The end of the wire should not be in these tight loops. There should be several inches of wire coming out from one end of the loops, and the rest of the wire should continue out from the loops. Bend both continuing segments upward so they go up over the head of the screw. Tightly spiral wrap the shorter end of the wire around the other wire. If after several tight wraps you still have too much wire, cut the extra length off of the SHORT wire. Reattach the candle holder, and securely screw back in the wire wrapped screw.
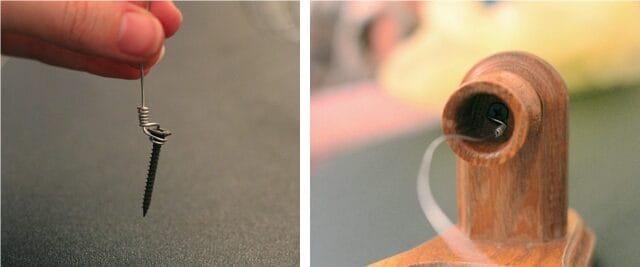
Step 3: (Photographed below) Loop the wire that now extends downward from the candle holder a few times tightly around the handle of the creamer. Then, in the same manner as on the screw, use the wire pliers just above the creamer’s handle to very tightly wrap the continuing wire back around the wire the hangs down from the candle holder. Don’t skimp on the number of loops, and don’t let them be loose. This is what is securing the wire from unraveling and dropping the creamer, so make sure your wire wrapping is nice and tight!
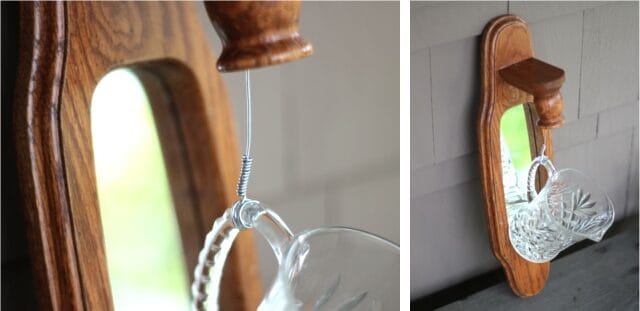
Step 4: Place a layer of small pebbles in the bottom of the creamer for water drainage. Add soil, make holes for your plant(s), loose the plant’s roots and place the plant in the planter. Place more soil on top of the roots, and gently water your plants according to their needs.
Step 5: Hang your new upcycled planter on the wall and enjoy!
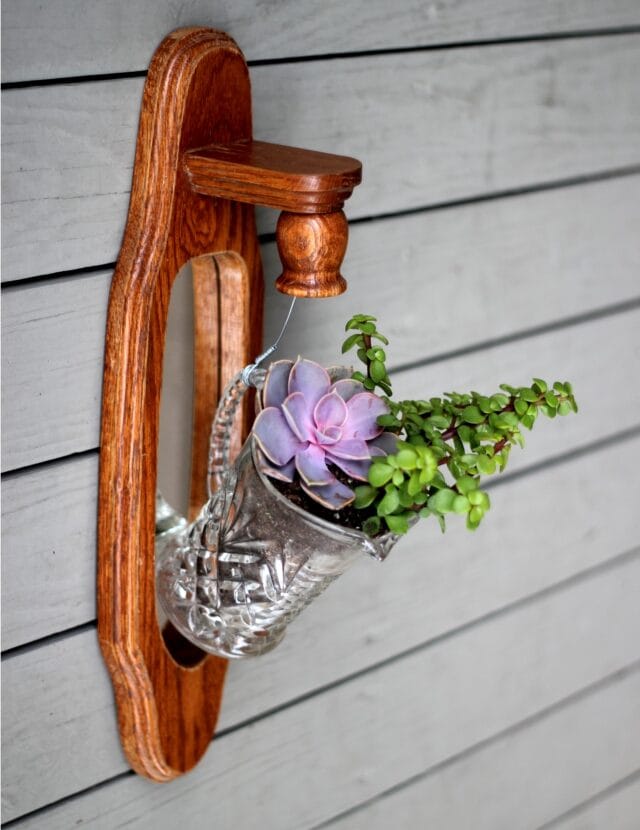
A couple additional ideas that people who saw me working on this project mentioned:
– If you wanted, you could paint the wooden candle holder before attaching the creamer.
– To make it a little artsy, in addition to the structural wire wrapping, you could do some free form wire wrapping around the entire creamer.
I hope you enjoyed this week’s diy home decor project!
If you did, you might also be interested a previous planter project I made out of old light fixture globes, or in the other hack challenge posts.
I’m curious – if you were going to paint the candle holder, what color would you paint it? Leave a comment below, I love to hear from you!

