Skip to content

creative biz

Moving Sale! Vintage finds & the Print-of-the-Month

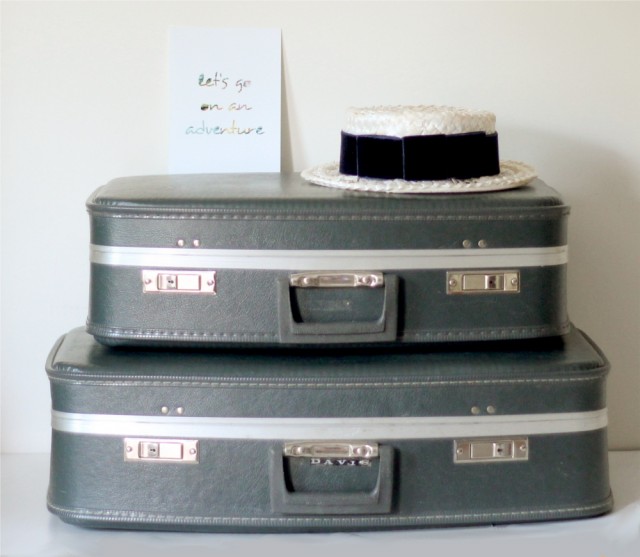
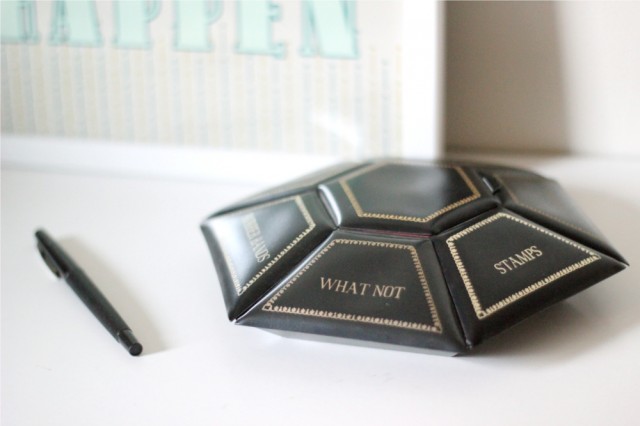
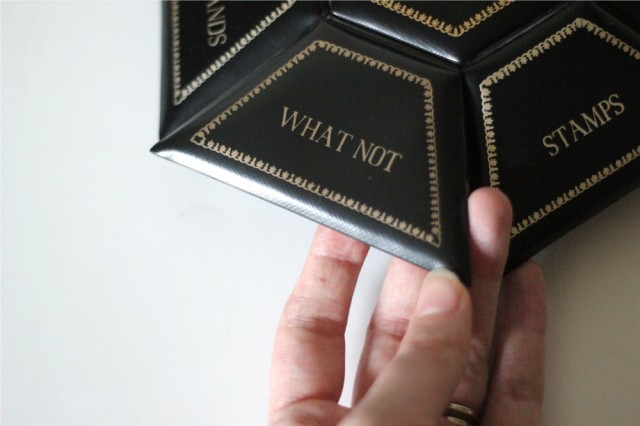
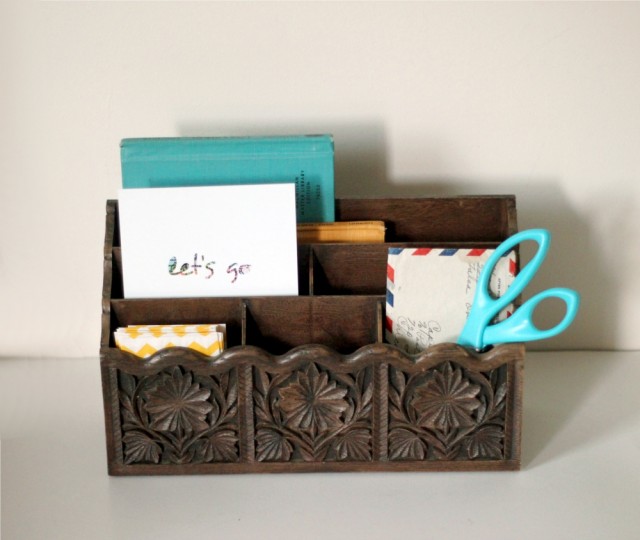
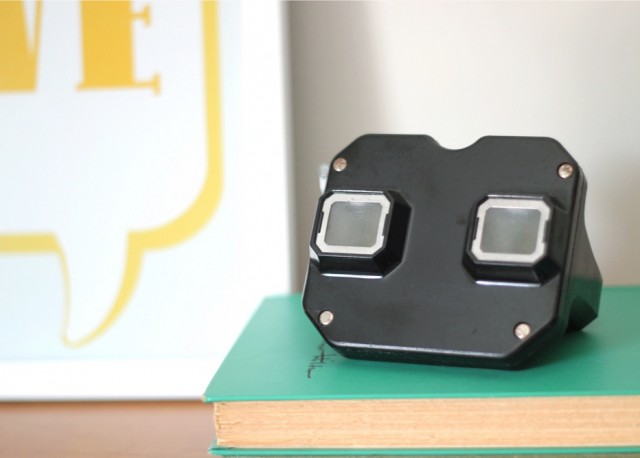
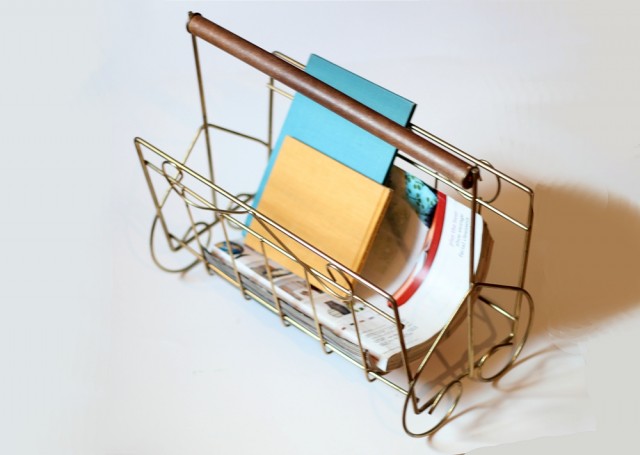
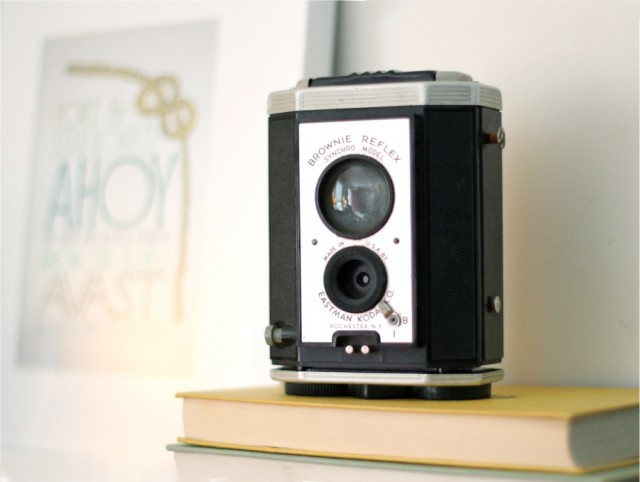
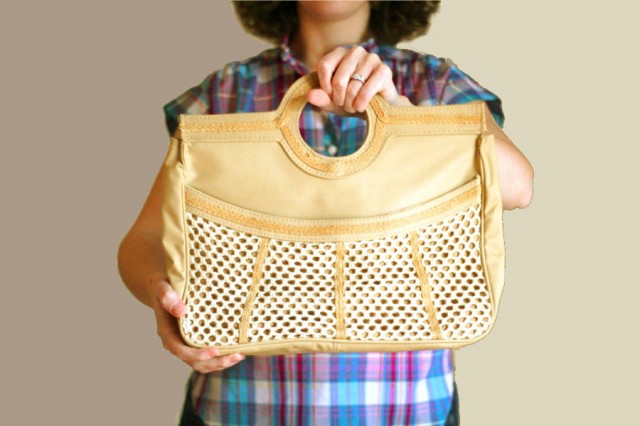
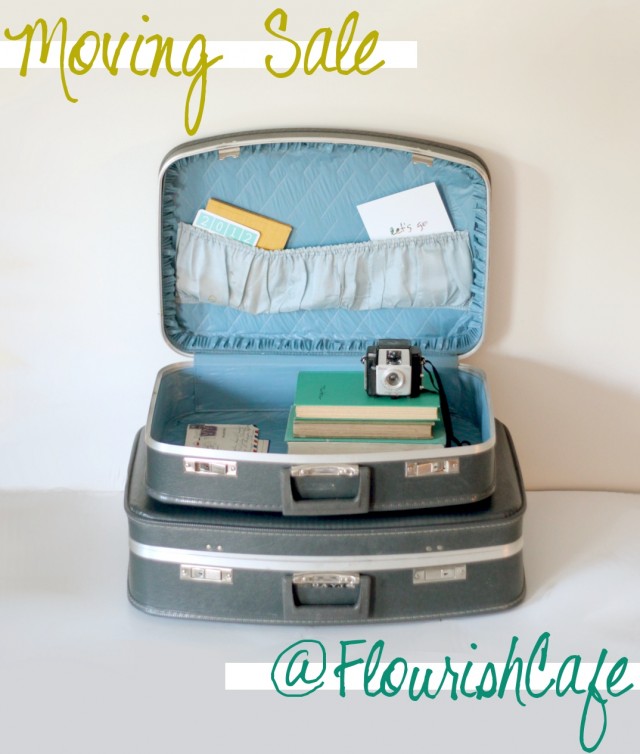
So, as many of you know, we are trying to move to Boston! As you also may know, besides my art prints I also sell some vintage items in my shop as well. What you probably DON’T know, is that I have a huuuuge inventory of vintage stuff – much more than is in my shop – and I do NOT want to move it all to Boston! So … the number of vintage items in my shop has been growing – and I want to have a sale on all vintage items in my shop: 30% off all vintage items with the coupon code LETSMOVE. I’m highlighting some of the items in the post below (just click any photo to go to the item), but the coupon is good for all vintage items in my shop … click here to see all the vintage items– and I plan to be adding more continually until we move!

PLUS, as I announced earlier, each month this summer I’m going to pick one print from my shop and offer it at half off just for that month. You’ll find this month’s print-of-the-month at the end of the post!

PLUS, just for fun, I’m throwing in some vintage tips scattered among the vintage items below, I hope you’ll find them helpful. :)

Tip #1: Why vintage? Quality > quantity. As we are trying to downsize for our move we are taking a much more quality not quantity approach to our belongings. Many of the things that I know I will keep in our move are vintage items – items that are sturdy and have lasted well through the years and previous owners already, items that are classic and won’t be some trend that feels “so last year” in a few months, items that are of a better quality than the cheap version I could grab at the store today. Plus, on a more personal level, I think vintage items have so much more character!

Tip #2: How do you use vintage in décor? Highlight, don’t go matchy-matchy. Working a piece of vintage décor into a room is similar to working a piece of vintage clothing into an outfit – if every single article of clothing in your outfit is from the 1950’s, you’re going to come off as costumey. Instead try pairing a 50’s skirt with a modern top. The same for décor – if every shelf is covered in old knick-knacks, it will just become overwhelming visual noise. But if much of the room is simple clean lines, you can highlight some special vintage items or furniture and let them really pop by working them in with more simple or modern pieces.

Tip #3: How can I tell if a clothing item is vintage? Labels! Clothing labels tell a huge amount of information about the age of the garment – you may not be able to date every garment by the label and there are many other ways to date a garment, but you might be surprised at just how much you can learn from labels. For instance, did you know that on Levi’s jeans labels if the e is lower case then they were made after 1971 – but if the E is upper case then they were made before 1971? This tip and tons more are available on the Vintage Fashion Guild website, where they have a huge a-z resource on vintage clothing labels.

Tip #4: What’s the difference between vintage, antique and retro? Age and/or style. Vintage items, according to Etsy, have to be at least 20 years old … elsewhere vintage is often considered to be need to be at least 25-30 years old. Antique is significantly older – generally 100 years old or older. (That is for furniture, housewares, clothing, etc. There is a different standard for vehicles, but that’s not really my area.;) Retro generally refers less to a certain age of an item than to certain styles, so it is more nebulous. For instance you could have something modern made, but made to look like the style of a previous time, and so it would be called retro. Often retro refers to the style of the 40’s or 50’s, but doesn’t always have such a narrow meaning.

Aaaand now it’s time for the print of the month!

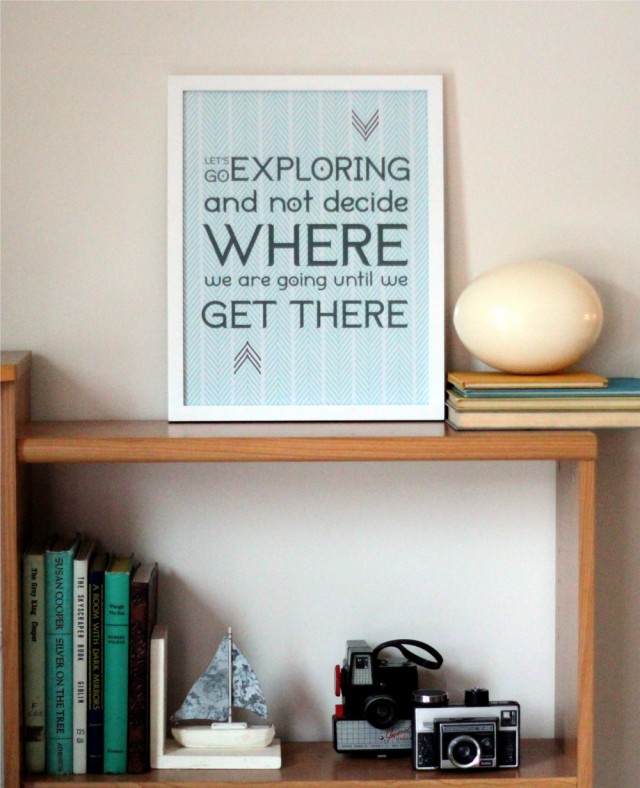
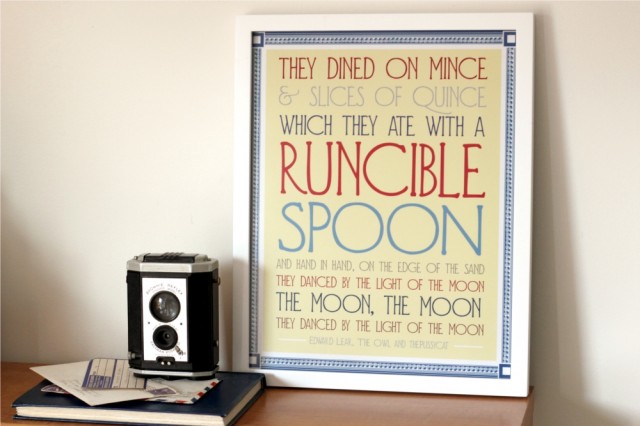
This is a pretty popular print in my shop, and with moving and travel on the mind, I thought it would be a fun one to go with for this month. It’s a nice large print at 11×14 inches … usually it’s $35, but with the coupon code FROMTHEABODE it would be 50% off, for only $17.50. (Plus shipping. The coupon is only valid for this print and only during July 2012. Any other purcahses would need to be made in a separate transaction.)
WooT! Let’s go exploring!

Well, I hope you’ve seen something that tickles your fancy, or at least that the tips were useful. :)
Here again are the coupon codes-
For 30% off all vintage items: LETSMOVE
For 50% off July’s print-of-the-month: FROMTHEABODE
If you know someone who likes vintage, please consider sharing this post with them – I want to get rid of as much as possible before we move! Thanks! :)

Leave your thoughts and comments below, I love to hear from you!
Well, since I’m bad at clues- here’s the answer!

So, last week I tried to post some clues to see if anyone could guess what the next weekly challenge would be … buuuuut apparently I’m pretty bad at clues, haha! But the hack-challenge ends this week and next week is the start of the new challenge … so instead we’ll just skip to the announcement. :) It’s one that was suggested by one of you when I asked for challenge ideas a while back – and I’m very excited about it!


It’s a DIY blog redesign series! Basically, as a graphic designer I will be demonstrating how to do a complete blog makeove by taking a reader’s blog, overhauling it, and each week showing tips, how-to’s and instructions to also be able to conduct your own blog redesign. We’ll start from scratch on how to establish the look and branding you want to go for on your blog, and work all the way through to setting up or transferring a blog to WordPress, designing your blog to highlight rather than distract from your content, create a layout to encourage reader interaction, tools that can help boost your blog, and more. I’ll be posting each Friday for the 10 part series, Lord willing – it starts July 6th, and I’m so excited! If you’re a blogger, be sure to subscribe so that you won’t miss out on all the blog design tips.

UPDATE: Here are the posts in the series…
Part 1: Discover your branding with “The Drawing Board” Printable
Part 2: WordPress vs. Blogger
Part 3: Design Tips + Design Worksheet
Part 4: Themes, Coding and Stylesheets
Part 5: Making your own graphics
Part 6: 7 Blog Layout Tips to Engage your Reader
Part 7: Blog Page: The Must-haves and the Panache
Part 8: 25 WordPress Tips
Part 9: The Big Reveal
Part 10: 7 Ways to Promote and Market Your Blog

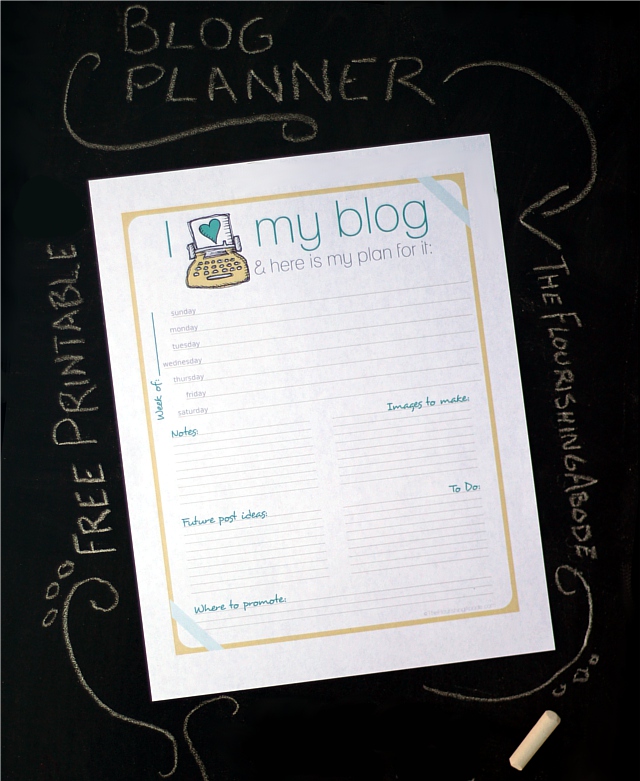
Until then, though, if you haven’t already gotten it, here is my free blog planner printable. I hope you’ll find it useful in organizing your blog posts! Just click the image below to open the PDF file.

Do you have a blog? Tell me a little about your blog in the comments below, and if you have any particular design questions you would like to see covered in the series, I’d love to hear them!

One Item, Multiple Upcycles – Hack Challenge 6!

A couple weeks ago for the Hack-a-Week Challenge, I took the idea of a no-assembly-required hack and posted several ideas on that theme. This week is another multiple idea post, but this time all of the ideas revolve around upcycling the same item: a sign stake. You can pick one up at the hardware store for about a dollar, and ram it into the ground, and use the two coils to hold up a sign (as it is intended to be used) … or you can buy two and think outside the box on how to use them!

A couple points … You might prefer to spray paint them first, but since I was using the same ones for different projects, I just left the neutral metallic. And if they sit too low to the ground for your preference, you could insert them into two planters, instead of the ground, to make them higher and also be able to display indoors. Here are the repurposing ideas I came up with…

‣ ‣ ‣ IDEA #1: Bunting Holder!

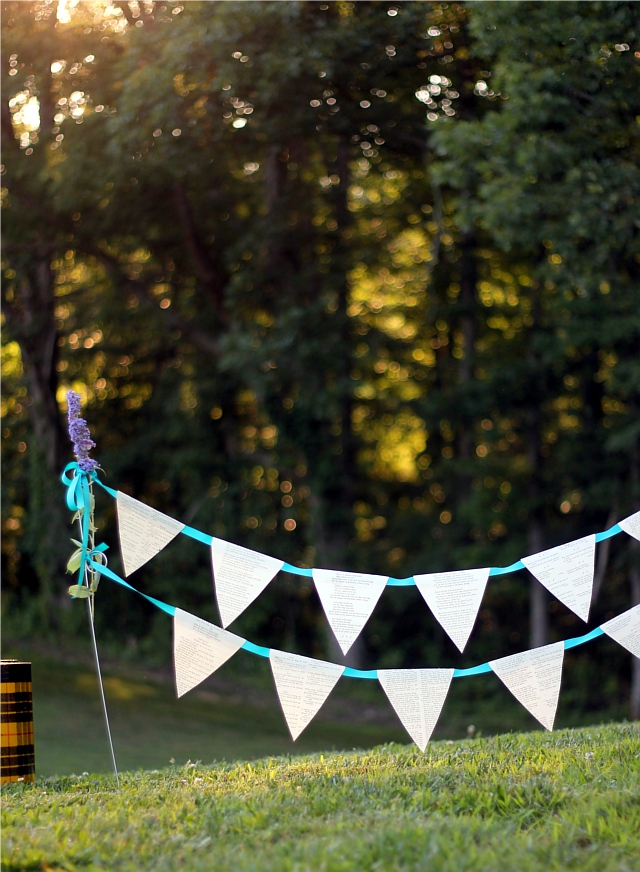
I simply love buntings, but the two things that generally stop me from making/displaying them are that 1: time-consuming sewing is involved, and 2: I don’t seem to have any handy ways to hang them. But this bunting setup solves both of those problems!

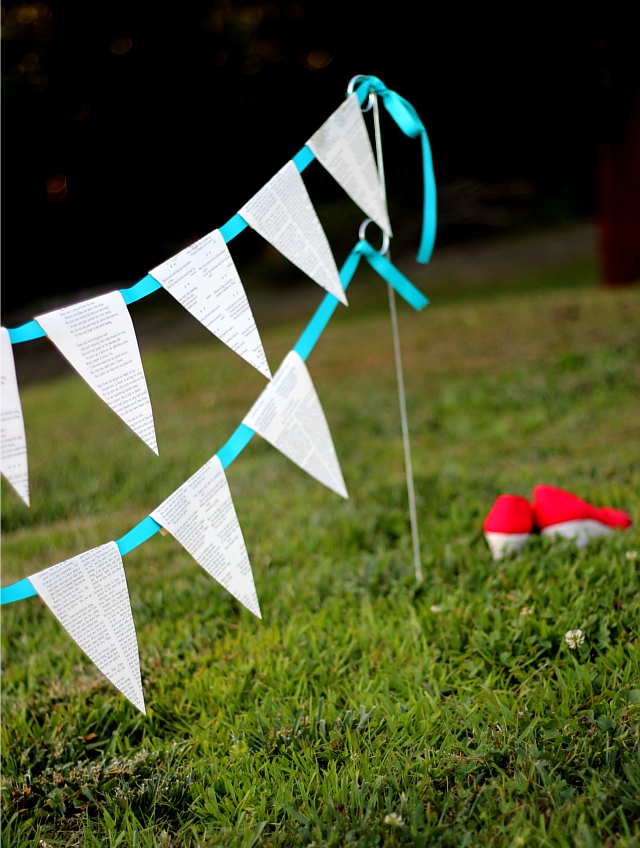
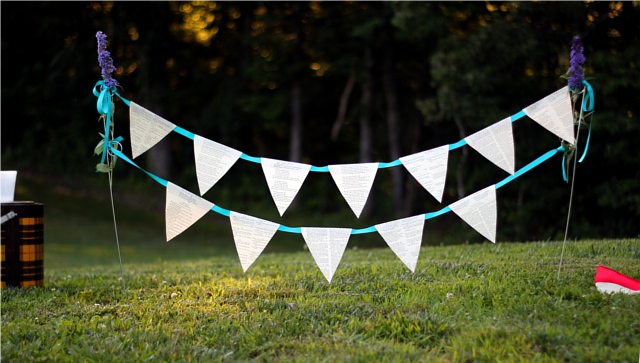
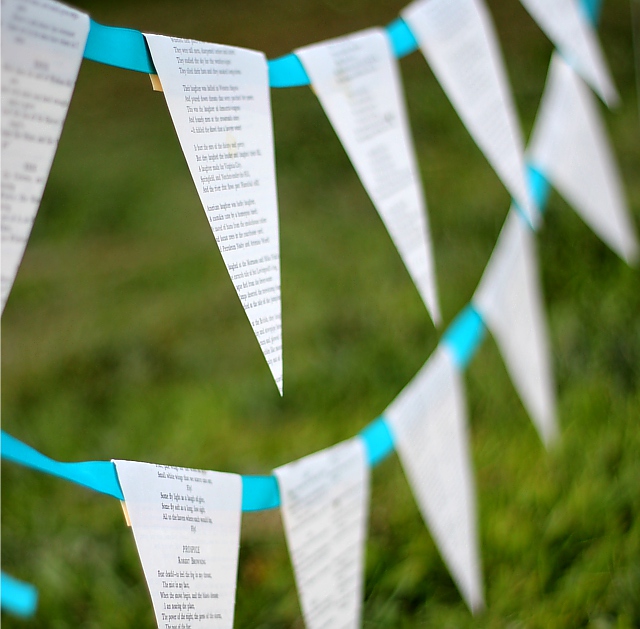
Instead of a fabric bunting, this is made from book pages and ribbon, so it is a completely no-sew project. Simply find a book that is no longer used for reading (you can find plenty of beat-up books at the thrift store), remove pages from the book, and then cut out the shape you need for the bunting pennants. For the kind of bunting I made here, it’s just a triangle with the top side extended and reshaped to be able to fold over the ribbon and still have enough overlap past the ribbon to have a gluing surface to hold it together. Then just spread glue on that top edge, and fold each bunting piece over the ribbon – and you have your bunting! I made two lengths, because the sign posts have two loops, and I liked the idea of a double layer. Stick the sign posts in the ground, and tie on the bunting. If you want to make the metal loops less noticable, you can just weave something decorative through them – for instance, I used a couple long stemmed flowers:

Now, isn’t that cheery?

‣ ‣ ‣ IDEA #2: Have a kid’s painting party!

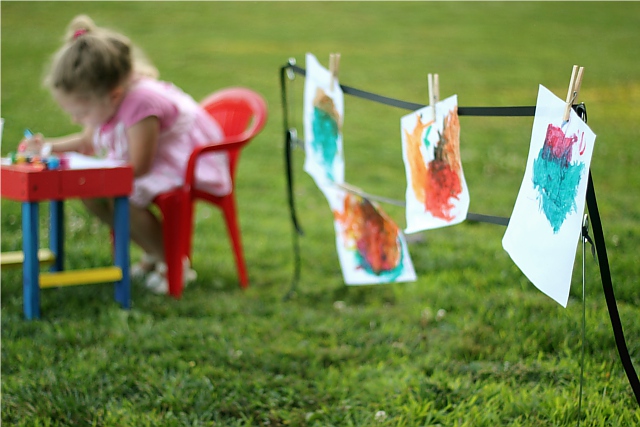
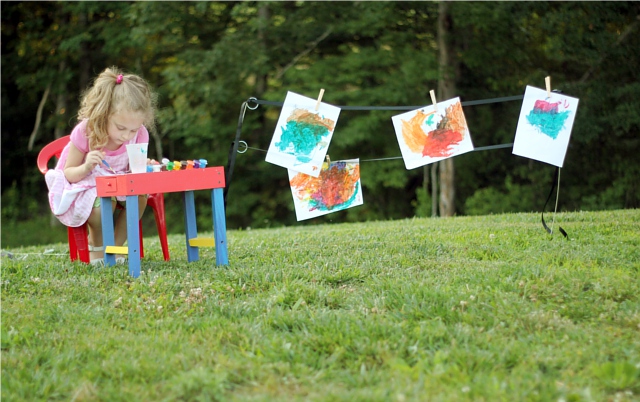
My little one loves to paint. Our apartment has carpet in every single room – and in most rooms, very light carpet. So basically any painting has to happen outside! Which is a lovely place to paint, of course, but the main problem is that the wind likes to sweep away the freshly made masterpieces. But stick a couple sign stakes in the ground, tie on some ribbon, gather art supplies and invite some other kids over to have a painting party! Display the new paintings, as they dry, by attaching them with clothespins to the ribbon. Depending on how many kids you have, you may want more than one “drying rack”, but the good news is that they are so cheap to make.

My little girl loved it. :)

‣ ‣ ‣ IDEA #3: Crafty display!

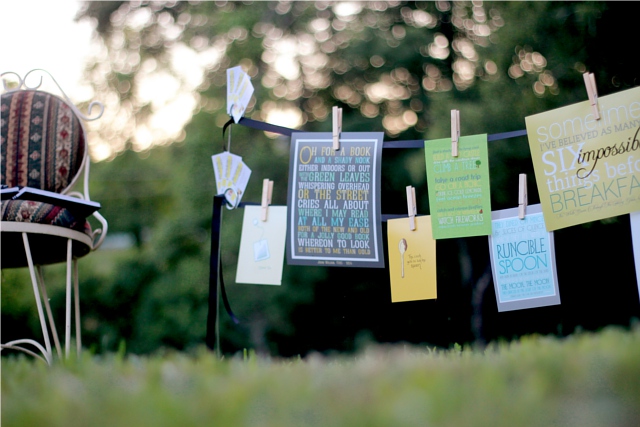
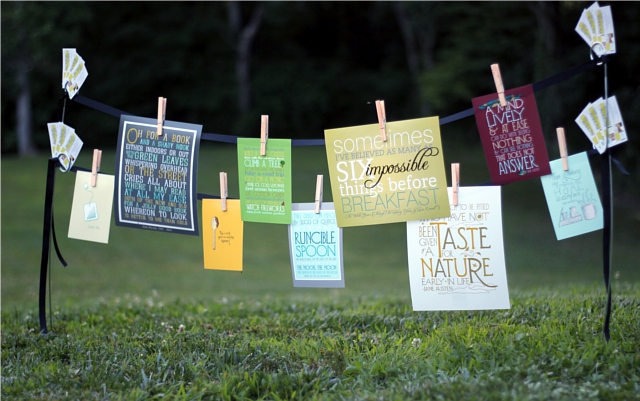
Displaying art is not just for little kids, of course. Sometimes you have your own art and such to display … such as if you have a craft booth at a farmer’s market or fair. And it wouldn’t be limited to hanging art .. you could hang signs or info about your goods, or even fliers for people to take. But it might be a new and eye catching way to display your crafty wares. Here it is, with some of my own prints from my shop, FlourishCafe.

‣ ‣ ‣ IDEA #4: Wedding sign!

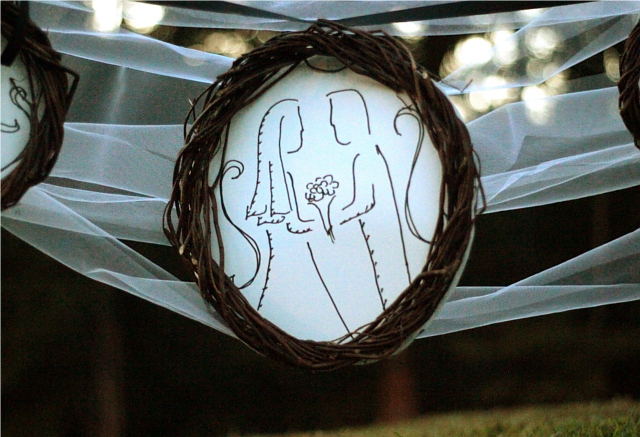
One of the things I learned in getting ready for our wedding, almost six years ago, was that anything labelled “wedding” or “bridal” automatically cost twice as much as the same exact item not labelled “wedding”. For instance, white wedding table cloths vs. just white table cloths. There may be no discernible difference between them except for the fact that one has the word wedding on the label, but it’s generally going to cost a lot more. As a result, I found that buying non-official-wedding-items-that-were-still-white-and-looked-just-like-wedding-items and using them for the wedding was a lot more cost effective. The same idea struck me with these. Now I’m sure you would want to disguise them or paint them, but at an outdoor wedding (like mine was) I imagine the stakes in the ground with swags of tulle going back and forth, with bows at either side, and maybe a sign hanging in the middle that says “Seating this way” or “take a program”, and have a basket of programs next to it, etc. For this particular example, I recreated a quick version of the illustration I made for our wedding invitations and attached it to the back of a light-weight willow wreath, and hung it in front of sways of tulle. Unfortunately the light was failing as I was working on this last night, and so I didn’t get a decent shot of the whole thing, but I’m sure you get the picture. Here is a shot, though, of the “framed” illustration hung between the sign stakes:

Tim liked seeing it. :)

Anyway, those are a few ideas for ways to repurpose a simple item – a sign stake!
Which is your favorite? Or do you have another idea to share?
Let me know in the comments below, I love to hear from you! :)
News and Changes!

I’ve been making some changes to The Flourishing Abode, to make it easier for you to use, and to help keep it running! I’m pretty excited about some of these changes, and so I wanted to share them with you. There’s a ton of great stuff I want to tell you about ranging from free classic vintage clothes, to a DIY gallery, to a exclusive deal for my readers, to milkweed kisses. Um, I guess you’ll have to read on to understand that last one.

‣‣‣ First (and this is just a small change, but might make it easier to navigate and find posts on certain subjects) there is a new “Categories” drop down menu over on the sidebar, just below the search bar. Basically, you choose any topic from the menu, and it will bring up a list of all posts on that topic! Handy. :)

‣‣‣ Second (and this is one I’m very excited about!), The Flourishing Abode now has sponsors! These lovely sites help me to be able to keep my blog running. You can see their links over on the sidebar, right below the “Sponsor” bar … obviously. ;) But I thought this would be kind of fun – I went through each of their sites and decided to share a “you shouldn’t miss this” find from each site. So here you go!

If you love vintage clothing, you should definitely be aware that over on the “Dressed Her Days Vintage” blog, she is GIVING AWAY a series of gorgeous pieces from her vintage collection. (Hard to beat free and classy, eh?)

If you like the yellows in my blog design, then you shouldn’t miss the mustard scarf in the knit section on Neckstyles.
(I love yellow!)

If you love tea (like me!), then you should be sure to check out this lovely teapot pastels painting by Cynthia Haase Art.
(Mmm, tea….)

If you’d like a free pastry from Panera bread, and find out about other deals and coupons, then Frugal Living and Having Fun will be right up your alley.
(Panera pastry? Um, yes, please!)

If you’re looking for something simply beautiful and fresh, you should see this summery painting from Finnell Fine Art.
(“Old Garden Rose” … ahhhh.)

If you want to see something that just makes you feel cheery when you see it, then you should check out this adorable “fete” bunting embroidery by CatShyCrafts.
(Cuteness … to the max!)

If you like foxes and whimsy (and foxes have been so trendy lately!), you should see this lovely piece by Bettina’s Tree House. (Who wouldn’t want to kiss milkweed seeds after seeing that?)

If you enjoy things that smell good (and, I mean, who likes the alternative?) I’ll tell you I’ve bought from Gardenmis before and loved it … and these lavender map sachets are calling my name. (Sachets: “Apriiiil…”)

If you like vintage jewelry, then you should definitely see this beautiful vintage cameo pin from Vogel Haus Vintage.
(Unless I buy it first…)

If you like zebra print (fun!), then you should definitely see this zebra dinner set from Made 4 Home … and I have to say, it’s an awfully good price, too. (Hm, I should probably put some clever play on word about stripes here, but I’m drawing a blank. Check it out and suggest your own witty line.;)

(By the way, if you are interested in sponsoring The Flourishing Abode, you can check out the information here.)

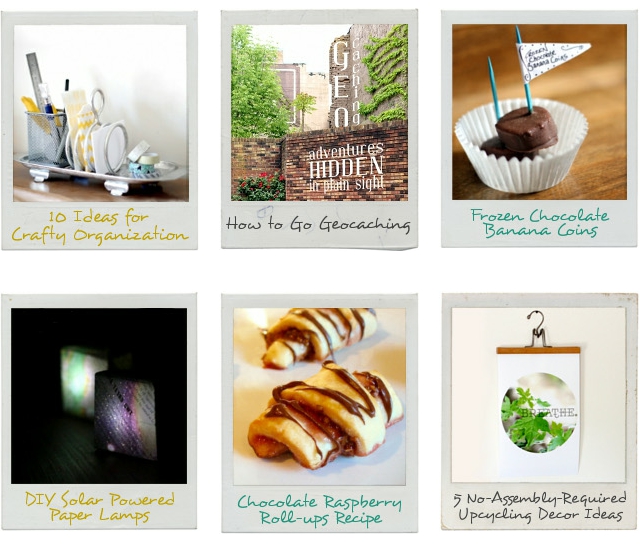
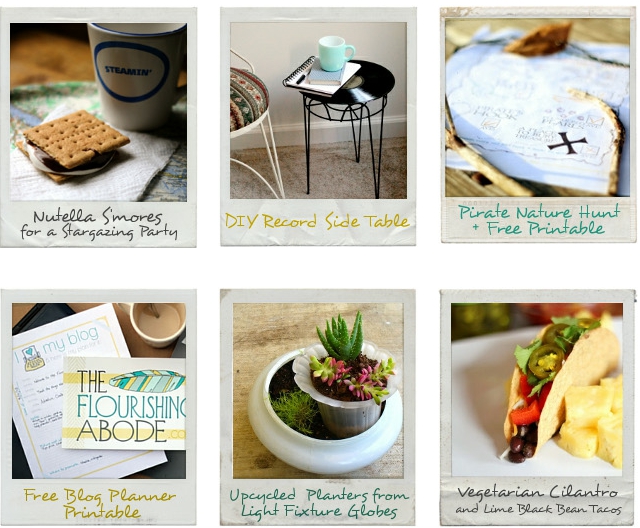
‣‣‣ Third (and I’m also very excited about this one) – I’ve set up a visual gallery of all my DIY, how to, and tutorial posts! Do you see the light bulb icon right below my banner? Previously, that led to a fairly boring list of links. Now, though, after a weekend of designing and coding, it’s a visual gallery of projects! Here’s is a sneak peek of how it looks:

There are over 30 of my own original projects and how-to’s there – each picture links to the tutorial or tip post. I hope you’ll enjoy it, and find lots of fun projects and inspiration! :) Click the light bulb under the banner … or just click here.

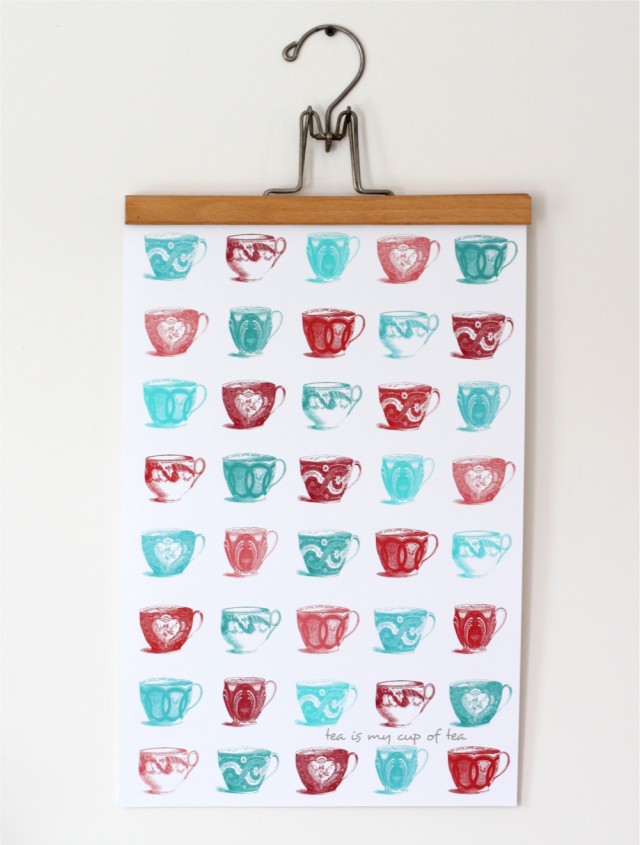
‣‣‣ Fourth (and last) – I’ve decided as a special thank-you to all my readers here on The Flourishing Abode, that each month this summer I’ll be picking one print from my FlourishCafe shop, and offering a ridiculous 50% off coupon here on my blog for that print for the entire month! Here is June’s print (it’s one of my favorites..):

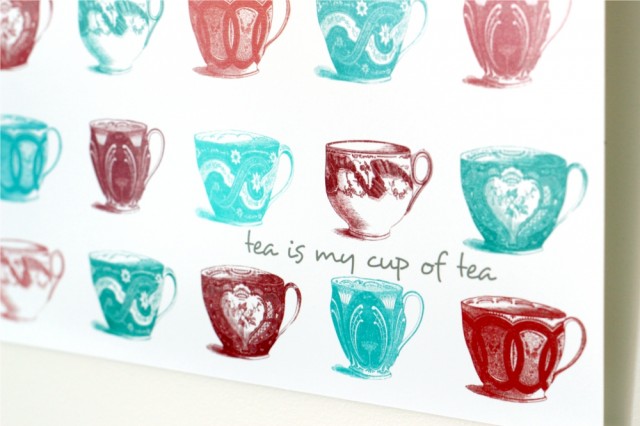
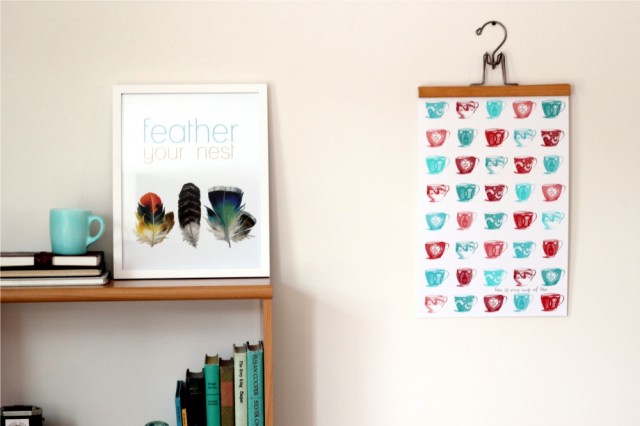
Just use the coupon code FROMTHEABODE for 50% off this print, just for the rest of the month of June. (This coupon is valid ONLY for the “Tea is my cup of tea” poster, shown above, and ONLY in the month of June, 2012 – so snatch it up if you want it! Any other prints you wish to purchase must be bought in a separate transaction.)

So that’s the news and changes around here – I hope you’ve found some fun new things!
Is there something you’d like to see here on my blog? Maybe a blog topic you’d be interested to read about? (I noticed recently that there were some searches on my blog for curly hair care … hm, maybe!)
Leave your thoughts and comments below – I do a little happy dance in my mind each time I get a new comment. :)

Openings for sponsors – half price in June!

Well, I’ve decided to take the plunge and open my blog up to sponsors! So, if you like TheFlourishingAbode, and would like to advertise your own website here, now is your chance. :) My blog has been growing lately, I’ve been averaging 48,000+ page views per month. And as a special feature for those of you who might be interested in being the first sponsors of TheFlourishingAbode, I’m going to be offering half-price ads in the month of June. WooT!

So, if you’re interested in becoming a sponsor here on TheFlourishingAbode, here are the details:

Location: Sponsor ads will be displayed in the sidebar, just below the gray “sponsors” bar.

Sizes:

200×250 size ad: only one available each month, positioned at the top of all the sponsor ads.
Cost: $50 (Half off, so only $25 for June!)
*** UPDATE: The largest ad for has already been claimed for June – December ***


200×150 size ad: Ads of this size will be located directly below the 200×250 size, and the order of all ads this size will be rotated halfway through the month, to allow for fair distribution.
Cost: $35 (Half off special, so only $17.50 for June!)


200×100 size ad: Ads of this size will be located directly below the 200×150 size, and the order of all ads this size will be rotated halfway through the month, to allow for fair distribution.
Cost: $25 (Half off special, so only $12.50 for June!)

Stats:
In April, my blog had 47,000+ pageviews, and in May 50,000+ pageviews.
My blog readers are mostly women between the ages of 20-45, although there are also a sizeable number of men who read/comment on this blog as well.
My blog has over 500 subscribers by email and rss.
Between Facebook, Twitter, Pinterest, I have 1,500+ followers.

Content:
My weekly blog features are:
Fridays: a how-to/crafty/challenge post
Wednesdays: a faith/religion based post
Mondays: general topics from food, to family, etc.
To keep my blog true to the way I have designed it to be, and to keep the reading experience of my subscribers as positive as possible, all ads need to fit the general feel and aesthetic of my blog. (For instance, all ads/sites advertised should be G-rated.)

Purchasing:
If you would be interested in purchasing an ad space on my blog, just drop me an email with the following information:
– your ad image (no animated/moving ads, please) If you need me to design an ad for you, I would be happy to do so for an additional $10, or $5 in June (half off again!)
– the address you want the ad to link to
– your email address to which I can send a PayPal invoice
I will review your ad to make sure it is a good fit for here on TheFlourishingAbode – this is in both of our interests, since your money is best spent advertising on a site that reaches your target market (for instance, if your niche is selling skull bandannas for bikers, sorry, but advertising on my site won’t do either of us much good!:)
If your ad is a good fit, I will send you a PayPal invoice. Then, once you’ve paid, your ad will go up on my blog beginning June 1st!

So be sure to grab this half off opportunity this week so your ad can start in June – June starts on Friday, and this half price deal is just for June.

I appreciate so much the comments, support and kind words so many of you have offered. I enjoy interacting with you here so much! And as I hope to continue blogging for some time, I felt now was the appropriate time to start taking sponsors to help support my growing blog and the time it takes to continue blogging. So thank you for helping my blog to grow to the point that it is at now, and I look forward to hosting ads for your own blogs/websites as well, and hopefully bring some traffic your way, too! :)

If you have any questions at all about advertising on my blog, you can always drop me a note: aprilstarr (at) flourishcafe (dot) com
Thanks! :D

Creative Business Q&A Vlog

I’ve been getting creative business questions from various people, so I decided to make a vlog to answer questions, and hopefully help more people at the same time! Spoiler .. there’s a fun little “fast forwarded” packaging video toward the end. :) Disclaimer: These are my opinions! I’m not in a position to give any kind of actual legal advice, so please understand that these are opinions. Thanks! :)

Thanks to Sierra McClain for this week’s questions!

Some useful links:
Etsy teams: helpful to join a team of experienced sellers in the same field
Import/Export Information: the section labelled “Individual Country Listings” is what I referred to in the vlog
Etsy Seller Handbook: full of resources on how to set up and grow your shop

I hope that was helpful! I may continue this series if it seems like it is something you would like. So if you have creative business questions, be sure to leave them in the comments below!

A New Art Line at FlourishCafe!

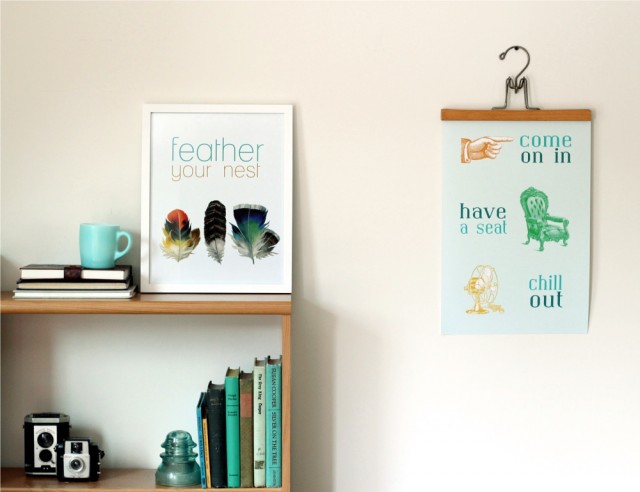
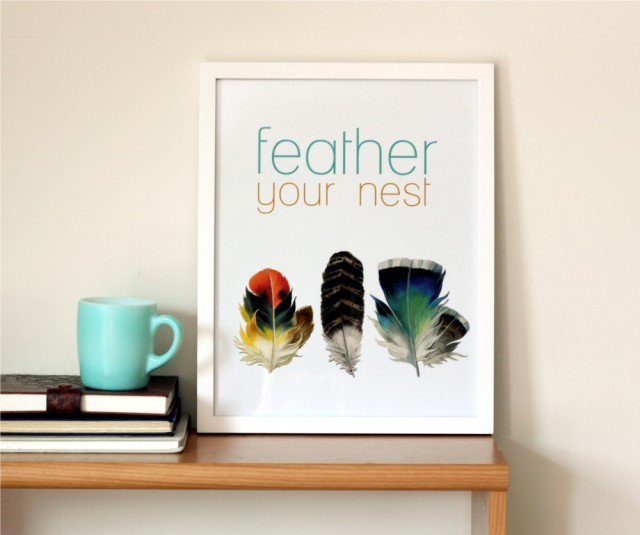
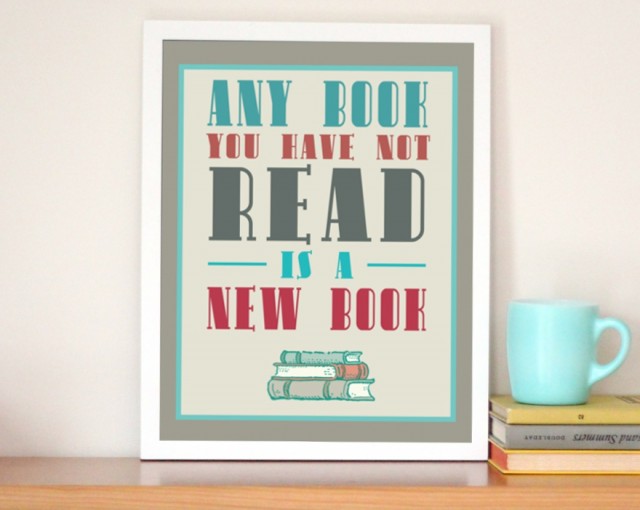
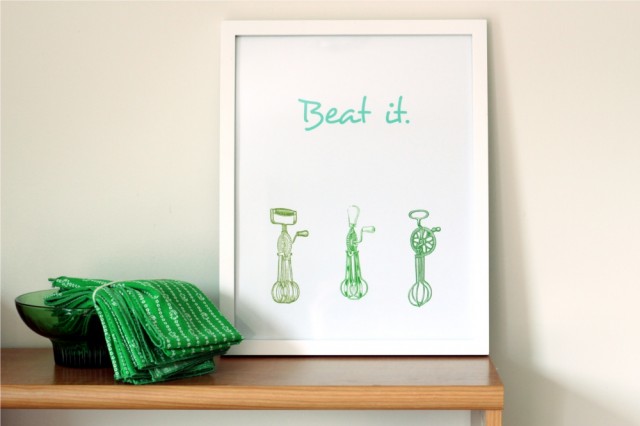
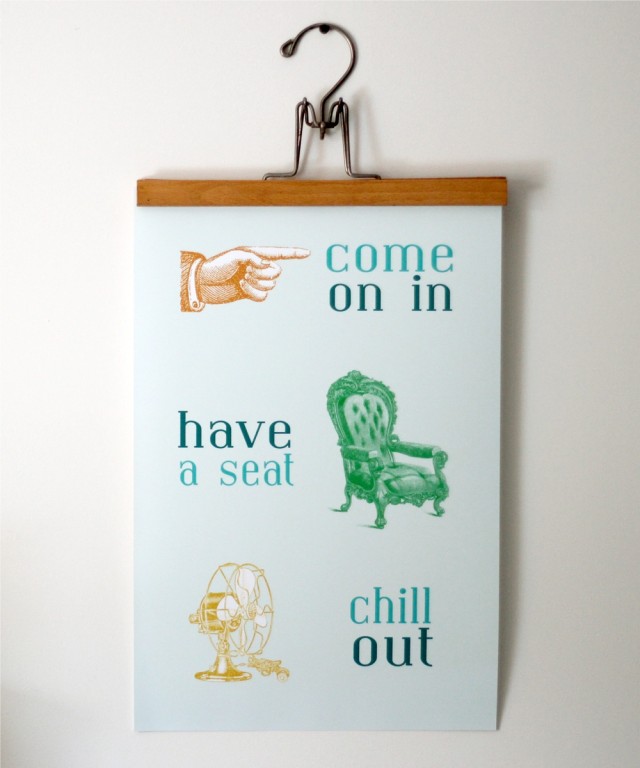
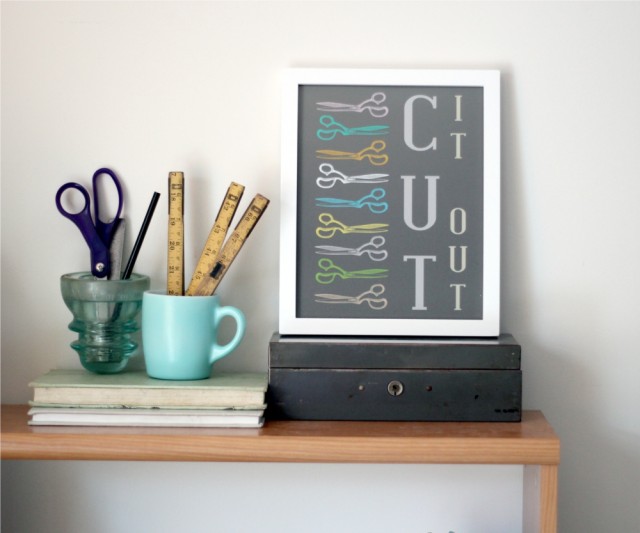
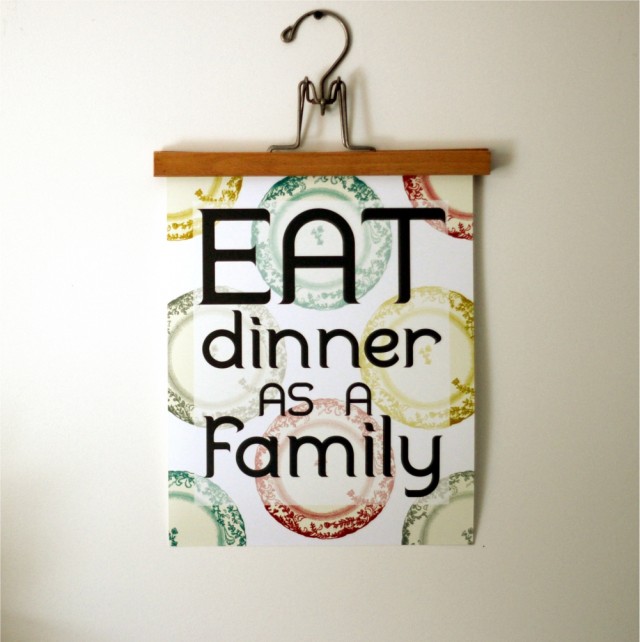
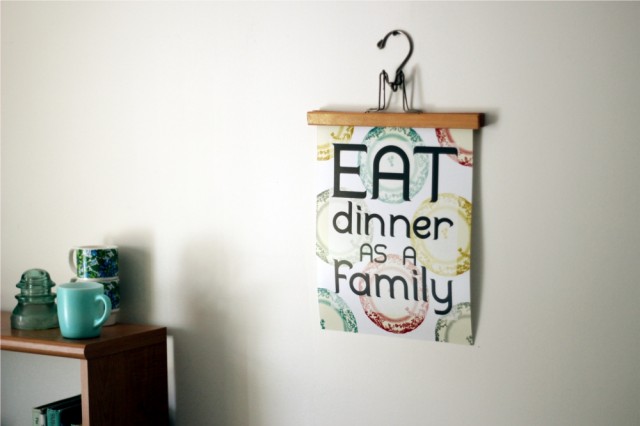
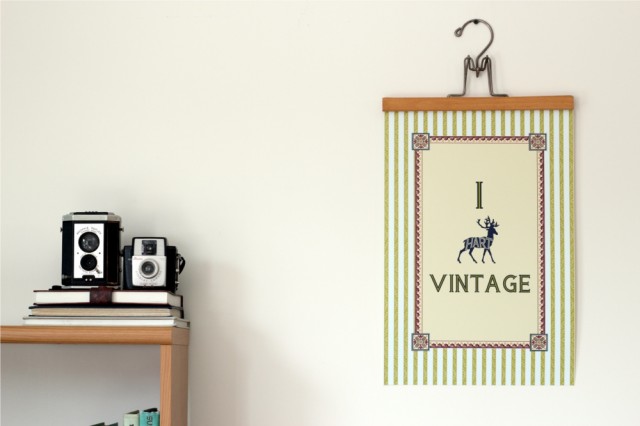
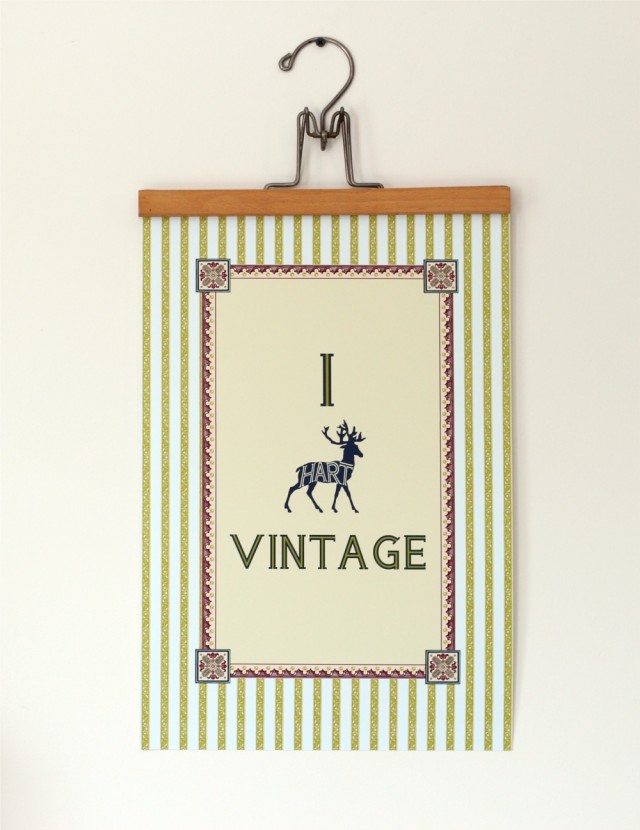
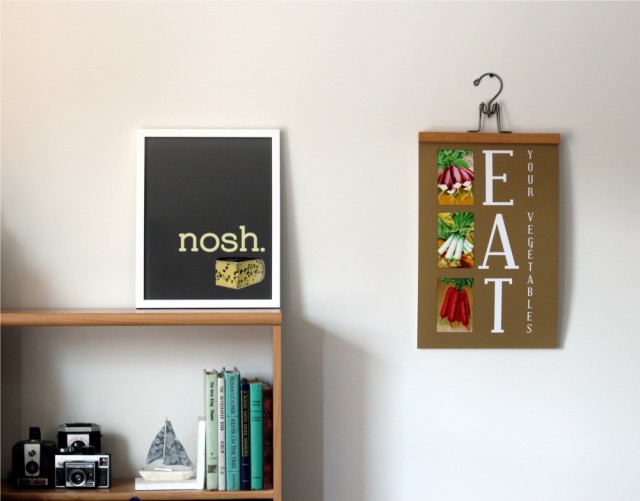
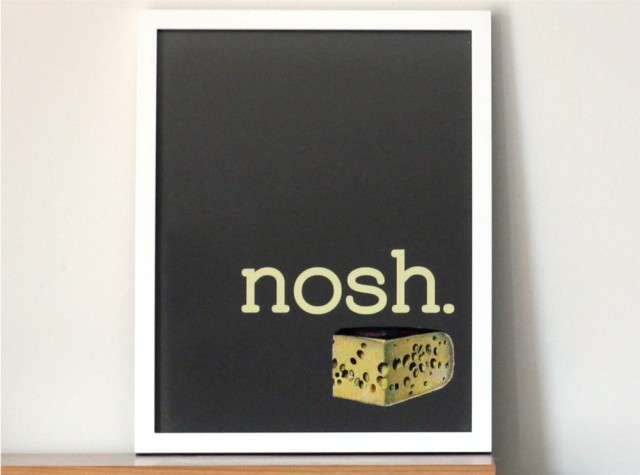
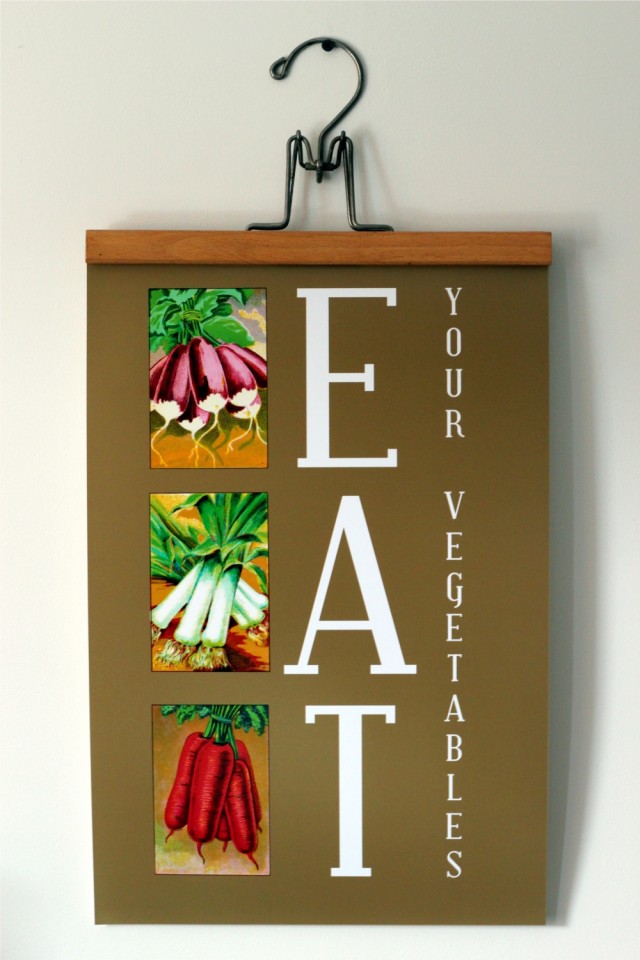
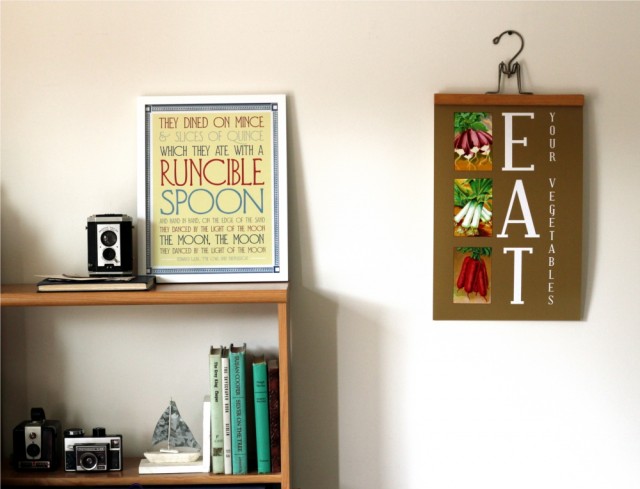
I’m very very excited today about a new line of prints I’ve just launched in my shop, and I wanted to share it with you! The theme of the new line is the incorporation of vintage art. By melding vintage illustrations with modern typography and design, it combines into whimsical and fresh pieces of art. The illustrations are old enough (from the 1920’s and prior) to be in the public domain and are no longer under copyright. So I’ve worked them into my new print designs, often altering the colors (most were in simple black and white) and pairing them with playful words and phrases. And I am quite tickled with how they turned out! I hope you like them too — let me know what you think and if you have a favorite. I just might have to do a giveaway from my new line soon! :) ** UPDATE: Yep, I’m having a giveaway from my new line, as mentioned! Check out my first vlog for the details!**

So, without further ado, the rest of my new line of prints!

My personal favorite is probably the “Come on in, sit down, chill out” poster – it makes me cheery to see it when I come home. :) Let me know what you think in the comments below!

Welcome to The Flourishing Abode!

Welcome to The Flourishing Abode! I’ve been blogging here for a couple months now so wouldn’t you agree that it is high time for the official grand-opening-kick-off post? Yeah, I agree, a little overdue!

Pin It

Ever since deciding to shut down my “FlourishandDebonair” shop and blog (though you’ll still find some older posts from that blog, which I transferred over to here), I’ve been very excited making plans for TheFlourishingAbode, and I wanted to share those plans with you, and let you know what you can expect here on my blog – as well as an illustrated blog planner so you can make exciting plans for your own blog too!

Boring is not on the menu of my life. This blog all about making home a more flourishing place – no more ho-hum, let’s do extraordinary! Let’s turn off the tv, and turn on life. Let’s go exploring, let’s experiment in the kitchen, let’s play, let’s flourish!

I’m April and with my husband Tim, we are journeying through life, growing and learning together, raising a family, and above all trying to serve God. I want to make my home a place full of love and laughter, a haven for our family to learn and grow together. Does this mean we have a big house or that I’m always caught up on laundry? Nope. It means we are imperfect but trying to learn more every day and base our family principles on the Bible. It means that “home” is more than where we live. This is just our temporary abode; we are on a joyful journey together.

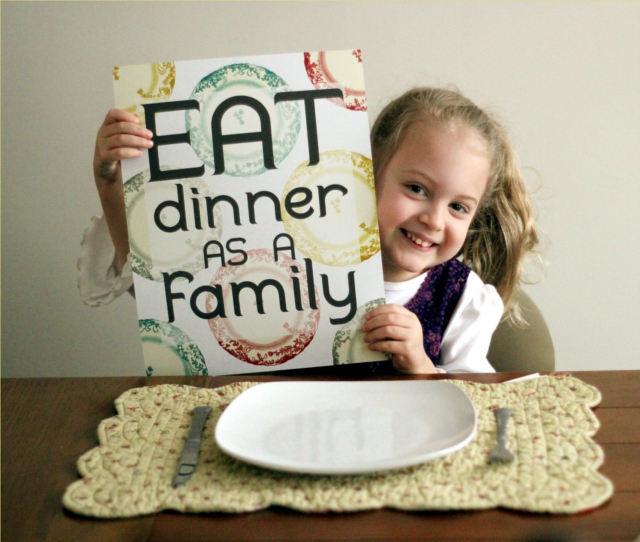
This blog is our place to share our adventures along the way. You’ll find tips and ideas for creative projects, cooking, teaching, and fun stuff to do as well as some more serious thoughts about raising a family and perspectives on life in general. Come sit at our table, help yourself to to a plate and join in the laughter and discussion!

Pin It

Yesterday afternoon, after we got home from church, Tim got out the grill, and we had a delicious meal together. The weather was absolutely gorgeous and we spent much of the afternoon outside. Tim practiced with a couple new slingshots he recently got, the little one played at the creek that come through the yard by our apartment, and I planned out some upcoming blog posts. We were all working on different things, but we were together, and could talk and visit. I tried my hand at the slingshot too – I was pretty horrible at it, but it was fun to give it a try. Mostly I enjoyed my tea (yes, feel free to laugh at how light my tea is – Tim certainly like to tease me about it!), took photos, and worked on my new blog planner.

Pin It

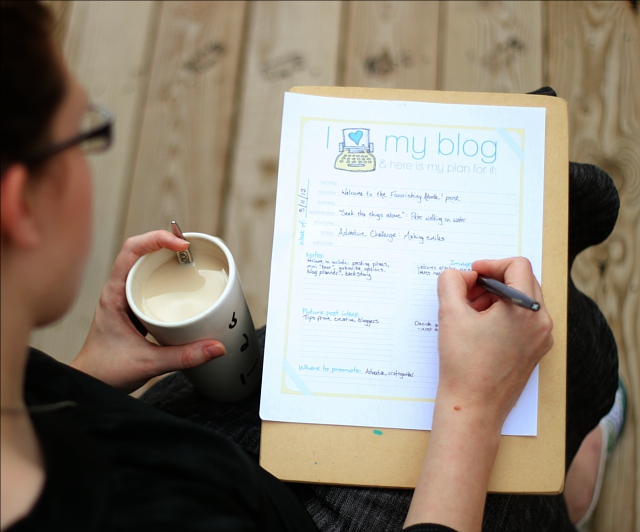
I’m not, by nature, very organized. So with something like this blog, if I want it to actually work out in the end, I need to set aside some time to figure out how I can get organized to actually make it happen. So far, I’ve kept track of my blogging plans on random pieces of paper, scattered drafts in WordPress, nebulous thoughts of “oh-here’s-a-good-thought-I-better-not-forget-it”, and various emails I’ve sent to remind myself of things. Yeah, not very organized.
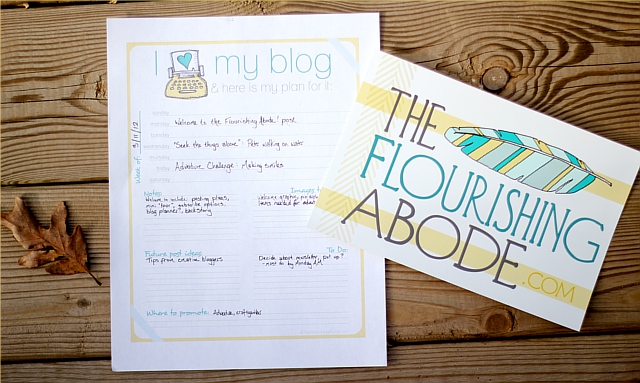
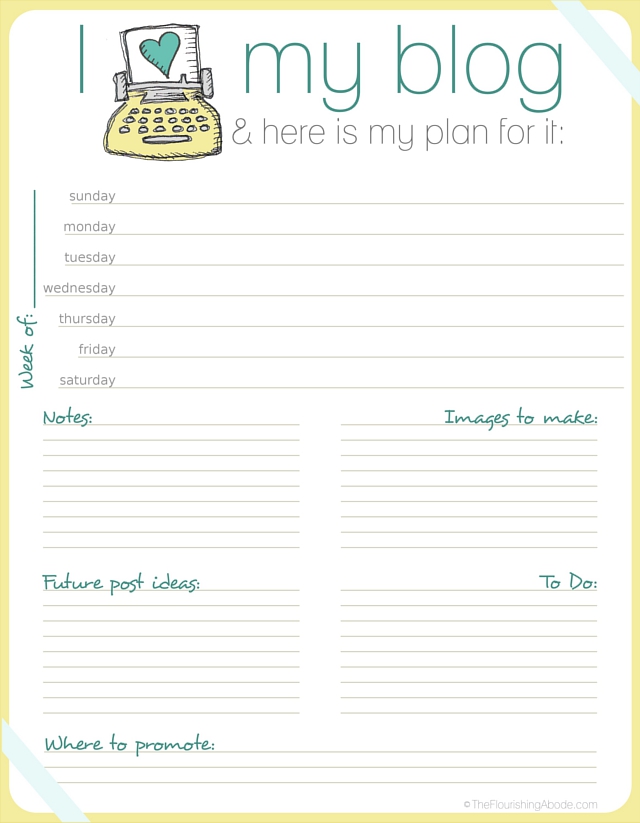
So I made this weekly blog planner to help myself have one place to keep all my plans together. There’s a section for each day of the week, to write down what posts will be written and/or go up on those days, and also sections to write down notes, list images to make, future post ideas, to-do’s, and where to promote the posts. Basically, all the things I need to figure out when making my blog plans. Because, as it says at the top, I heart my blog, and this is my plan for it! And I’m going to share a printable of this blog planner with you at the end of the post, so that you can make a plan for your own blog, too.
I also want to share with you the general plan of what you will find on this blog. Obviously, plans can change, but Lord willing, I hope to continue blogging here like this…
I plan to post three times a week, on Monday, Wednesday and Friday. Currently I have an adventure-a-week challenge going on, and I plan to post about those on Fridays. I’m really enjoying having a weekly challenge, so after the adventure challenge ends, I hope to start a new challenge, and Fridays will continue be the weekly challenge post day. On Wednesdays I plan to continue a series I started last week called “seek the things above”, which will be more serious minded posts about trying to serve God. Mondays (like today!) will be more flexible with posts about various topics largely from a poll many of you voted in a little while back. A Monday post might be about food, creative projects, family time ideas, my art, just some thoughts, or posts from Tim, as well.

Pin It

If you would like to keep up with The Flourishing Abode, there are a couple way to subscribe, and I wanted to explain the differences. One is to subscribe via e-mail … just put your email address there in the box, confirm your subscription, and you’ll receive a handy email in your inbox when a new blog post goes up. The second is to subscribe by RSS … this means that you can add my blog to your reader. For instance, if you use Google Reader (or another type of reader), just click my RSS link, then choose which reader you use, and you’ll see updates from my blog in your reader. These two options are in my sidebar to the right, but I’ve also included them here in this post – just choose whichever option works best for you, so we can keep in touch! :)


And if you’re a blogger, too, here is my blog planner printable – I hope you find it helpful in planning out your own blog. I’ve heard it said that dreams without plans are just wishes. So if you’ve been wanting to really get into blogging, make a plan! Just click the image below to access the printable file:

Pin It

I’m excited about my blog plans – but one of the things I love most about blogging is YOUR comments! I’m always curious to hear what you think – leave your thoughts in the comments below!

10 Ideas for Crafty Organization

I wish I was a naturally organized person. The whole “a place for everything and everything in its place” idea is wonderful – but the first problem for me is finding a place for everything!

Back before the holidays, orders started flooding in for my art and I felt like all I was doing was packaging and shipping orders – and the packaging was taking f-o-r-e-v-e-r. For one thing, I didn’t have a good inventory storage system. Also, every time I needed to package something, I had to go gather all my supplies together. I don’t have a separate studio, so shop supplies had to put away to have livable space.

It just wasn’t working.

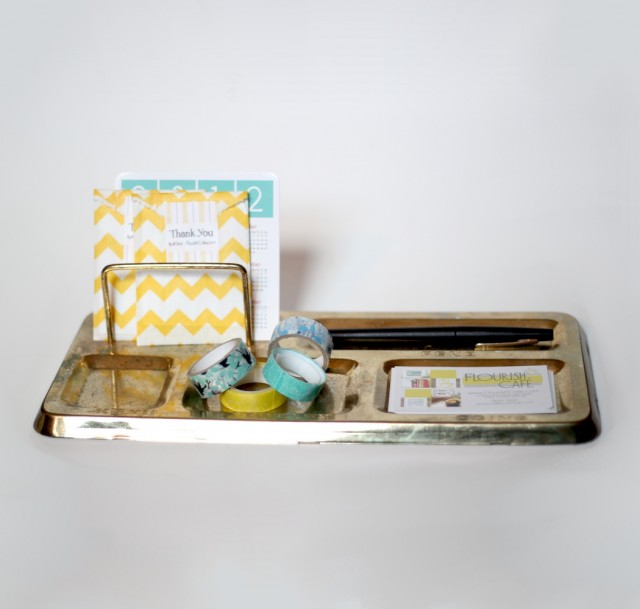
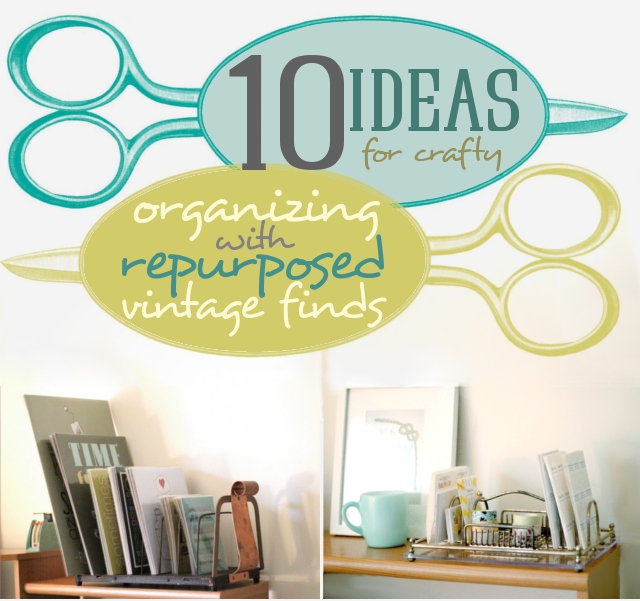
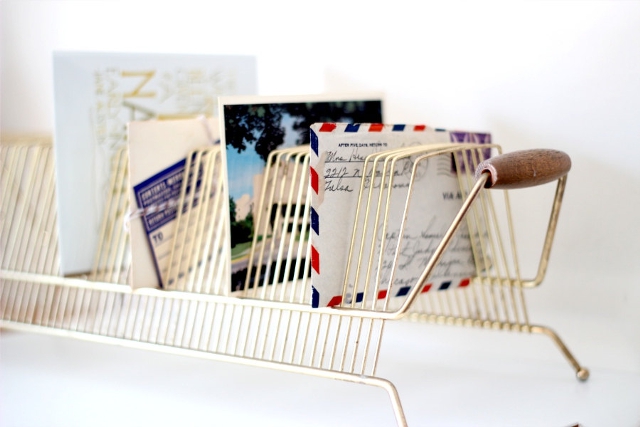
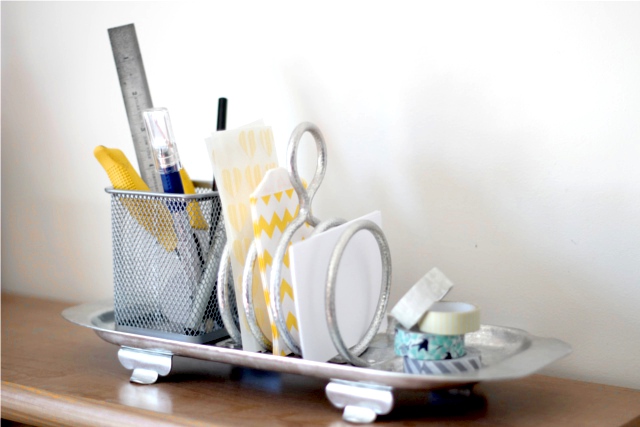
And then I bought two vintage items which drastically changed my art shipping process. They are pictured above: a vintage LP record holder on the left, and a vintage silverware caddy on the right. With the record holder, I was able to store my backed-and-sleeved art prints in a space-efficient way, where I could easily glance through and find what I needed. With my silverware caddy, I was able to store my regularly needed shipping supplies (washi tape, notecards, address labels, etc.) in one portable unit (love the handle on top!) so I could bring it out and put it away as needed. Packaging started going SO much faster.

Plus, its just fun to have nifty organizational stuff! And vintage items are generally nice and sturdy and will last well. So I thought it would be fun to gather a collection of vintage items from Etsy that can be repurposed in fun organizational ways, and help you find “a place for everything”. (A few of these are from my own shop, but most are from other sellers on Etsy.)

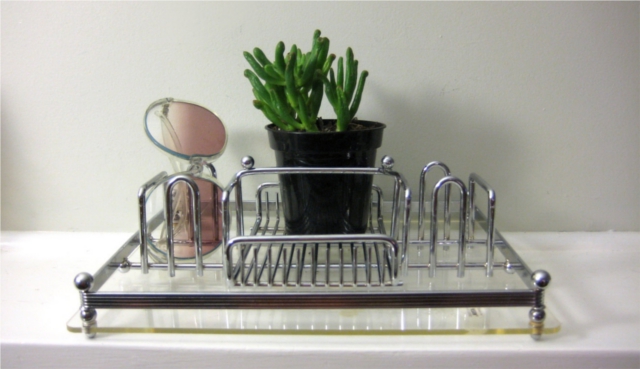
This vintage silverware caddy from SaltandGinger is almost exactly like the one I have! I highly recommend it for storing various small items – the little dividers, the “basket” and the handle make it just perfect for keeping small things organized and portable. You could use it for sewing supplies, or makeup and hair care items, or as a desk caddy – all sorts of uses!

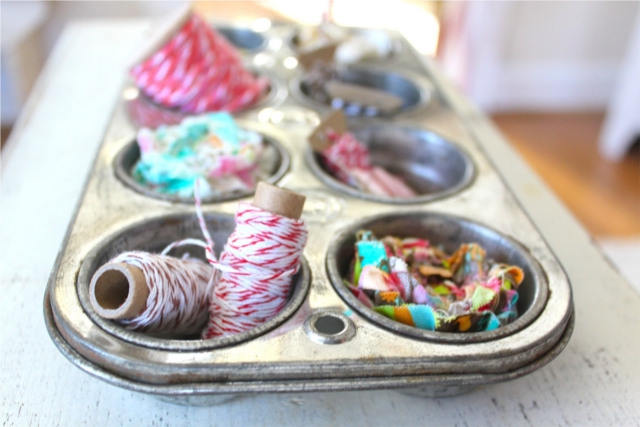
I think this is so clever – and pretty! This vintage muffin tin from NavarreCharm is such a charming idea for storing all those little-bitty items that tend to get jumbled together. Keep it on your desk to sort beads, or put it in a drawer and keep your safety pins and other such items from getting all mixed up.

I’ve got a soft spot for old record holders. Few people need something to store their vinyl anymore, but we all have mail, printouts and other such items to sort. This one is nice and long and you could easily add dividers to keep track of various papers.

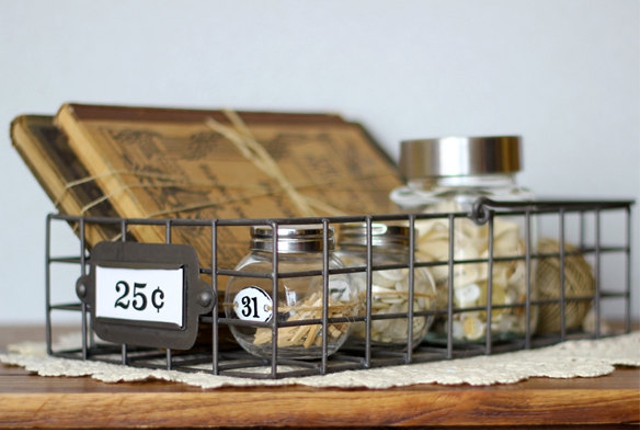
How charming is this vintage metal basket from TimelessFindsVintage? One great thing about a vintage storage item like this one – it doubles as decor! Especially nice if you have limited closet and hide-away places … keep crafty items out in the open in this cute basket. Bonus: it has a handle.

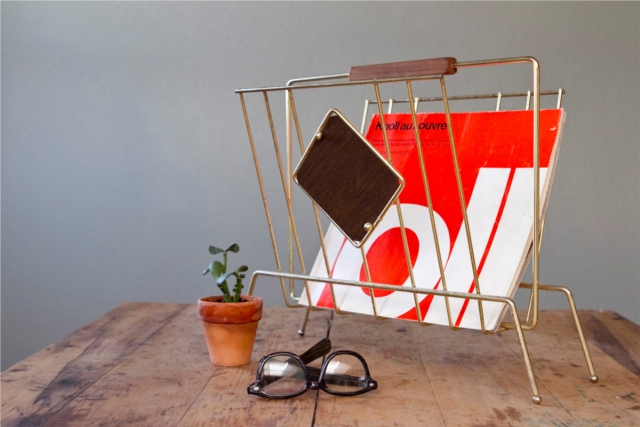
This mid century modern magazine rack from CastandCrew is so sleek! It would add a snazzy retro feel to a room AND give handy storage space. Use it to stylishly store magazines, craft books, mailers, skeins of yarn – you name it!

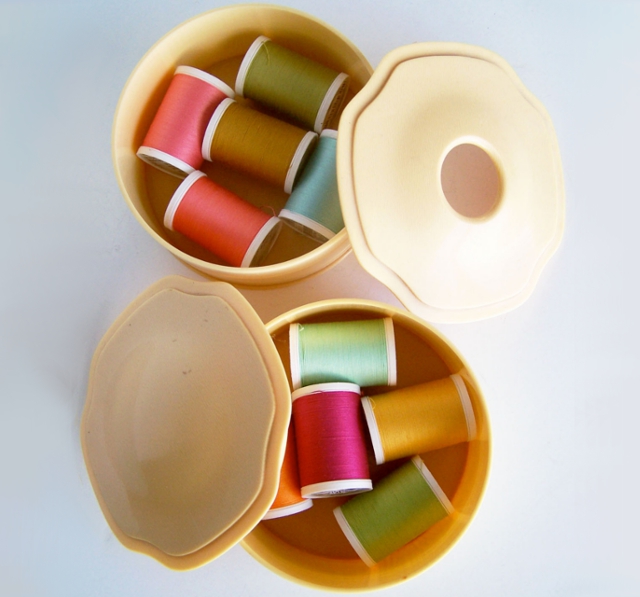
Another fun repurposing idea you might not have thought of before – a vintage vanity set from BusyBreeVintage could be used to house any number of small crafty items! The especially nice thing about these is that they have lids, to hide away contents and neaten your work space.

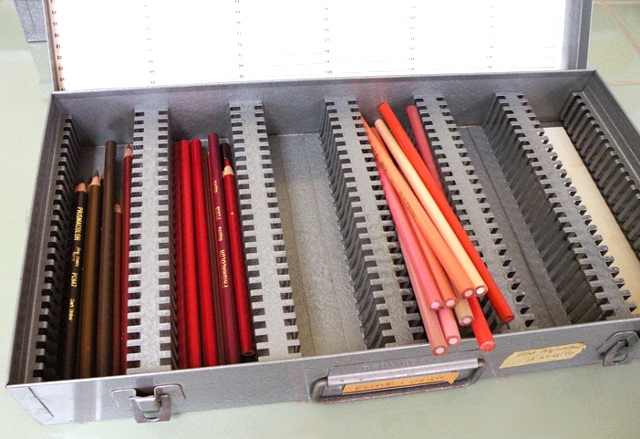
Now this is a vintage item which you probably wouldn’t have much use for its original purpose – but could be extremely handy to get things organized! This vintage photo slide box from heartkeyologie could house colored pencils, or other art supplies … or insert some slides (or little pieces of cardboard) in the slots to create compartments suited to what you’re storing. Make compartments for beads, seam rippers, thimbles, whatever you need!

I don’t know about you, but I don’t really need something to hold my toast (except my belly.) I listed this vintage toast holder in my shop, though, because I think it would make a great little caddy for storing crafty items. There are two blank spaces on either side (probably for butter/jam pots) where you could put pencil holders, and the spiral in the middle is handy for small paper items like stickers. And a handle. I’m fond of handles, in case you haven’t noticed. I like portable.

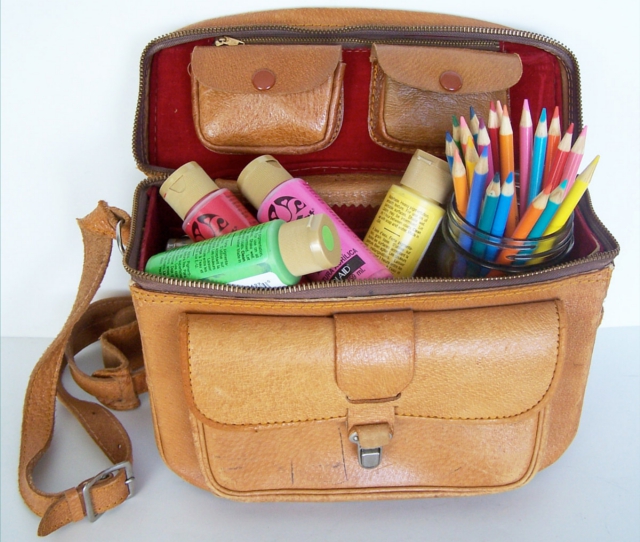
If you want something *truly* portable, though, check out this gorgeous vintage leather camera bag from BusyBreeVintage. Use it to carry your camera – or, as is pictured, to store and carry your art supplies! This would be especially nice if you like to paint outdoors – have you supplies together and ready to go! And, even when you’re not going anywhere, it still looks spiffy with all those art supplies.

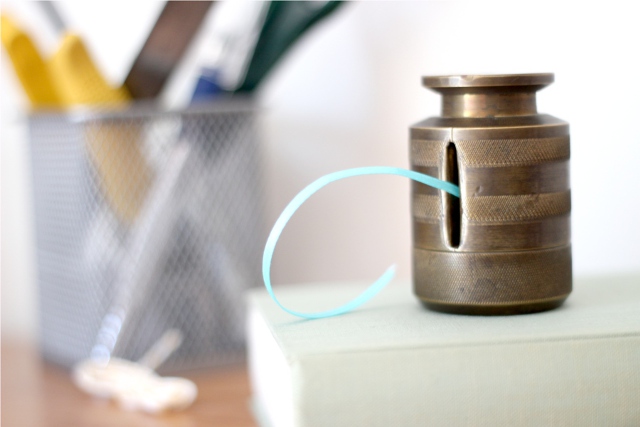
We have tape dispensers – why not dispensers for more items? This is a vintage brass postage stamp dispenser from my shop, but it wouldn’t have to be limited to stamps. Fill it with ribbon, or tickets, or trim, and snip off as needed!

I hope you’ve found these vintage items inspiring for organization!
Do you have other vintage repurposing ideas to help you get organized?
Are you naturally organized, or just trying to learn, like me?
Leave your thoughts and ideas below, I’m always tickled to get comments! :)

Pin It

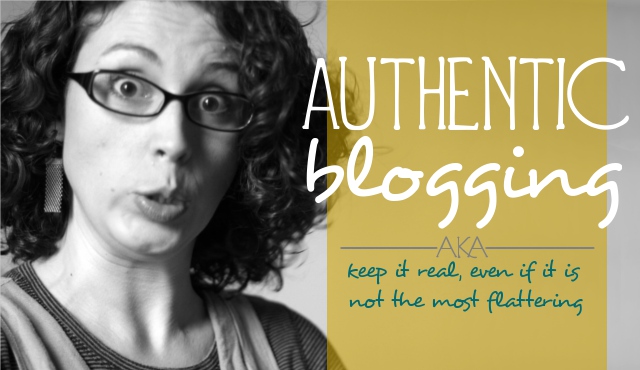
Authentic Blogging: Be Real

The interesting thing about blogging is that as a blogger, people only know you as much as you reveal. The temptation, then, is to only reveal all the things about yourself that are flattering.  You know, posting pictures of the house right before guests came over and everything is looking pristine … not pictures of the house on a regular weekday.  Not that there is anything wrong with sharing those high, shining and lovely moments (and yes, a clean house would be a shining moment around here!), in fact, it can help and inspire others.  But none of us have clean houses ALL the time (some of us more often that others) and none of us are perfect. You know the friends you have who know your quirks and foibles and how you’re trying to do well, but sometimes mess up?  They don’t just know your posed picture smile.  They know you squeak when you laugh, and remember that time you laughed so hard milk came out your nose. And those are the kind of friends we like to hang out with, because they know us … and like us anyway. :)

But as a blogger we never think to share that awkward squeak-laugh, and definitely don’t want a video of milk coming out of our noses going viral online. (the latter is probably good to avoid, truth be told.) But if we never share anything that is not glossy-magazine perfect, we’re not fooling anyone.  We’re just being one dimensional.  That is why we see so many things on the web reminding us to be “authentic”.

Now, does authentic mean I’m wallowing in my mistakes? Nope.  My goal is to get better at the things I’m bad at … especially if it is a matter of right and wrong.  As an example of a not right-or-wrong situation, though, I’ve put on some weight in the last several months. I hate it. I’m embarrassed to say it. (Although if you know me in real life, you’ve seen it.) Sharing that information doesn’t mean I’m proud of it … I’m trying to get rid of it. But I’m also admitting it’s not where I want it to be right now.

With all that said, I want this blog to be an authentic place.  In person, I love to laugh – sometimes too hard (in high school my Dad nicknamed one of my overly-enthusiastic-mouth-open-way-too-wide-roaring-gasping laughs as “not a date laugh”)  and I love to laugh with others … even if they are laughing at me.  And so, I invite you to point and laugh as I point out some of my less-than-stellar skills .. don’t worry, I’m laughing too.

Last week, I put up a poll of potential blog post topics to see what people are most interested in reading here on my blog. (By the way, if you haven’t voted yet, please do!) Of course, all the topics listed there are lovely, happy topics that I feel I have something worthwhile to share about … true and real topics, yes, but all flattering topics, if you will.  And so this week I’m going to share the titles of less-than-flattering topics I could post, for your amusement. (Don’t worry, these titles are *not* really going to be the upcoming reading list here on my blog *shudder*). So without further ado…


Being a Perfectionist. (To be posted once I get the post written perfectly)

Product Photography in a Messy House: Fun with Cropping!

Take a Trip: A Guide to the Worst Moments to Trip Over Your  High Heels

How to Misunderstand and/or Missppell Words with Embarrassing Consequences

Disorganization: A How-To Guide. It’s Easy!

A Guide to Natural Style: Looking Grumpy and Frizzy in the Morning

Writer’s Block: Wallow with me!

How to Dance like a Nerd

“Smother it in Nutella”, and other tips to help you gain weight

Decorating with clean laundry! It’s easier than folding and putting it away!

Easy Science Experiments: Fun with rancid leftovers and congealed milk

Looking Stupid: How to Never Realize When People With Dry Humor are Joking

Procrastination: A post I’ll write someday.

How do you feel about authentic blogging?
Let me know in the comments!
( And, if you feel like it, you can share a blog post title from your own area of less-than-flattering expertise :)

Pin It