Skip to content

home decor

Hack Challenge: Week 3! DIY Hanging Planter

It’s week 3 of the hack challenge! And I must admit, it was a close call this week to get a project done.
But, ta da, here it is!

I wasn’t quite sure how I was going to get any project finished for this week’s post done while we are out of town … I had a back up plan in mind, but I’m glad I didn’t have to use it because I wasn’t terribly thrilled about. Fortunately, my sister in law up here in New England was having a craft night at her house this week, and I realized it would be the perfect opportunity to work on a hack challenge project! First, though, a trip to the local thrift store was in order. I’ve been asked how I come up with these project ideas – well, basically I go to a thrift store or hardware store or somewhere else that has interesting items I might be able to upcycle … and I hunt there until that “aha!” moment. This time, I was at the thrift store and spotted this:

A row full of old wooden wall mount candle holders. Tip: when in doubt, pick something up, turn it upside down and figure out what to do with it then. ;)

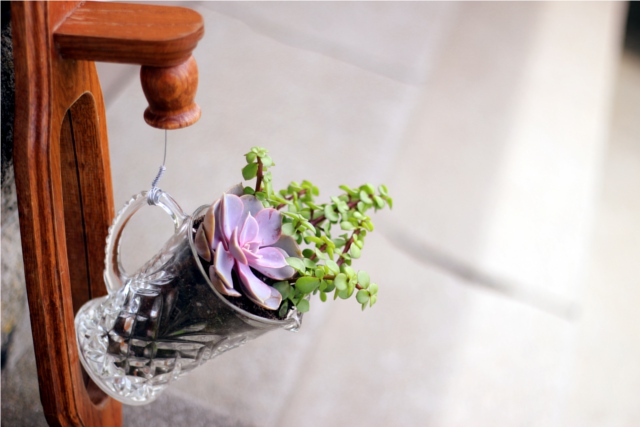
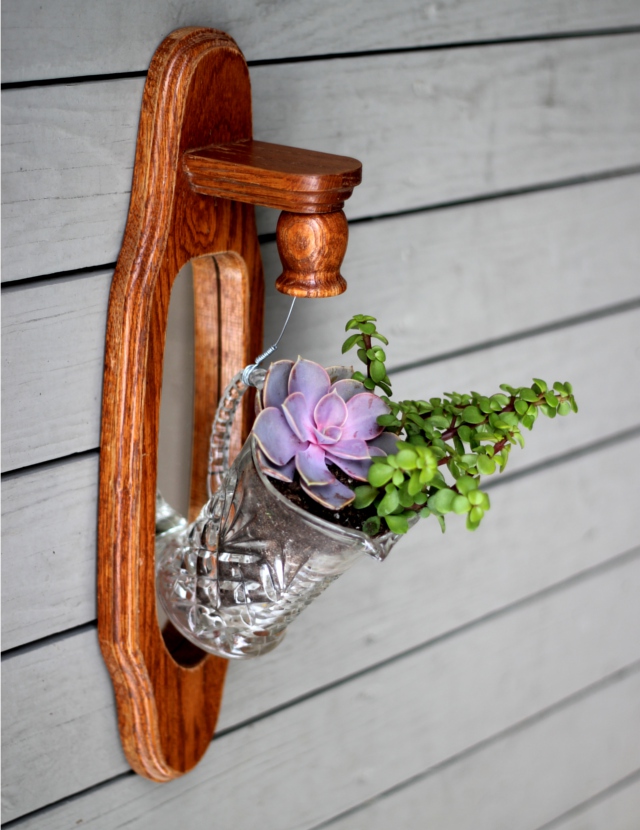
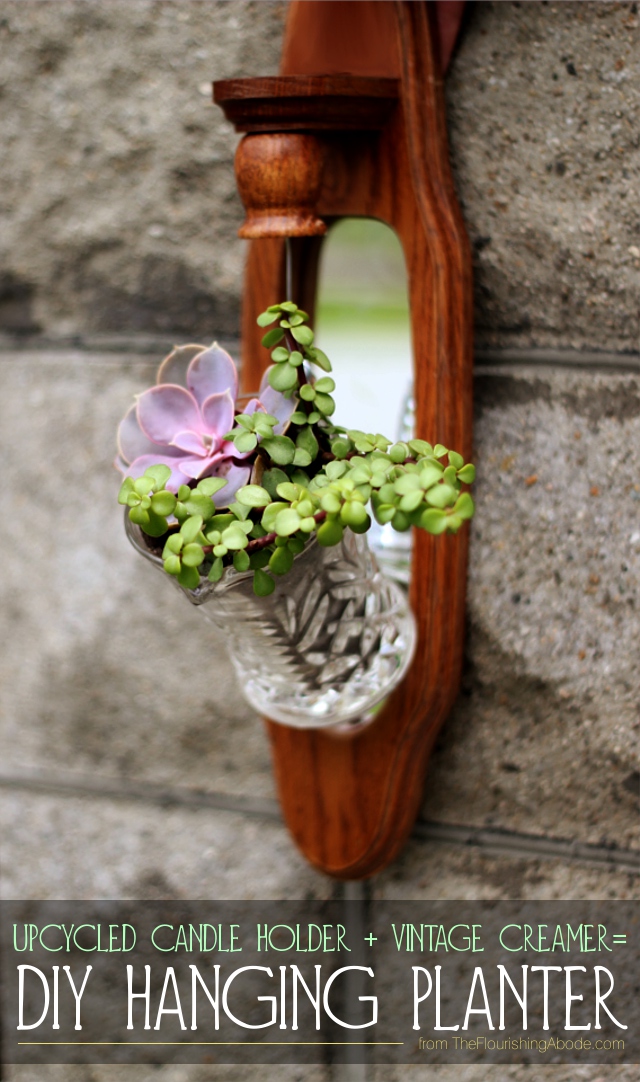
This week’s project turns one of these candle holders upside down and suspends a little creamer pitcher from it to create a unique small hanging planter. Aha! :)
For this project you will need:

Supplies:

– A wall mount candle holder. Make sure it is one that has the actual candle holder part secured on with a screw. (Most are like that, so it’s not hard to find.) I chose one with a mirror, but it certainly doesn’t have to have a mirror. Just pick one you like.

– A small creamer pitcher. Or small jar, etc., as long as it has a handle. Try to find one that has a handle which is weighted toward the top. In other words, if you just hang it on your finger by the handle, it should still be facing mostly upward, not completely sideways or upside down. If the handle is toward the bottom of the creamer, it will face downward, and would spill the contents if hanging. You want one with a handle toward the top so the contents will stay inside when it is hanging.

– Wire. I used about an 19 gauge wire. You definitely want it to be sturdy, because of the weight it will be supporting – but it also needs to be pliable for tight wrapping.

– Pebbles. This is for drainage in the bottom of your planter.

– Plants. Just whatever you like! I think something that trails some would be pretty due to the way the pitcher will look like it is almost pouring out the plant. Like ivy, or a trailing succulent, etc. Nothing large, this is a small planter.

– Soil. Whatever type of soil is appropriate for the plants you chose.
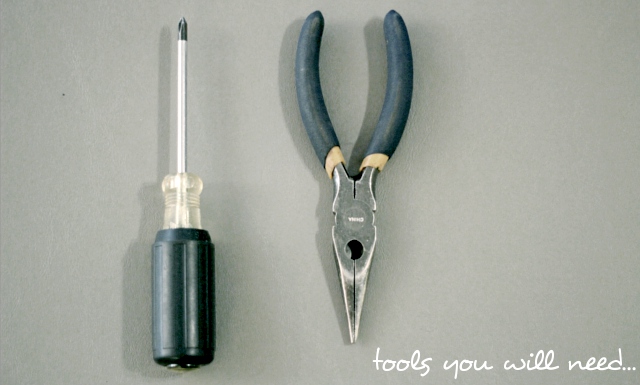
Tools you will need:

– A screwdriver. It will need to fit the screw that secures the candle holder.

– Wire pliers/wire cutter. For the wire. Um, yeah, pretty straightforward. :)

And now that you have everything you need, here’s how to make it!

UPCYCLED HANGING PLANTER TUTORIAL:

Step 1: In the bottom of the little cup that holds the candle, there should be a screw. Unscrew it completely.

Step 2: Since you will be hanging the entire finished project upside down from the original orientation of the candle holder, remove the hanging bracket on the back of the candle holder, and attach it to the other end, so it can hang the direction you want.

Step 2: (Photographed below) Using the wire pliers, tightly wrap around the screw (the one that had attached the candle holder) a couple times between the head of the screw and where the threading begins. The end of the wire should not be in these tight loops. There should be several inches of wire coming out from one end of the loops, and the rest of the wire should continue out from the loops. Bend both continuing segments upward so they go up over the head of the screw. Tightly spiral wrap the shorter end of the wire around the other wire. If after several tight wraps you still have too much wire, cut the extra length off of the SHORT wire. Reattach the candle holder, and securely screw back in the wire wrapped screw.
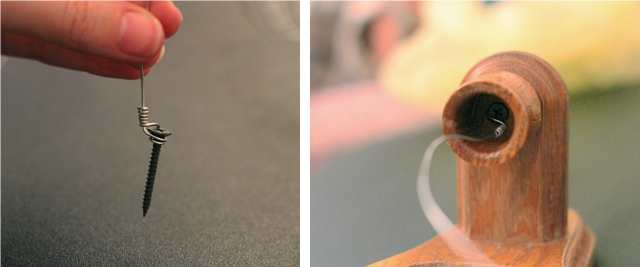
Step 3: (Photographed below) Loop the wire that now extends downward from the candle holder a few times tightly around the handle of the creamer. Then, in the same manner as on the screw, use the wire pliers just above the creamer’s handle to very tightly wrap the continuing wire back around the wire the hangs down from the candle holder. Don’t skimp on the number of loops, and don’t let them be loose. This is what is securing the wire from unraveling and dropping the creamer, so make sure your wire wrapping is nice and tight!
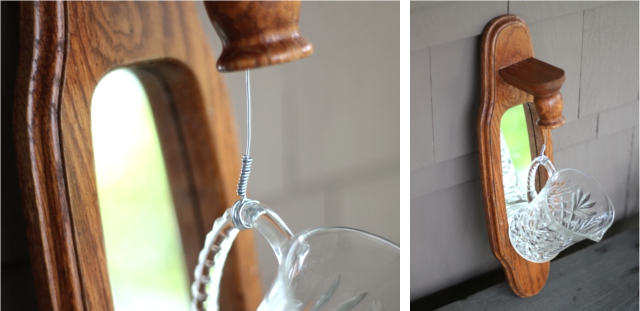
Step 4: Place a layer of small pebbles in the bottom of the creamer for water drainage. Add soil, make holes for your plant(s), loose the plant’s roots and place the plant in the planter. Place more soil on top of the roots, and gently water your plants according to their needs.

Step 5: Hang your new upcycled planter on the wall and enjoy!
A couple additional ideas that people who saw me working on this project mentioned:
– If you wanted, you could paint the wooden candle holder before attaching the creamer.
– To make it a little artsy, in addition to the structural wire wrapping, you could do some free form wire wrapping around the entire creamer.

I hope you enjoyed this week’s diy home decor project!
If you did, you might also be interested a previous planter project I made out of old light fixture globes, or in the other hack challenge posts.

I’m curious – if you were going to paint the candle holder, what color would you paint it? Leave a comment below, I love to hear from you!

Hack Challenge: Week 2! DIY Record Side Table

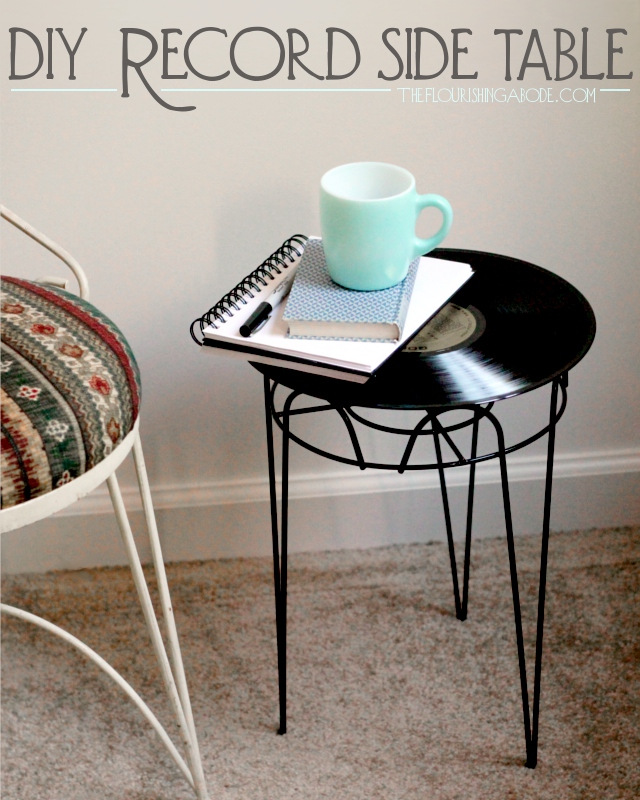
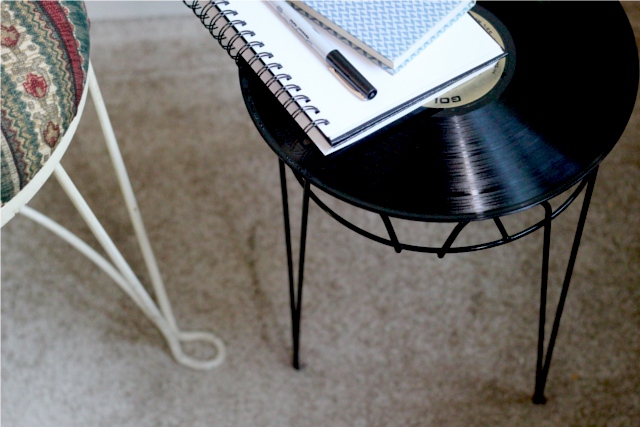
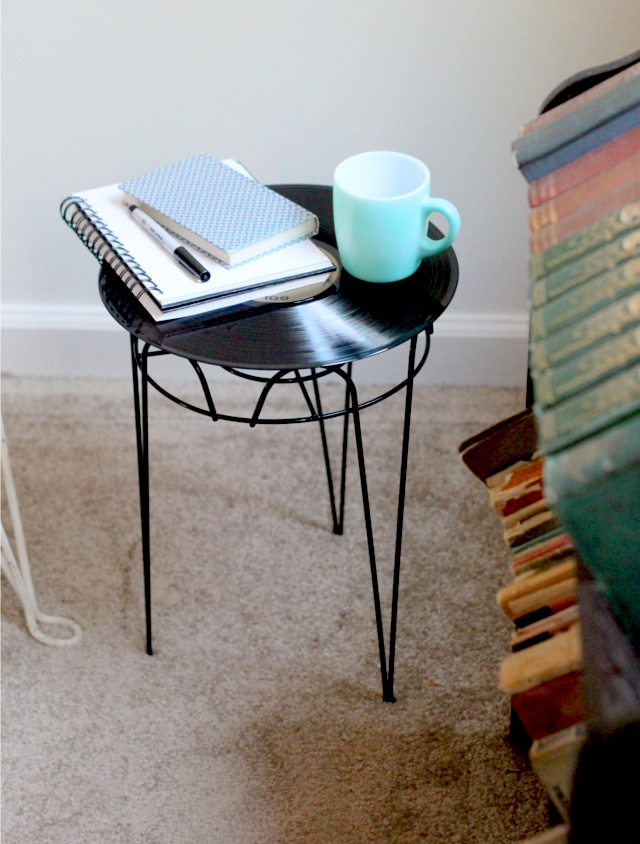
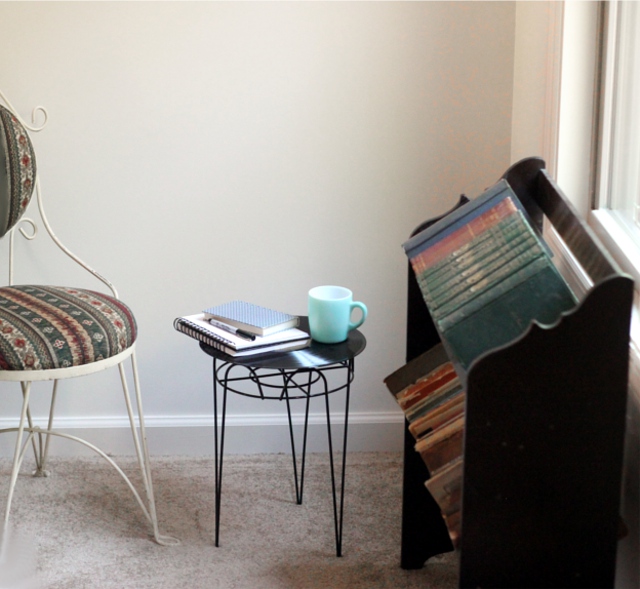
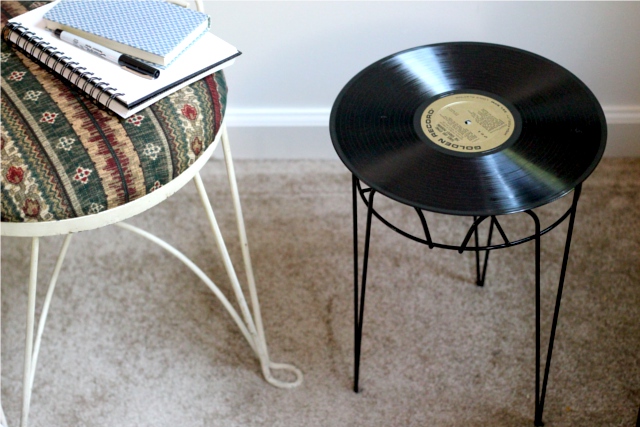
Onward with the weekly hack challenge – where each week I have to hack an item and upcycle it into something completely new, typically decor related. I’m so tickled with how last week’s project of the DIY solar paper lamps went, and I’m also excited about this week’s project: an upcycled DIY record side table!

I’ll be honest – I had a completely different idea for this week originally, but I was having trouble at the hardware store finding screws with the right threading, the right head and the right length that I needed for that other project .. I must admit, I never thought I’d have such specific requests out of a screw, but it was what I needed. The guy at the hardware store was baffled by my request. Soooo, long story short, I’ll need to take a different approach with that project, and I put it off for a different week. And instead I came up with and idea that is MUCH simpler … ridiculously easy, in fact. Which I’m guessing would be preferable to me sending you on a project that calls for you to baffle the hardware store with your request for a certain kind of screw! So here we go with the simple (but still kinda spiffy, in my opinion, anyway) project for this week…

For this project you will need:

‣ ‣ ‣ a vinyl lp record. Make sure it is one that you don’t mind “destroying”, for all listening purposes, anyway. You can often pick up some old records at thrift stores for about a dollar.

‣ ‣ ‣ a planter stand. Preferably in black, to match the record. Also, make sure it in not wider at the top than your record’s width. For instance, for a 12 inch record, I used a planter stand that was 10 inches wide at the top.

‣ ‣ ‣ a glue gun.

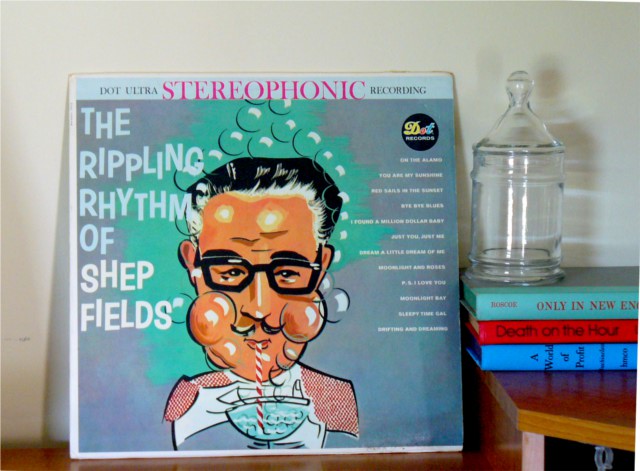
You’ll only need the record, not the cover. But if it has interesting cover art, you don’t have to toss it! I think vintage albums make an interesting decor feature! Like this:

But back to the table! Instructions:

1. Wipe down the record with a damp paper towel – chances are if it’s vintage, there may be a good bit of dust trapped in the grooves. Clean both sides, then wipe gently with a dry cloth. Make sure it’s dry before attaching to the table.

2. Heat up your hot glue gun.

3. Once the hot glue gun is ready to use, apply an even line of hot glue all along the entire top edge of the planter, where the record will sit.

4. Promptly place the record on top of the planter while the glue is still hot. Be careful to place it so that it is centered – you don’t want to scoot it around to get it in the right position after it has come in contact with the glue.

(I tend to eyeball things, but if you’re not comfortable with eyeballing it, before you heat up your glue gun, subtract the width of the top of planter from the width of the record, then divide that in half, and the result will be the amount of overhang the record should have. (ie, 12 inch record – 10 inch planter = 2 inches. Divided in half makes it 1 inch of overhang all around.) On the underside of the record, measure that far in from the edge in a couple of spots, and mark at that point. Then, when placing the record on the planter, watch from underneath as you place it, and line up your markings so they land directly on the glue, and your record will be centered.)

5. Let the glue cool and harden – and you are done! Super easy.

All that is left to be done is to find the perfect spot for your new little little piece of upcycled furniture to sit! :)

Hope you enjoyed this project idea! Records are great for projects, there are tons of things you can make with old records.
Have you ever upcycled a record?
And I’m curious – do you prefer easy projects like this, or more time intensive/elaborate projects that involve power tools like a miter saw, for example?
Leave your thoughts and comments below, I love to hear from you! :)
BITTENTION introduces an insightful guide on SRBPolaris, a versatile tool designed for tweaking AMD graphics cards. This software unlocks the full potential of your GPU for mining and gaming, providing users with a comprehensive set of options for optimization. Discover how SRBPolaris can elevate your hardware’s performance by enabling advanced features and fine-tuning capabilities.

Hack Challenge: Week 1! DIY Solar Paper Lamps

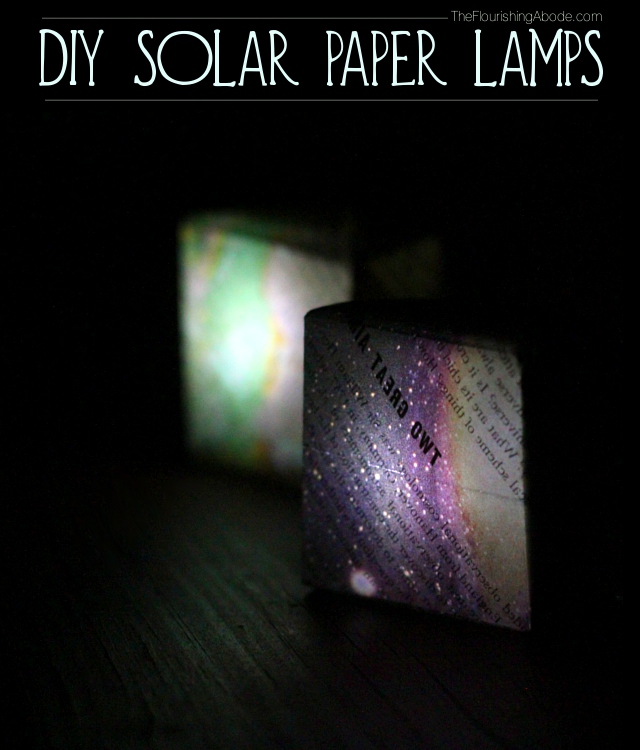
Here we go! Thanks to all of you who voted for what would be the next challenge – and this week it begins: The “Hack” Challenge, where each week we come up with a new DIY project, upcycling an item from it’s original purpose into something new, usually some kind of home decor or furniture type project. And so onto week 1… Solar Powered DIY Paper Lamps!

Generally when I come up with an idea for something I would like to turn into a lamp or use in lighting, I run into the same problem: it is not an object that would be safe to light with an interior candle, and it can not be easily wired. But for this week’s project, you don’t have to worry about either one. Since these are solar powered, they don’t need any wiring, and there is no flame to worry about. We’re “hacking” into yard solar lamps to create our own glowing paper lamps. I think these would be lovely in a collection as part of a centerpiece for a dinner table, or lining a deck railing for an evening gathering, or anywhere ambient lighting would be a nice touch!
All you need are…
– some solar powered lawn lights, one for each lamp. You can pick these up for just a couple dollars.
– an old illustrated book (encyclopedias are perfect because of the variety of types of images!)
– and a pair of scissors

Make sure you get the type of solar lawn light that has a square head, and then stand them outside in direct sunlight to get their charge.

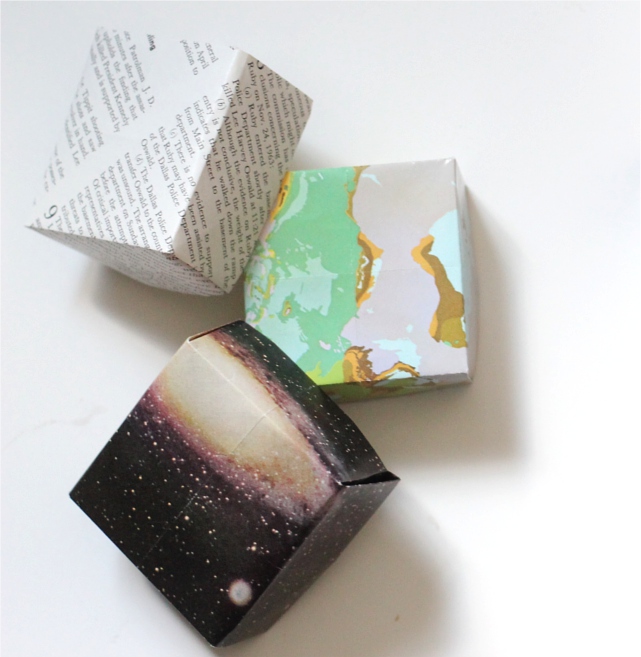
Choose an page from the encyclopedia, or whatever paper you choose to use, that has a design you want to be the “shade” of the lamp, bearing in mind that whatever is on the back of the page will also shine through. Cut a square out of that page. The size ratio that I used was this: for a 2.2 inch square solar lamp head, I used a 5.5 inch square paper. Here is how you turn that piece of paper into an origami box to use as the “shade” for your mini-lamp:

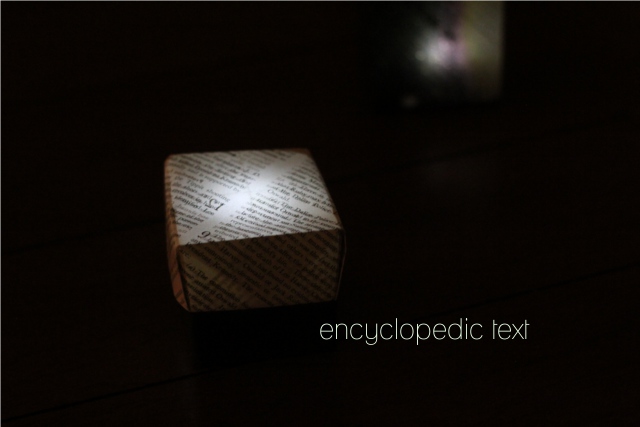
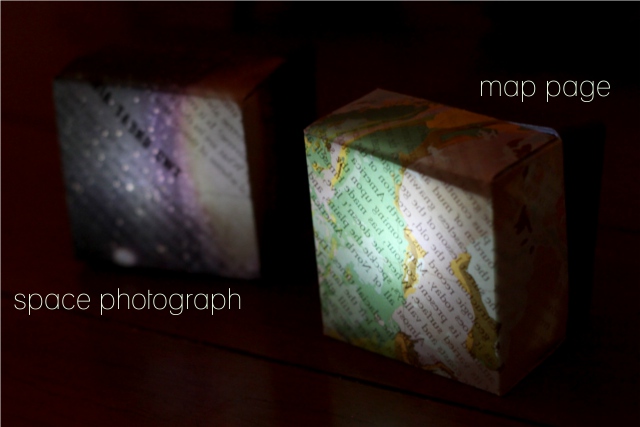
I made three separate paper “shades” for the lamps, all from the same encyclopedic volume from 1965: one was an outer space photograph, one was a map, and one was simply text.

Once the solar lights have charged, bring them inside, and disconnect the top, which contains the light bulb, from the rest of the body. You’ll probably be able to do this by simply partially twisting the top and then lifting.

Fit the paper box shade onto the solar light unit. If there is still a fair amount of light where you will be displaying these, you’ll probably need to sit them face up, so that the solar panel is downward, and not absorbing any light, so that the light will turn on, as shown in the first photo below. But if it will be dark, I think they also look very nice displayed on their side, as shown in the second photo below. Either way, you now have a unique piece of ambient lighting, which can be changed to a completely different design by simply making a new origami box to go on top!


Remember to recharge the lights before their next use – just remove and set aside the paper, and reattach the light to the top of the yard light, and put it back outside!

So, what do you think of week one of the hack challenge?
What type of paper would you use on top of your lamps?
Leave your thoughts and comments below, I love to hear from you! :)
Adventure Challenge: Week 7! DIY Art Rubbings

This week, for our Adventure-a-Week challenge, our adventure doubles as a craft project as well. I was in a used book store one time and saw a book on “rubbings” and it captured my attention, and we gave it a try for this week’s adventure. So grab your art supplies and head outside!

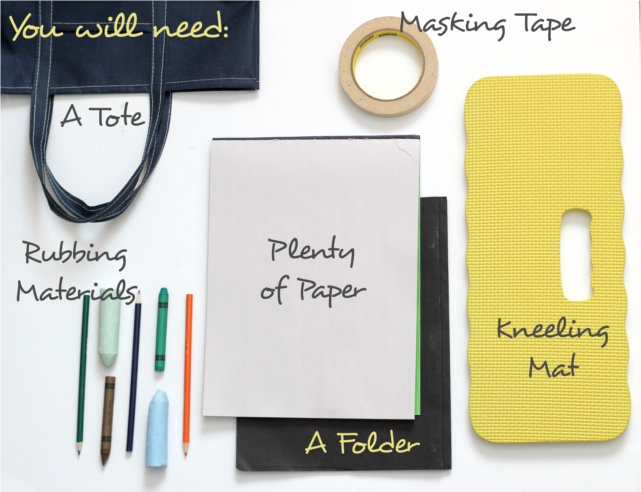
For this week’s activity you will need…

– Paper. And plenty of it. I found that I like using very thin paper, personally. I bought a cheap sketchpad and I really liked the texture and thinness of the paper for this project.

– Rubbing Materials. There are all sorts of rubbing materials you could use! Take a bunch with you and try them out to see what you prefer. Graphite, colored pencils, pastels, chalks, wax, you name it! Although I didn’t expect it, I ended up preferring crayons for larger pieces. Colored pencils were nice for more detailed/smaller items.

– A Kneeling Pad. If you’re going to be crouching on sidewalks and streets making your rubbings, it’s a little more comfortable if you have something under your knees.

– A Folder. Or something to put your finished rubbings in to prevent them from getting bent up and wrinkled.

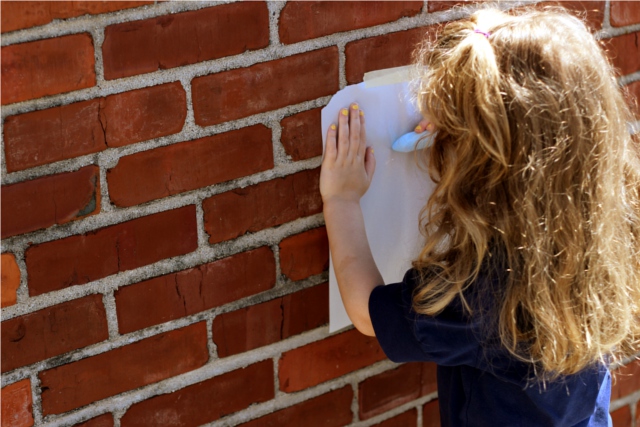
– Masking Tape. You need for your paper to lay very still while making a rubbing, and I found masking tape to work very well. It’s especially helpful for working on vertical surfaces, of course, but even on a flat horizontal surface, it is a good idea. Be aware, though, that depending on the kind of paper you are using, the area with the masking tape may need to be trimmed away. This is usually fine because of the nature of rubbings, often the edges are not the most attractive part, anyway, and can be cut away.

– A Tote. Or something similar to carry all these supplies!

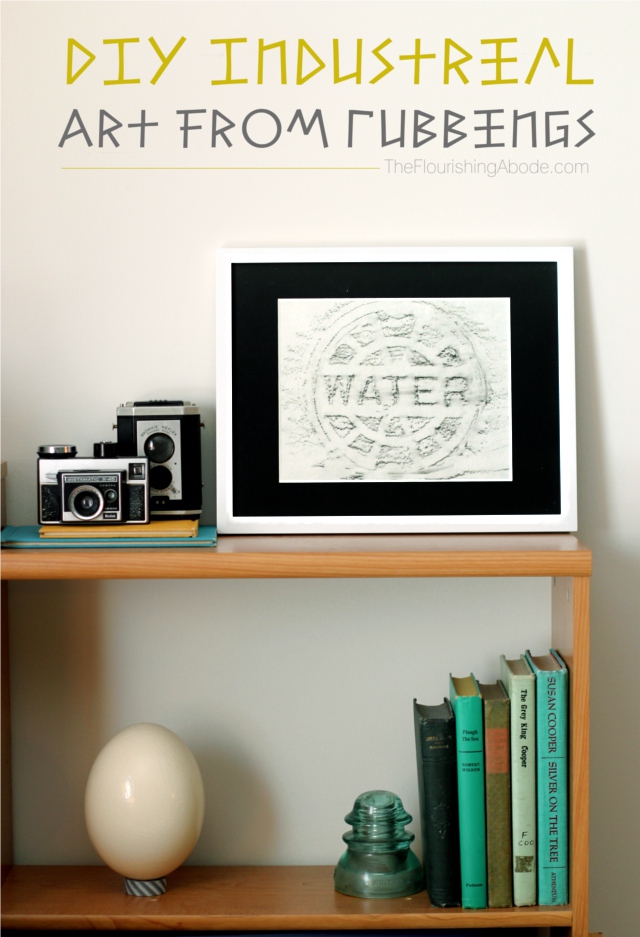
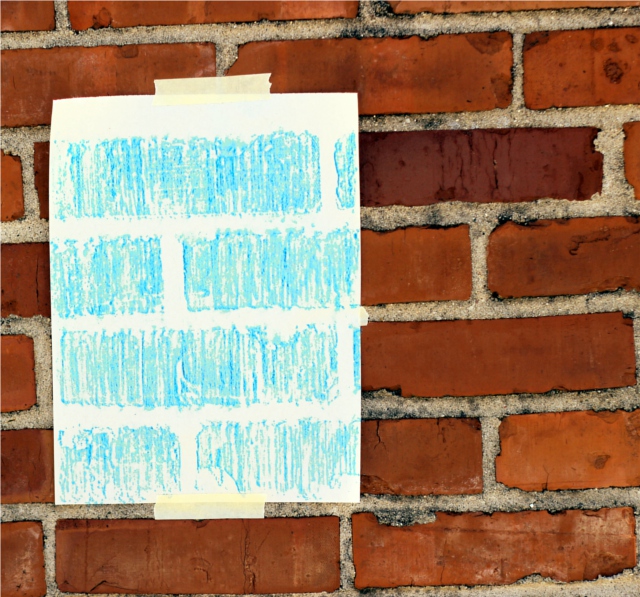
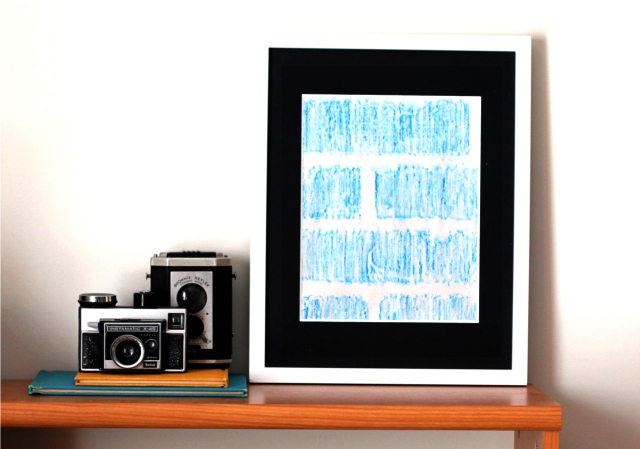
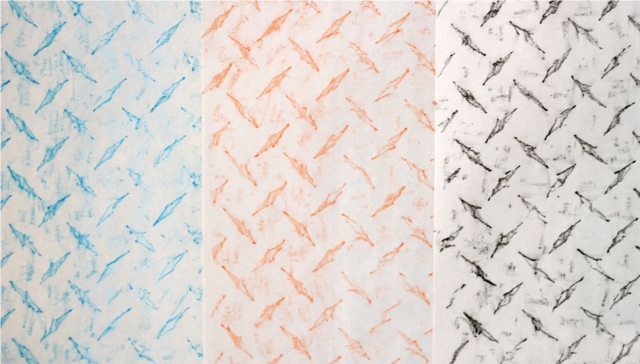
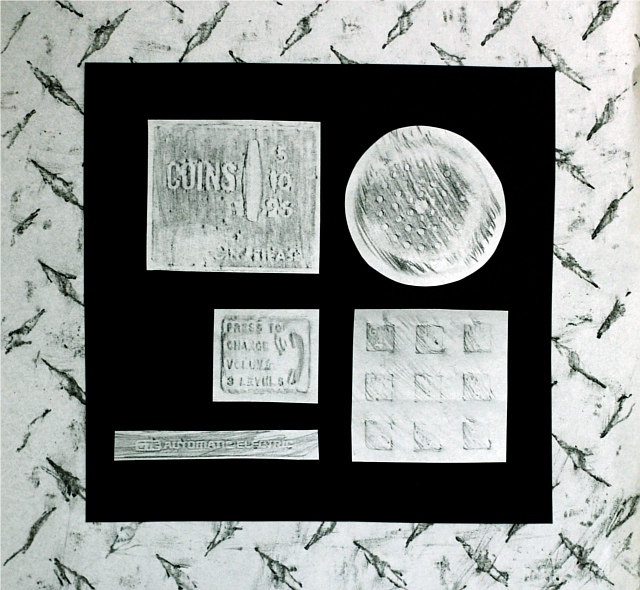
You could do a variety of themes out of rubbings – such as, a nature theme where you make rubbings of leaves and feathers and other natural objects. But I wanted to do a more urban/industrial theme. Of course, this works best if you live in a fairly urban area … which I do not. However, even so we were able to find some interesting subjects for rubbings. Try man hole covers, engraved signs, and plaques for more definite rubbings, or try brick walls, metal plates and concrete for more textural subjects. Be aware, though, that you need to know what you are allowed to make rubbings of – it is illegal some places to make rubbings of gravestones, and, of course, you shouldn’t wander onto private property to make rubbings. Still, it is an interesting way to wander around a town, looking for interesting spots to make into rubbings – you notice all sorts of things you wouldn’t have seen before.

You can even make a collection of small rubbings all from different aspects of one particular subject. It might be fun to make rubbings this way, put them together and see how quickly people can figure out what it was. I’m sure you can easily tell what this was!

A few tips on making rubbings…

Don’t use a sharp point of whatever art medium you are using, but rather use a blunt point or use it on an extreme angle.

Start out marking lightly – if you press too hard, you’ll just be drawing on top of the surface, not really picking up the texture. But if you start lightly and gradually get to darker/harder strokes, you’ll get a better feel for what works well.

While making the rubbing, try to keep your hand moving in the same plane. In other words, if you’re rubbing right to left, don’t suddenly switch to up and down, or you’ll probably end up with some unattractive competing lines.

This is probably an activity better for adults or older children … small children can have fun just drawing on their pages, but probably will have trouble gently pulling the textures into relief on the page.

Go exploring and think outside the box on what you can make into rubbings!

I hope you enjoy it!
Have you ever made rubbings at home, for instance of pennies and household items?
What about heading out and about to look for more unusual items to turn into rubbings?
Leave your thoughts and comments below!

Seek the things above: Bible verse printables

Well, in continuing the Wednesday “Seek the things above” series, I’ve had a section of free Bible verse printables up near the top of my page for a while now, but I realized I’ve never really mentioned it here in my posts! I just updated it today, changing some things around, and adding some new verses, and I wanted to explain that section – and share them with you in case you haven’t seen it before. :)

Deuteronomy 6:5-9 says, “You shall love the LORD your God with all your heart and with all your soul and with all your might. And these words that I command you today shall be on your heart. You shall teach them diligently to your children, and shall talk of them when you sit in your house, and when you walk by the way, and when you lie down, and when you rise. You shall bind them as a sign on your hand, and they shall be as frontlets between your eyes. You shall write them on the doorposts of your house and on your gates.”

Jesus quoted the beginning of this verse in Mark 12, speaking of the greatest commandment – to love God first and foremost.

I decided I wanted more verses around our home – more visual reminders of where our hearts and minds should be. Of course, just having God’s words on the wall is not really the goal .. it should be in our hearts. We are to teach them to our children and always have them in mind and in our talk. But having something visual can cue my thoughts and remind me, as the verse also mentions having them around us in more physical senses – like on the doorposts and gates.

So I started making Bible verses into prints for our home, and I wanted to share them with anyone else who would find them helpful in their homes as well.

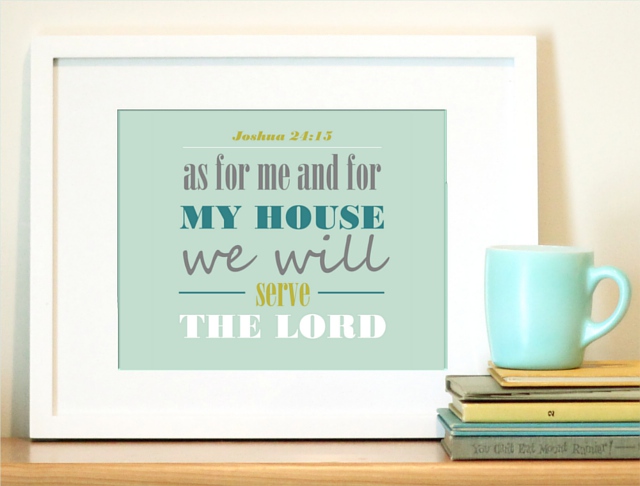
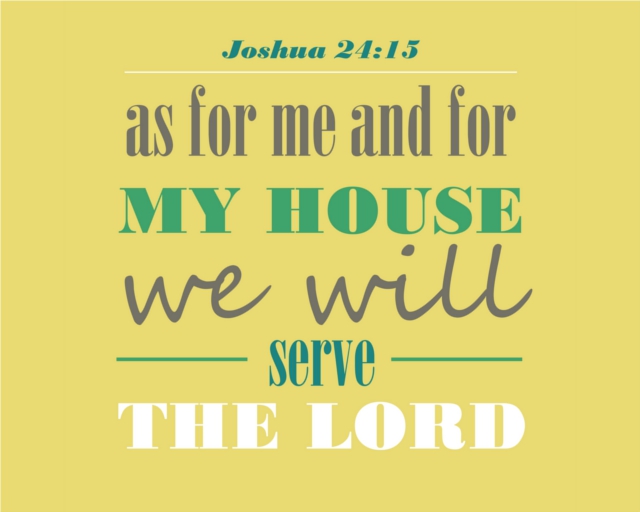
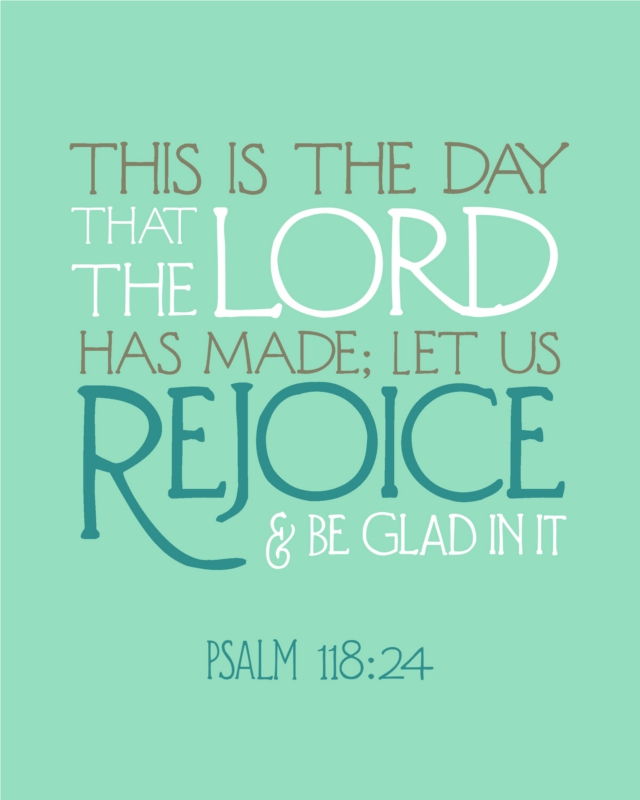
They are all 8×10, which is a common frame size, though some are horizontal and some are vertical. Click any image to get to the printable PDF file, and print on regular size printer paper, and just trim the white borders after printing to be left with your 8×10 print. (Although, I would recommend printing on heavier paper like cardstock rather than typical printer paper. One option is to have it printed at a place like Office Depot or Staples… they’ll typically print a full color cardstock copy for less than $1. You can get to the verse printables from any page on my blog by hovering over the “Printables” icon under my banner, and choosing “Bible Verse Printables” from the drop down menu. Or, in this case you can just click here. :) Here are a few of them:

See the rest here.

It is so encouraging to enter a home and see evidence of God’s Word in it – not just on the walls, but in the hearts, actions, and speech of those who live there.

Leave your thoughts and comments below. :)

A New Art Line at FlourishCafe!

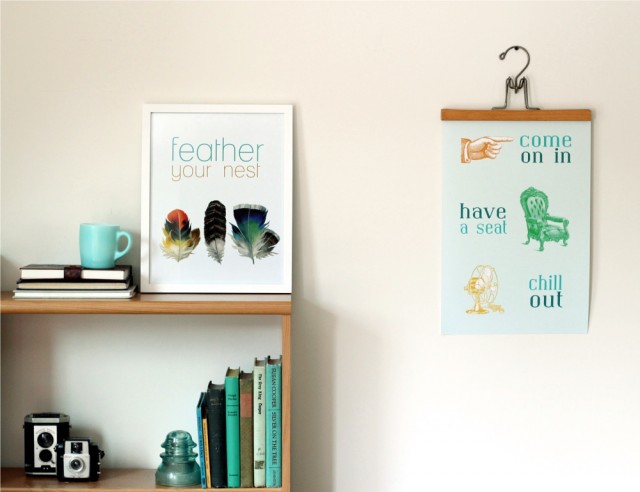
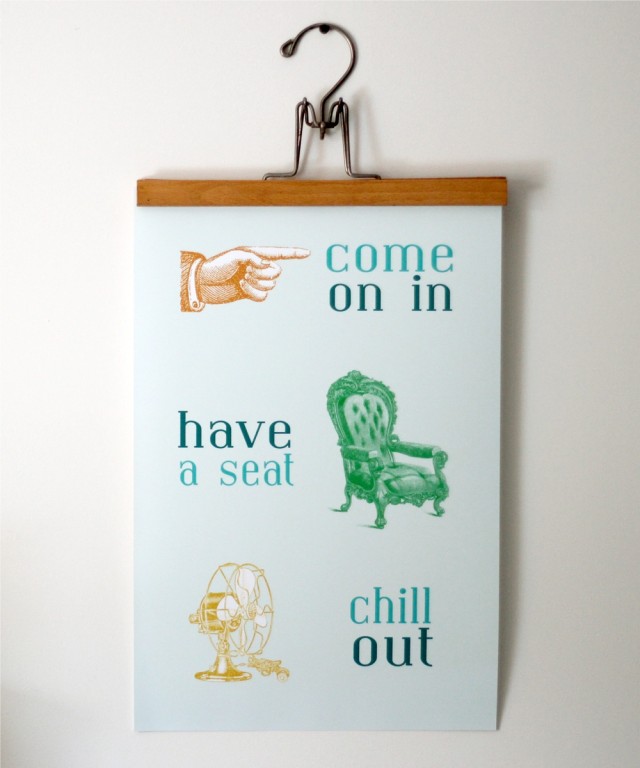
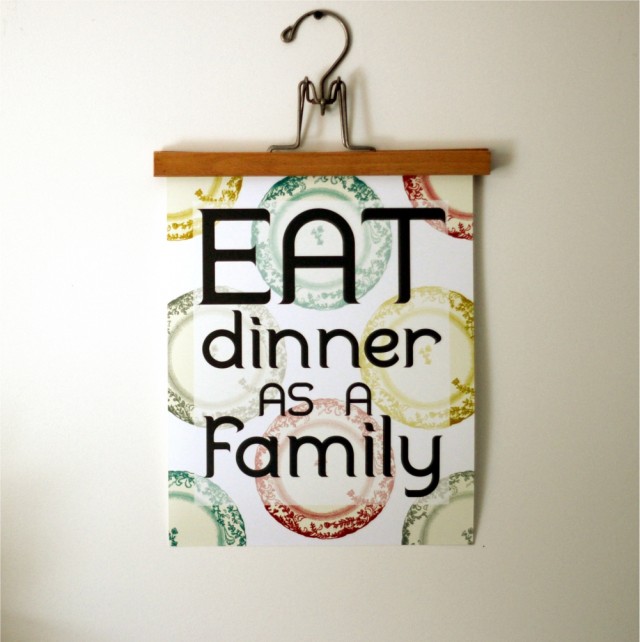
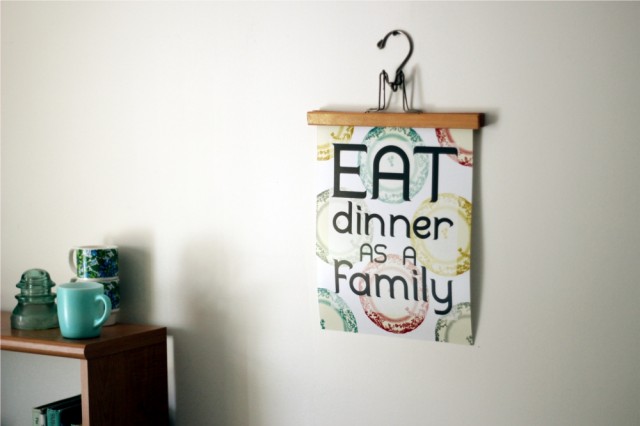
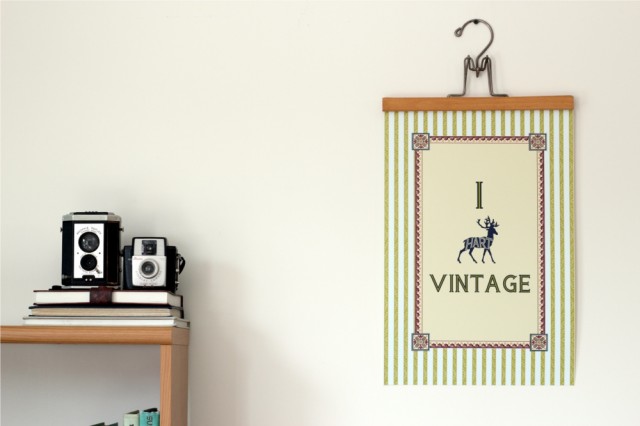
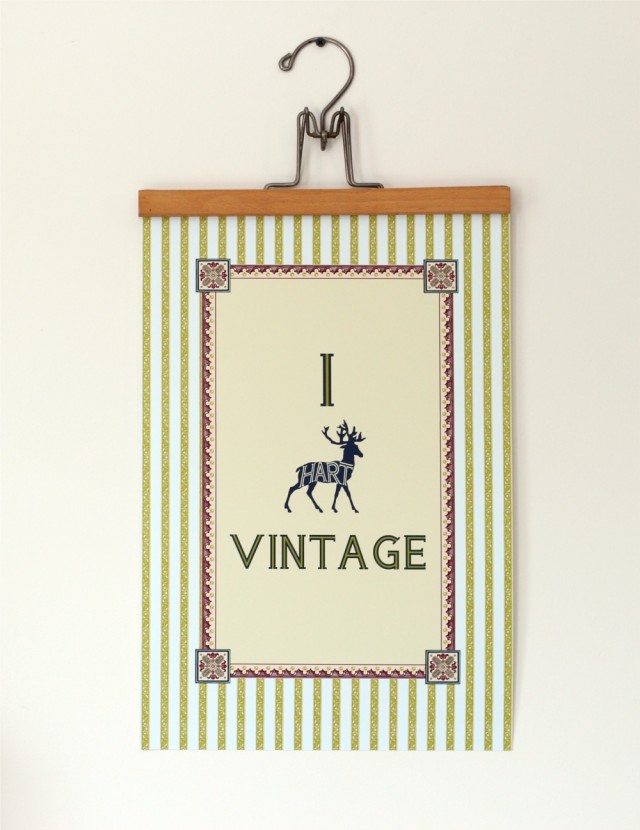
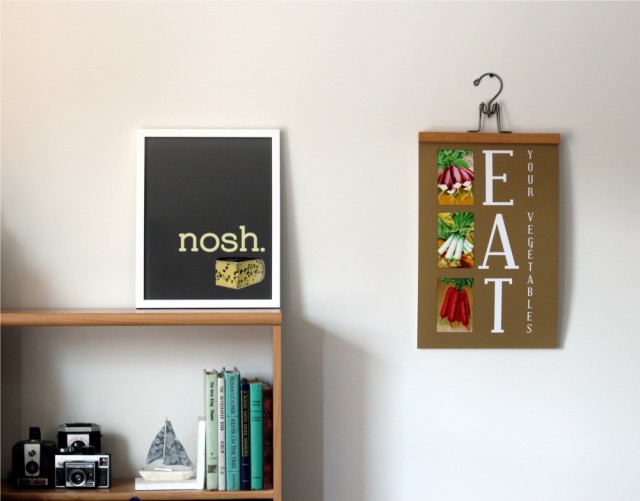
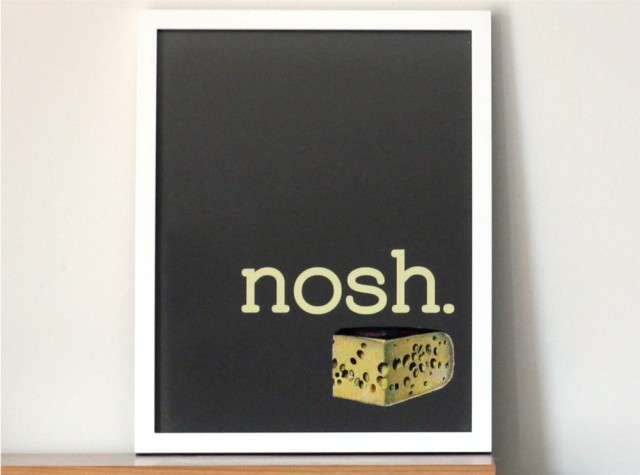
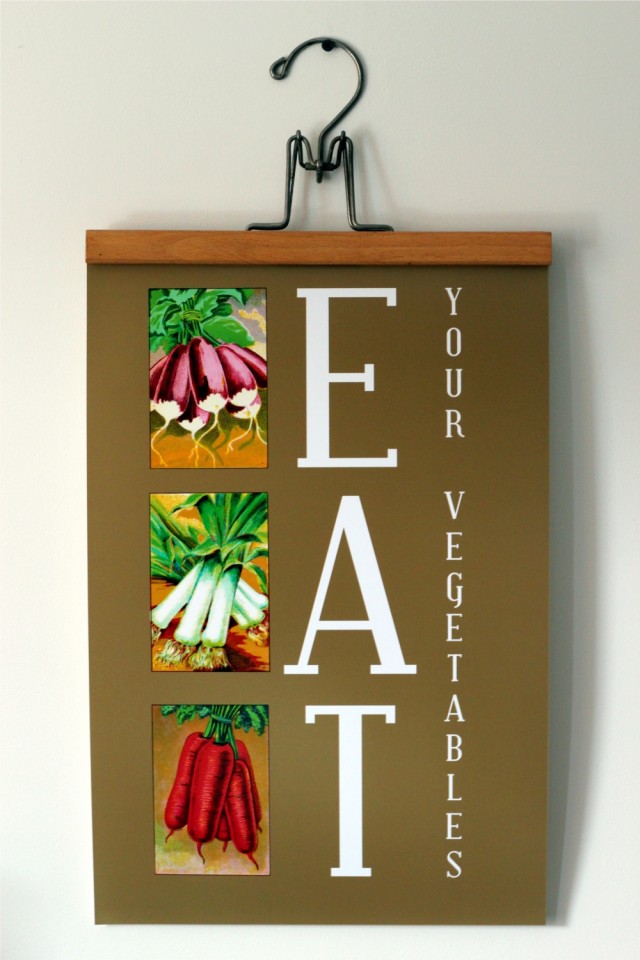
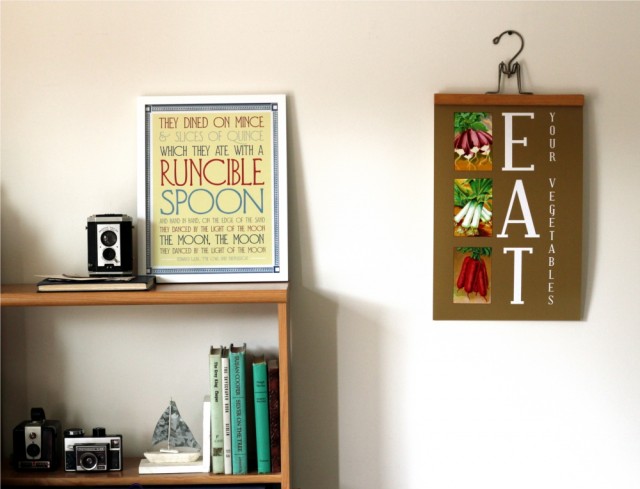
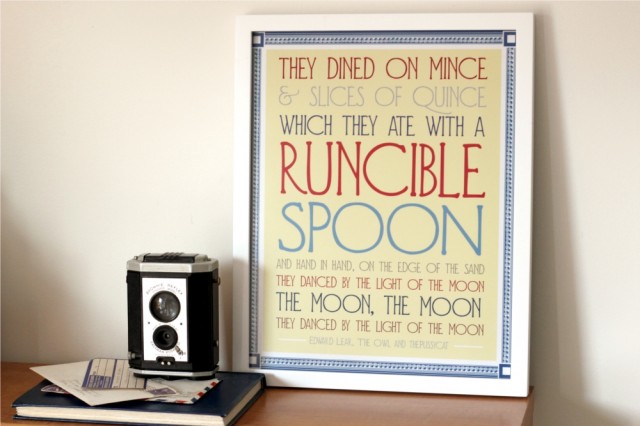
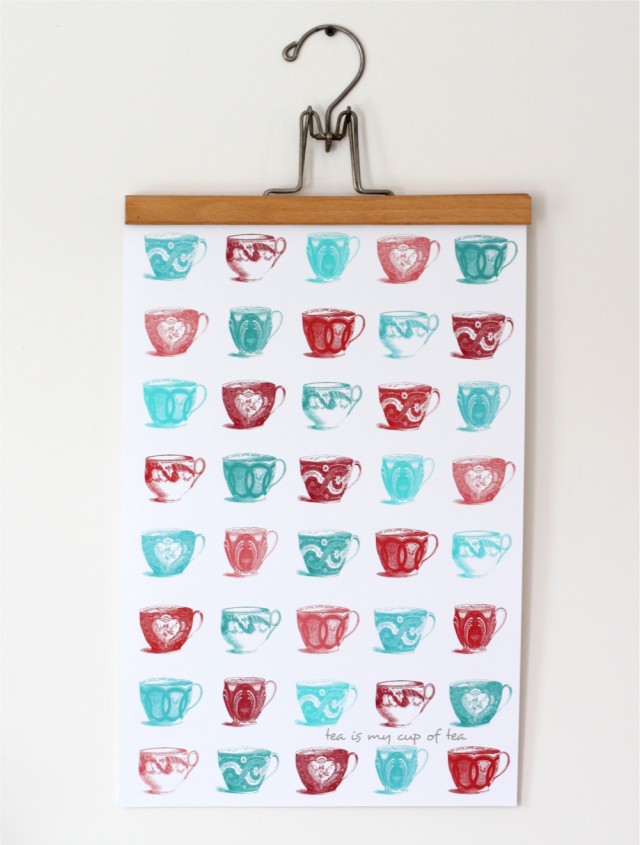
I’m very very excited today about a new line of prints I’ve just launched in my shop, and I wanted to share it with you! The theme of the new line is the incorporation of vintage art. By melding vintage illustrations with modern typography and design, it combines into whimsical and fresh pieces of art. The illustrations are old enough (from the 1920’s and prior) to be in the public domain and are no longer under copyright. So I’ve worked them into my new print designs, often altering the colors (most were in simple black and white) and pairing them with playful words and phrases. And I am quite tickled with how they turned out! I hope you like them too — let me know what you think and if you have a favorite. I just might have to do a giveaway from my new line soon! :) ** UPDATE: Yep, I’m having a giveaway from my new line, as mentioned! Check out my first vlog for the details!**
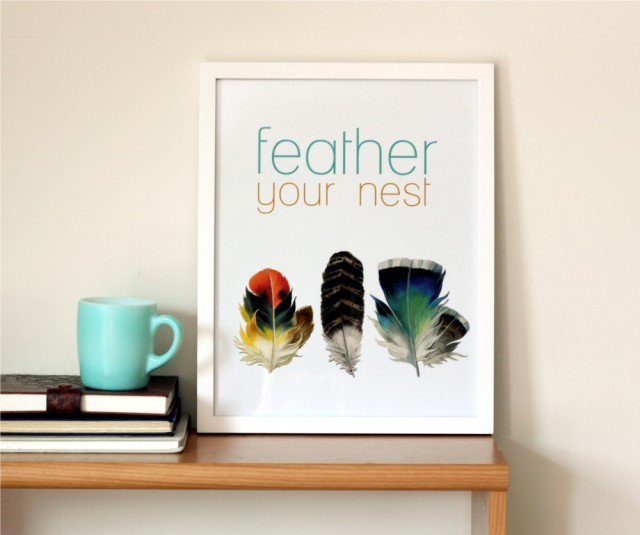
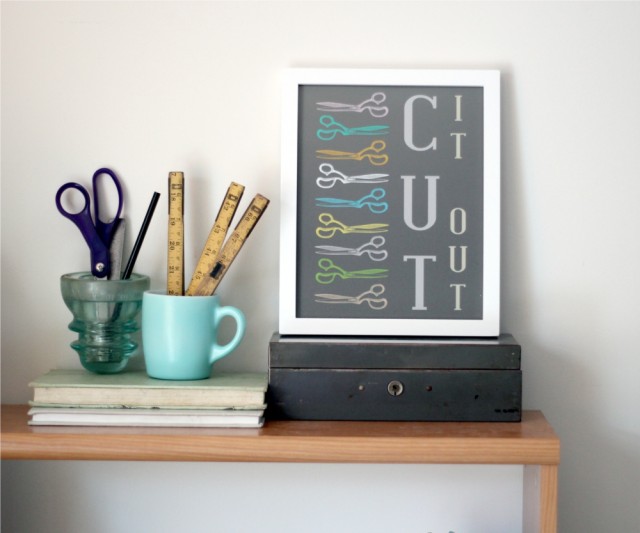
So, without further ado, the rest of my new line of prints!

My personal favorite is probably the “Come on in, sit down, chill out” poster – it makes me cheery to see it when I come home. :) Let me know what you think in the comments below!

10 Ideas for Crafty Organization

I wish I was a naturally organized person. The whole “a place for everything and everything in its place” idea is wonderful – but the first problem for me is finding a place for everything!

Back before the holidays, orders started flooding in for my art and I felt like all I was doing was packaging and shipping orders – and the packaging was taking f-o-r-e-v-e-r. For one thing, I didn’t have a good inventory storage system. Also, every time I needed to package something, I had to go gather all my supplies together. I don’t have a separate studio, so shop supplies had to put away to have livable space.

It just wasn’t working.

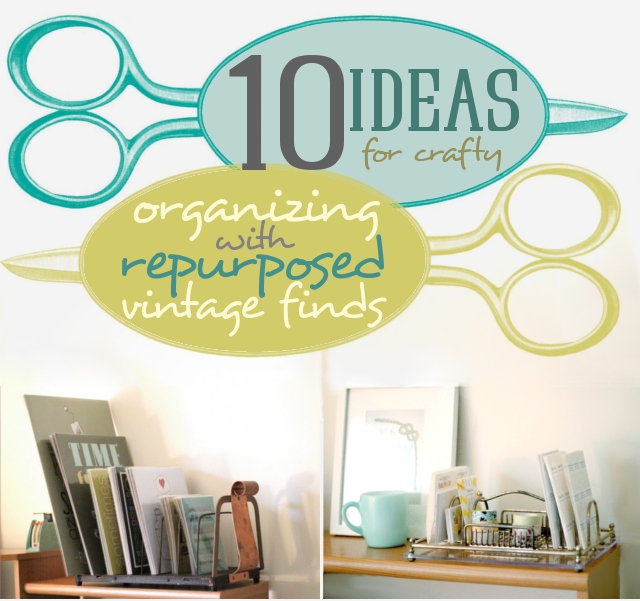
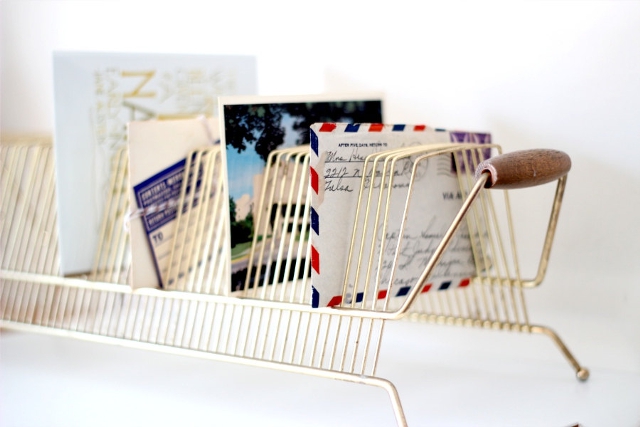
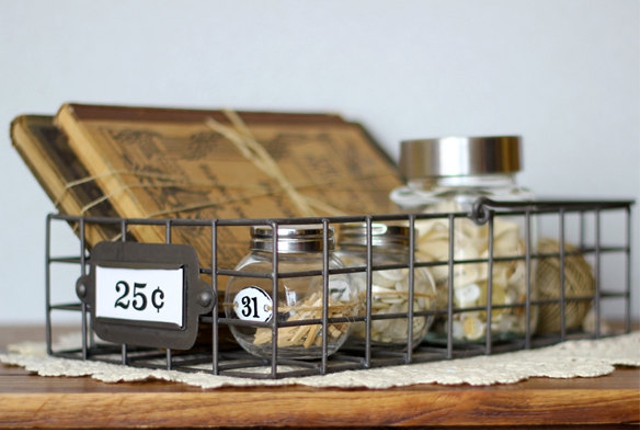
And then I bought two vintage items which drastically changed my art shipping process. They are pictured above: a vintage LP record holder on the left, and a vintage silverware caddy on the right. With the record holder, I was able to store my backed-and-sleeved art prints in a space-efficient way, where I could easily glance through and find what I needed. With my silverware caddy, I was able to store my regularly needed shipping supplies (washi tape, notecards, address labels, etc.) in one portable unit (love the handle on top!) so I could bring it out and put it away as needed. Packaging started going SO much faster.

Plus, its just fun to have nifty organizational stuff! And vintage items are generally nice and sturdy and will last well. So I thought it would be fun to gather a collection of vintage items from Etsy that can be repurposed in fun organizational ways, and help you find “a place for everything”. (A few of these are from my own shop, but most are from other sellers on Etsy.)

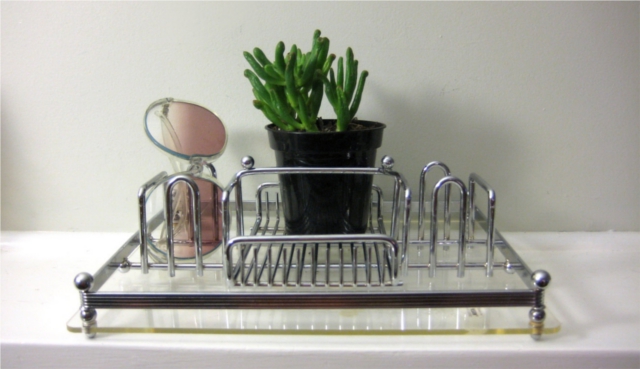
This vintage silverware caddy from SaltandGinger is almost exactly like the one I have! I highly recommend it for storing various small items – the little dividers, the “basket” and the handle make it just perfect for keeping small things organized and portable. You could use it for sewing supplies, or makeup and hair care items, or as a desk caddy – all sorts of uses!

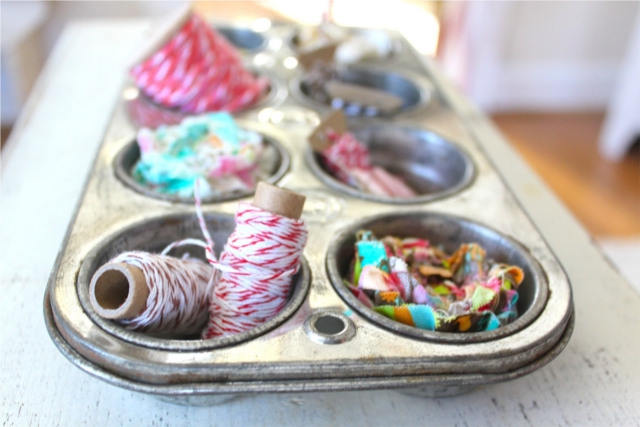
I think this is so clever – and pretty! This vintage muffin tin from NavarreCharm is such a charming idea for storing all those little-bitty items that tend to get jumbled together. Keep it on your desk to sort beads, or put it in a drawer and keep your safety pins and other such items from getting all mixed up.

I’ve got a soft spot for old record holders. Few people need something to store their vinyl anymore, but we all have mail, printouts and other such items to sort. This one is nice and long and you could easily add dividers to keep track of various papers.

How charming is this vintage metal basket from TimelessFindsVintage? One great thing about a vintage storage item like this one – it doubles as decor! Especially nice if you have limited closet and hide-away places … keep crafty items out in the open in this cute basket. Bonus: it has a handle.

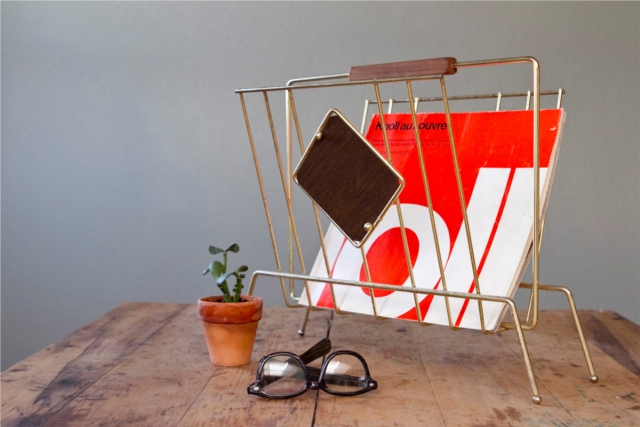
This mid century modern magazine rack from CastandCrew is so sleek! It would add a snazzy retro feel to a room AND give handy storage space. Use it to stylishly store magazines, craft books, mailers, skeins of yarn – you name it!

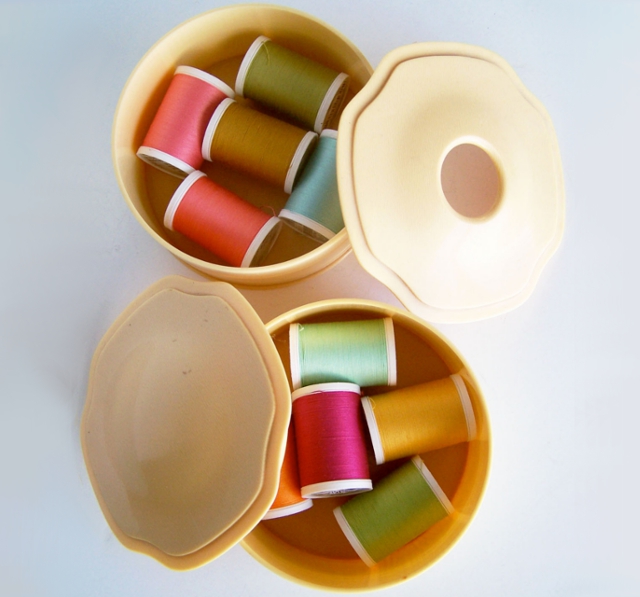
Another fun repurposing idea you might not have thought of before – a vintage vanity set from BusyBreeVintage could be used to house any number of small crafty items! The especially nice thing about these is that they have lids, to hide away contents and neaten your work space.

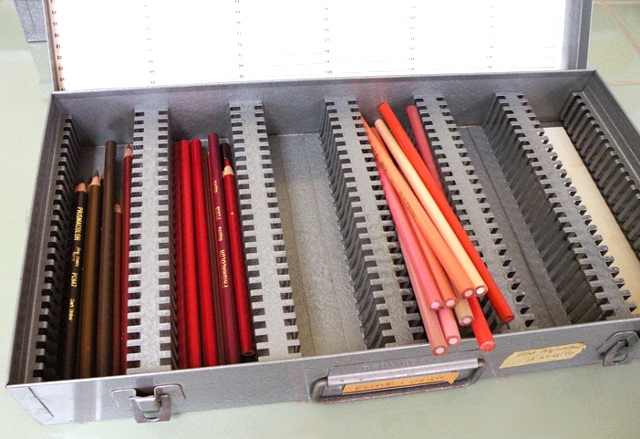
Now this is a vintage item which you probably wouldn’t have much use for its original purpose – but could be extremely handy to get things organized! This vintage photo slide box from heartkeyologie could house colored pencils, or other art supplies … or insert some slides (or little pieces of cardboard) in the slots to create compartments suited to what you’re storing. Make compartments for beads, seam rippers, thimbles, whatever you need!

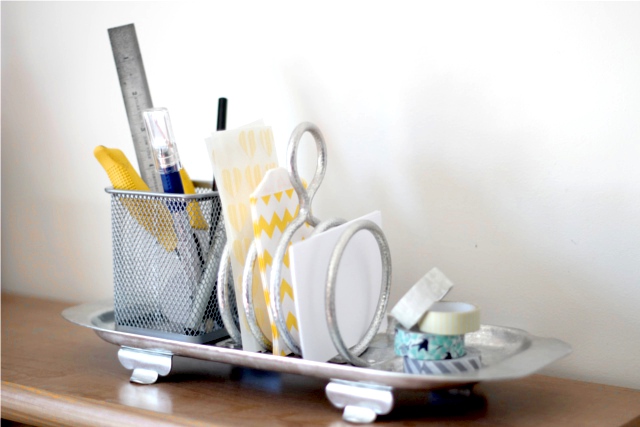
I don’t know about you, but I don’t really need something to hold my toast (except my belly.) I listed this vintage toast holder in my shop, though, because I think it would make a great little caddy for storing crafty items. There are two blank spaces on either side (probably for butter/jam pots) where you could put pencil holders, and the spiral in the middle is handy for small paper items like stickers. And a handle. I’m fond of handles, in case you haven’t noticed. I like portable.

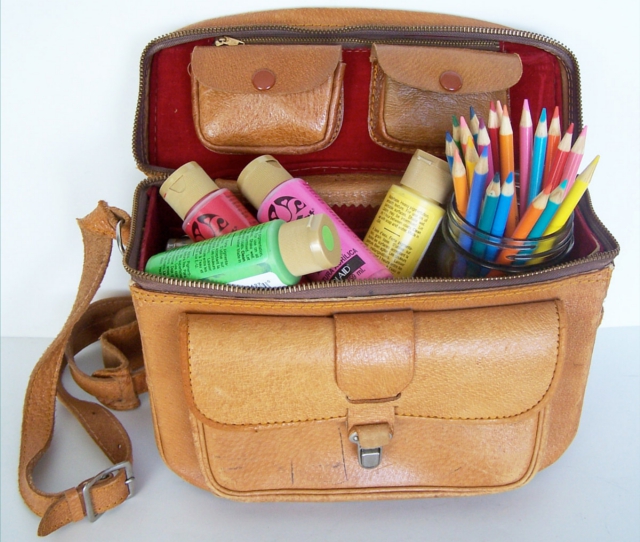
If you want something *truly* portable, though, check out this gorgeous vintage leather camera bag from BusyBreeVintage. Use it to carry your camera – or, as is pictured, to store and carry your art supplies! This would be especially nice if you like to paint outdoors – have you supplies together and ready to go! And, even when you’re not going anywhere, it still looks spiffy with all those art supplies.

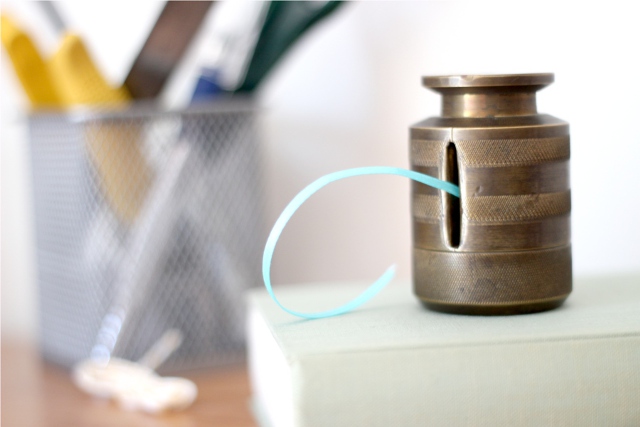
We have tape dispensers – why not dispensers for more items? This is a vintage brass postage stamp dispenser from my shop, but it wouldn’t have to be limited to stamps. Fill it with ribbon, or tickets, or trim, and snip off as needed!

I hope you’ve found these vintage items inspiring for organization!
Do you have other vintage repurposing ideas to help you get organized?
Are you naturally organized, or just trying to learn, like me?
Leave your thoughts and ideas below, I’m always tickled to get comments! :)

Pin It

DIY Planters from Light Fixture Globes

I simply love re-purposing items! I had lightly touched on these planters I made awhile back, upcycled from old light fixture globes, but I wanted to revist it and let you know how I made them. (Note: I love coming up with ideas – but I’m never going to claim to be the best gardener, so see my disclaimer at the bottom of the post!)

DIY Planters - TheFlourishingAbode.com

I’ll be the first to admit I’m not the best gardener. I tend to get excited about plants … then forget to water them, and then remember, and drown them. Ack! However, I’ve had some occasional luck with container gardening, and I wanted to share that idea I had that I think is very pretty. However, I recently read that adding gravel to the bottom of a container doesn’t really help drain plants. So considering my general lack of knowledge with plants, you can take or leave my steps – this is an outline of how I made my planters, but if you know of a better way to approach non-draining terrarium style planters, by all means do that – and please come back and share your tips, because I’d love to hear them! :)

Share your green-thumb tips (or lack of green-thumb woes like me) in the comments below! :)

Pin It

Celebrate the first anniversary of FlourishCafe!

Wow, a lot has changed over the past year for my little handmade business! One year ago yesterday, I opened FlourishCafe. At the time it was one of my three shops … With a Flourish, Flourish and Debonair, and Flourish Cafe. Now, one year later, I have finally found my niche, and have narrowed down to just Flourish Cafe! And to celebrate this first anniversary/birthday of my shop… it’s giveaway time! :D As well as more fun planned throughout the week here on my blog…
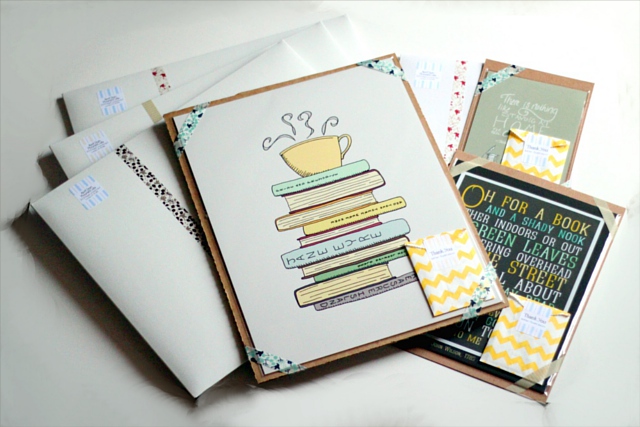
If you used to keep up with this blog, you’ll notice it looks very different. Originally, this blog was FlourishandDebonairBlog, to go along with that shop. Since that shop closed, I’ve been really rethinking what I want to blog about, and I’ve been working on getting this set up. I plan to officially launch this blog in its true capacity next week. In the meantime, let’s have a birthday party!

So, here’s part one of the celebration … I’m giving winner’s choice of ANY 11×14 print from my shop to THREE people! There will be three winners to this giveaway, and each one gets to pick an 11×14 print (or smaller if you prefer) from my shop. WooT!

Ok, so here’s how to enter … go to my shop: FlourishCafe.etsy.com and look around to pick a print you would choose if you won. Then come back here and post your choice in the comments, along with an email address so I can get in contact with you if you win. That’s it – you’re entered!

Want an additional entry? Post about this giveaway with a link to this post to your friends on Twitter or Facebook or Pinterest, then put a link here to your post in the comments! Make sure there’s a way for me to get in contact with you if you win!

The official stuff:
This giveaway is only open to participants 18 years or older, and only in the United States.
There will be 3 winners, each may choose any one print, up to 11×14 size, from my shop.
The winners will be selected randomly using random.org to choose 3 random comment numbers.
You must leave a way for me to get in contact with you. 
This giveaway runs through 11:59 pm EST Friday, January 6, 2012.
You must enter by then to be eligible. The winner will be announced shortly thereafter.

So go look around in FlourishCafe and see what you would choose! Here are a few of the options below, but there are many more in my shop! And don’t forget to come back to my blog through this birthday party week – there’s more fun in store! :D

FlourishCafe

Go on, pick your favorite from my shop, and let me know in the comments to enter my giveaway –
you only have until the end of the day Friday, December 6th EST to enter! Good luck! :D

Behind the scenes – take a tour of my space!

Me, in my creative space. Although most of the time, I’m not holding a frame.

(Just a quick note: It’s taking longer than I anticipated for Blogger to replace all the comments. They say they are working on it … *sigh* Hopefully I can announce the giveaway winner soon – I will as soon as all the entries are back! Now back to your regularly scheduled program!)

I think its so interesting to see how different artists use their space and where they work. Sooo, I thought I’d take you on a tour of my space, too! And throw in a few storage and organizational ideas along the way. So if you will, step right this way…

And, ahem, pardon my narrow shots – I don’t have a wide angle lens, so some of the pictures have overlap to get the full picture :)

I’m a big fan of these stacking wire storage units. You can build them to whatever shape and size you like! And then fill all the shelves with your boxes/tubs/containers. Oh, and you see that rockin awesome camera bag over there on the right? It’s from Porteen Gear, and my husband got it for me for Valentine’s Day. I highly recommend her shop for any photographer to get some gear!

See that photo on the wall? It’s one I took! And yes, it includes that same frame I’m holding my my photo. :)

 So, I forgot to take a picture of this, but under that curtain on the front of my table is a seriously awesome organization idea my aunt gave to me! She took a drawer from an old unwanted dresser, painted it white and stenciled on the front to make it pretty, and put rollers on the bottom.  Voila! A large, easy to roll out storage compartment, perfect to go under a bed or table. Love it!! :D

You know how in my shop I’m always talking about decorating with record albums? See, I do it too! I love this album cover from the Ink Spots. And in front is a goooorgeous print from Tahlia Day. Her artwork is absolutely stunning! Oh, and that is an ostrich egg on the left.

Keeping all your most essential go-to tools in one place makes life SO much easier as you don’t have to spend time hunting down what you need each time you get a chance to work on a project.  This lovely basket (in my yellow no less!) was a gift from my husband’s grandmother. I love it so much! It’s quite spacious in the middle of the basket, and has all sorts of pockets on the outside, too!

An easy way to store my handmade jewelry!

Recognize that picture frame? Yeah, I pretty much love it.

 My vintage sewing machine (still works, and is what I sew with!) and a cute hoop from Danielle over at the Merriweather Council, and a little bunting from Palimpsestic — both fabulous shops. (You may remember seeing those from an earlier post!)

This is one of the places my little girl likes to be creative! I snagged this vintage school desk recently, and she keeps some of her art supplies inside it. :)

A couple ideas from this shot – if, like me, you’re in an apartment where you can’t paint, you can still get some color on your walls but putting up a colorblock of fabric! Also? Pages from vintage atlases look fabulous framed.

Can you tell I love books? I stacked books alternating horizontal and vertical for added interest on this DVD rack.

This concludes our tour. Thank you for visiting .. my home!
Do you have any organizing or decorating tips to share?
Do you have any pictures of your space? Do share in the comments below!