Skip to content

upcycling

Hack Challenge: Week 1! DIY Solar Paper Lamps

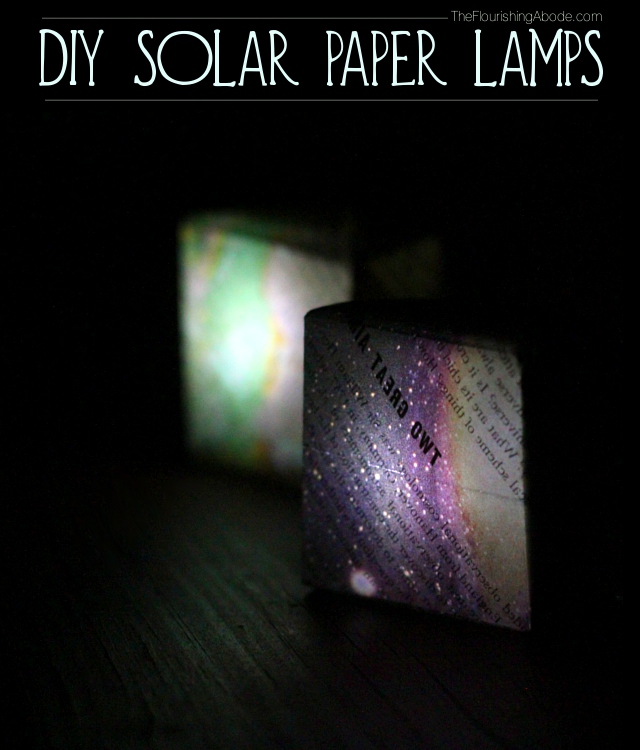
Here we go! Thanks to all of you who voted for what would be the next challenge – and this week it begins: The “Hack” Challenge, where each week we come up with a new DIY project, upcycling an item from it’s original purpose into something new, usually some kind of home decor or furniture type project. And so onto week 1… Solar Powered DIY Paper Lamps!

Generally when I come up with an idea for something I would like to turn into a lamp or use in lighting, I run into the same problem: it is not an object that would be safe to light with an interior candle, and it can not be easily wired. But for this week’s project, you don’t have to worry about either one. Since these are solar powered, they don’t need any wiring, and there is no flame to worry about. We’re “hacking” into yard solar lamps to create our own glowing paper lamps. I think these would be lovely in a collection as part of a centerpiece for a dinner table, or lining a deck railing for an evening gathering, or anywhere ambient lighting would be a nice touch!
All you need are…
– some solar powered lawn lights, one for each lamp. You can pick these up for just a couple dollars.
– an old illustrated book (encyclopedias are perfect because of the variety of types of images!)
– and a pair of scissors

Make sure you get the type of solar lawn light that has a square head, and then stand them outside in direct sunlight to get their charge.

Choose an page from the encyclopedia, or whatever paper you choose to use, that has a design you want to be the “shade” of the lamp, bearing in mind that whatever is on the back of the page will also shine through. Cut a square out of that page. The size ratio that I used was this: for a 2.2 inch square solar lamp head, I used a 5.5 inch square paper. Here is how you turn that piece of paper into an origami box to use as the “shade” for your mini-lamp:

I made three separate paper “shades” for the lamps, all from the same encyclopedic volume from 1965: one was an outer space photograph, one was a map, and one was simply text.
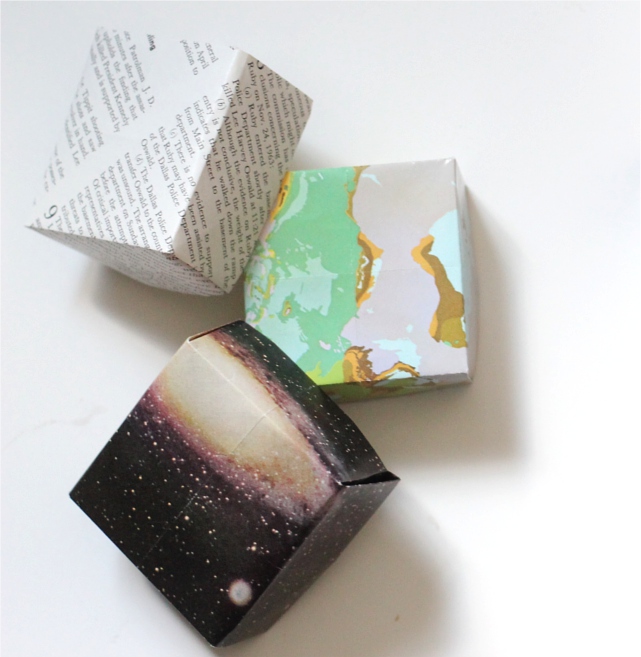
Once the solar lights have charged, bring them inside, and disconnect the top, which contains the light bulb, from the rest of the body. You’ll probably be able to do this by simply partially twisting the top and then lifting.

Fit the paper box shade onto the solar light unit. If there is still a fair amount of light where you will be displaying these, you’ll probably need to sit them face up, so that the solar panel is downward, and not absorbing any light, so that the light will turn on, as shown in the first photo below. But if it will be dark, I think they also look very nice displayed on their side, as shown in the second photo below. Either way, you now have a unique piece of ambient lighting, which can be changed to a completely different design by simply making a new origami box to go on top!
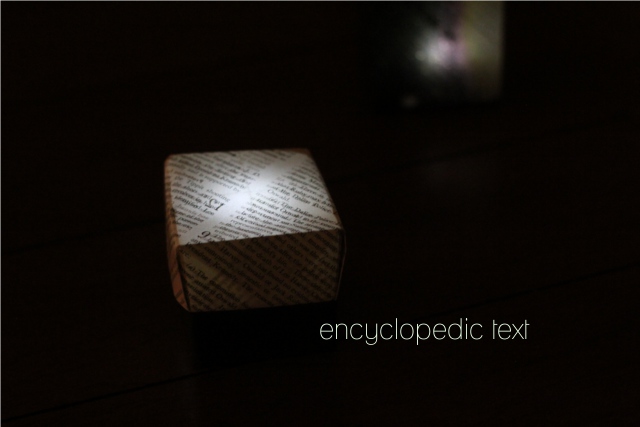
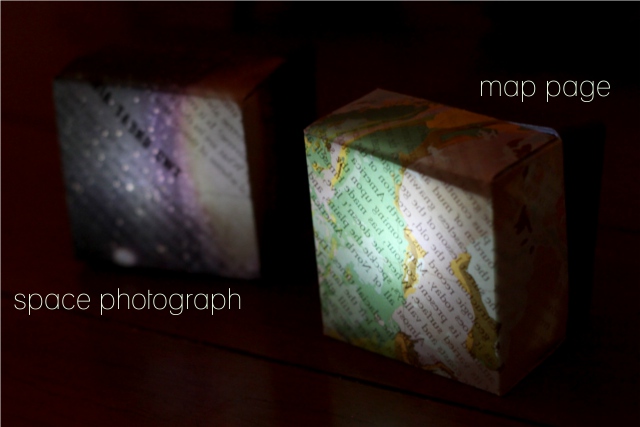
Remember to recharge the lights before their next use – just remove and set aside the paper, and reattach the light to the top of the yard light, and put it back outside!

So, what do you think of week one of the hack challenge?
What type of paper would you use on top of your lamps?
Leave your thoughts and comments below, I love to hear from you! :)
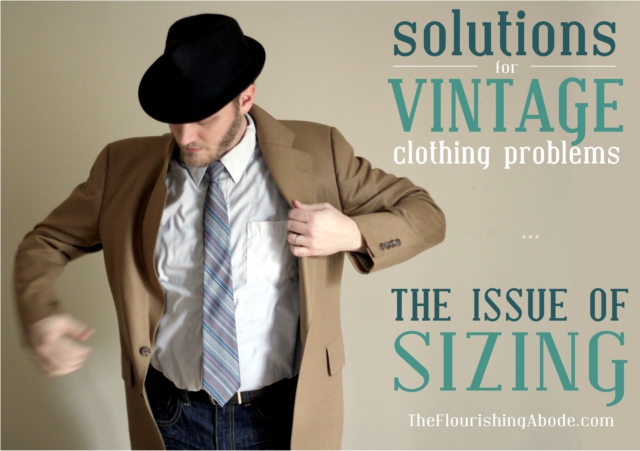
Solutions for Vintage Clothing Problems: Sizing

Personally I love to wear vintage clothing. I like the classic meets whimsical aspect of it. But if you love vintage like I do, then you’re probably been here before: you discover a fabulous vintage clothing find that seems to be in your size, only to realize that you would need to remove some major body organs and perhaps some limbs in order to be able to fit into it.

Sizing: it was the single biggest problem that people voted for in a poll I did on why people don’t wear vintage. Not surprising, since no matter how much you like a garment, if you can’t get it to fit, it doesn’t do you any good. However, it doesn’t have to be an obstacle to wearing vintage! Here are some tips to help you with vintage sizing troubles, many of which pertain to Etsy (where I sell vintage clothing and accessories), though many of the tips also have broader applications….

Tip #1 – Ignore the size given.
I’m sure you’ve noticed – sizing standards have changed over the years. A size 8 skirt today is completely different than a size 8 skirt from several decades ago. And between the fact that different brands size differently, different decades size differently, and different garments just fit differently, the best idea is just to ignore the size given. Don’t let the fact that there is a larger number on the size tag deter you. Sure, you may get a little “tag shock” when something that reads 5 sizes bigger than you normally wear fits you – but realize that the sizing is completely different! It doesn’t mean you have changed sizes, and its just a number, and no one else even has to know what the tag says! In fact – (vintage shopping hint, here!!!) you can often find great vintage items in “plus” size section of used clothing stores, simply because they get put there because of the number on the tag, not because they necessarily equate to a plus size today. And whatever size you wear, it will be a larger size you need in vintage – that’s the same for all of us.

This vintage shirt is labeled 18, but fits like a modern 10/12.

Tip #2 – Try it on!
This applies, of course, if you are actually in a vintage store, and it goes hand in hand with tip #1. You may be used to shopping where you know your size and don’t really need to try it on until you get home. But because of the sizing difference, its much harder to judge, so go ahead and try it on! But what if the garment is online? On to tip #3…..

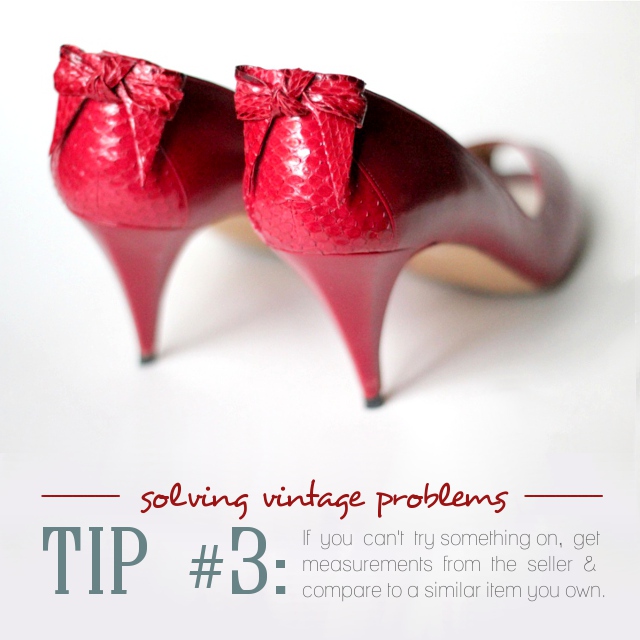
Tip #3 – Get all the measurements you can! (and know the measurements you need)
Online vintage shops can be a great place to find vintage! But you can’t try it on, and because you can’t trust the size given on a tag to be equal to the size you typically wear, your best bet is to get all the measurements you can. Shoulder, waist, chest, length, inseam, shoe width – you name it! Hopefully the vintage seller will provide these in the description of the item – I always do this for my wearable items. If not drop them a note to inquire of the measurements, or find a shop that does offer them in the listing. Make sure you understand how the garment is being measured … is the length from the neckline to hem, or from shoulder to hem? Is the waist measurement taken flat (so you need to double it) or taken all the way around? If its not clear, or if you have any questions, ask the seller. I always appreciate questions from customers, because I try to have all the information available, but sometimes you might have a question I hadn’t realized – so I appreciate it being brought up. Once you have the measurements, compare them to a similar garment you have that fits well. For instance, if you’re looking at a suit jacket, compare its measurements to the measurements of a suit jacket you own that fits you well as a way to virtually try it on.

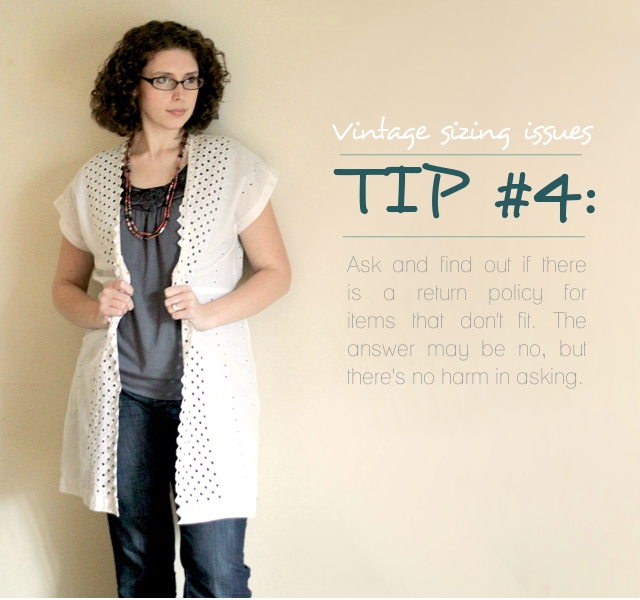
Tip #4 – Find out if there is a return policy for items that don’t fit.
This may or may not be available from any particular seller, but you can always ask knowing the answer may be “no” – or may be “yes”! Since a vintage item usually has already had previous owners already, the seller may not mind if you buy it and return it in its same condition if it doesn’t fit you. This will vary shop to shop, and you should be sure you understand the terms of the return if it is available (for instance, shipping both ways may not be refunded, or perhaps there is a time limit, or other restrictions.) This may or may not be available, but often sellers have a policy page you can check out, or you can drop them an message to ask.

Tip #5 – Think outside the box.
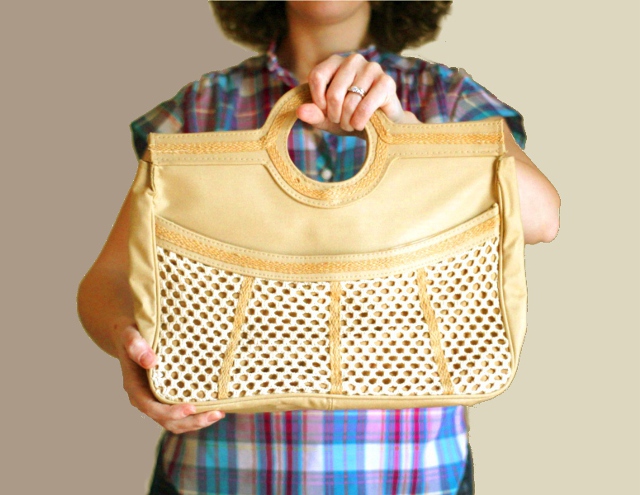
Sometimes its not that an item is too small – sometimes there are other sizing problems. For instance, many women’s shirts from 40-50 years ago were made to be tucked in, so the lower half of the shirt is very large and blousy, which may be unflattering. Try cinching with a belt, sewing in simple darts, wearing a vest or cropped jacket, getting alterations, or any other number of ideas. You can repurpose many vintage items to more closely fit your needs and size. Also, there are many ways to wear vintage besides clothing items that need to be a specific size: vintage jewelry, purses, scarves and other accessories for women …. or ties, luggage bags, hats, and other items for men, where sizing is not so much of an issue.

Tip #6 – Be willing to hunt – or find sellers who are good at hunting for you.
Vintage clothing has more character and lasting style than many items you could grab off the rack today, but its not surprising that it takes more work to find the perfect pieces. Keep looking and you’ll be amazed at what you can find. Or if you find a seller who has a taste in finds you love, keep an eye on that shop for more to come and let them do the hunting. Many online vintage sellers (I know this is true of me!) have much more vintage available than is currently listed, so you might even drop a note to to a shop you love to see if there is anything like what you are looking for in stock but not listed. You can also sign up for the RSS feed of Etsy shops to be alerted to new items being listed.

I hope these tips will help you with your vintage sizing troubles!
Do you have any tips to share?
Or do you have a vintage question you would like me to answer? This is a topic I have visited before, on a previous blog, but I wanted to revisit and expand a series of posts on vintage items.
Post your thoughts and questions below – I love comments! :)

10 Ideas for Crafty Organization

I wish I was a naturally organized person. The whole “a place for everything and everything in its place” idea is wonderful – but the first problem for me is finding a place for everything!

Back before the holidays, orders started flooding in for my art and I felt like all I was doing was packaging and shipping orders – and the packaging was taking f-o-r-e-v-e-r. For one thing, I didn’t have a good inventory storage system. Also, every time I needed to package something, I had to go gather all my supplies together. I don’t have a separate studio, so shop supplies had to put away to have livable space.

It just wasn’t working.

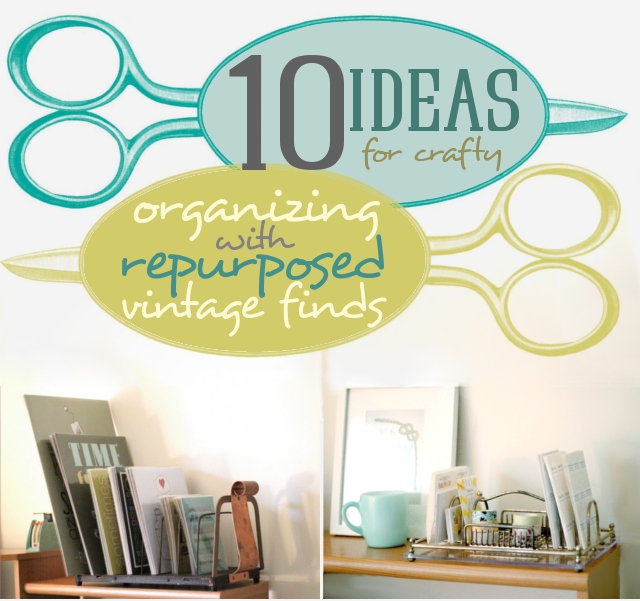
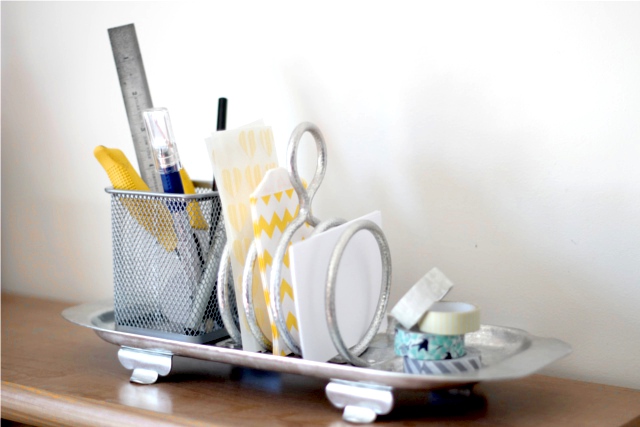
And then I bought two vintage items which drastically changed my art shipping process. They are pictured above: a vintage LP record holder on the left, and a vintage silverware caddy on the right. With the record holder, I was able to store my backed-and-sleeved art prints in a space-efficient way, where I could easily glance through and find what I needed. With my silverware caddy, I was able to store my regularly needed shipping supplies (washi tape, notecards, address labels, etc.) in one portable unit (love the handle on top!) so I could bring it out and put it away as needed. Packaging started going SO much faster.

Plus, its just fun to have nifty organizational stuff! And vintage items are generally nice and sturdy and will last well. So I thought it would be fun to gather a collection of vintage items from Etsy that can be repurposed in fun organizational ways, and help you find “a place for everything”. (A few of these are from my own shop, but most are from other sellers on Etsy.)

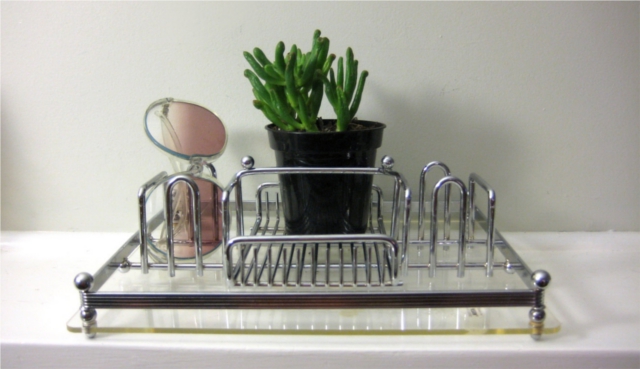
This vintage silverware caddy from SaltandGinger is almost exactly like the one I have! I highly recommend it for storing various small items – the little dividers, the “basket” and the handle make it just perfect for keeping small things organized and portable. You could use it for sewing supplies, or makeup and hair care items, or as a desk caddy – all sorts of uses!

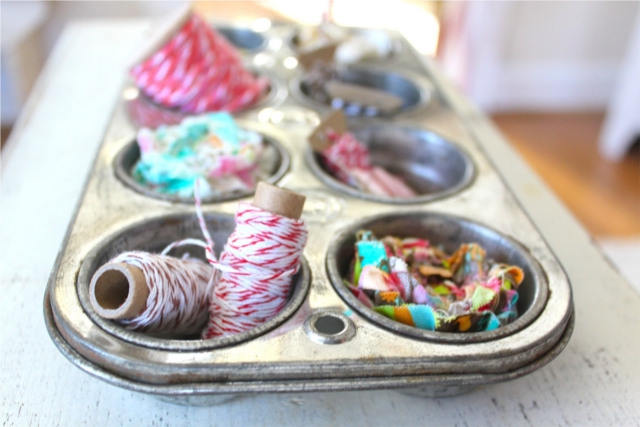
I think this is so clever – and pretty! This vintage muffin tin from NavarreCharm is such a charming idea for storing all those little-bitty items that tend to get jumbled together. Keep it on your desk to sort beads, or put it in a drawer and keep your safety pins and other such items from getting all mixed up.

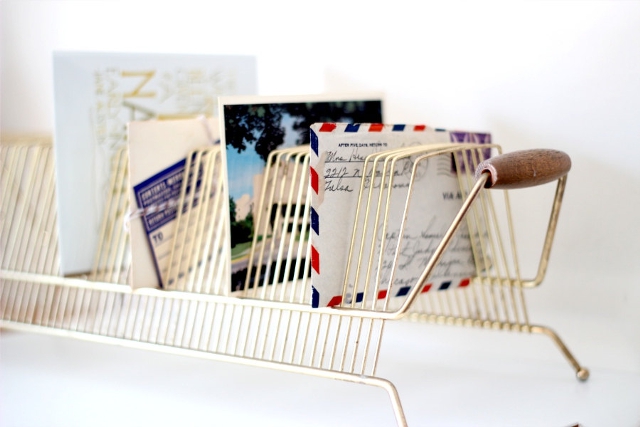
I’ve got a soft spot for old record holders. Few people need something to store their vinyl anymore, but we all have mail, printouts and other such items to sort. This one is nice and long and you could easily add dividers to keep track of various papers.

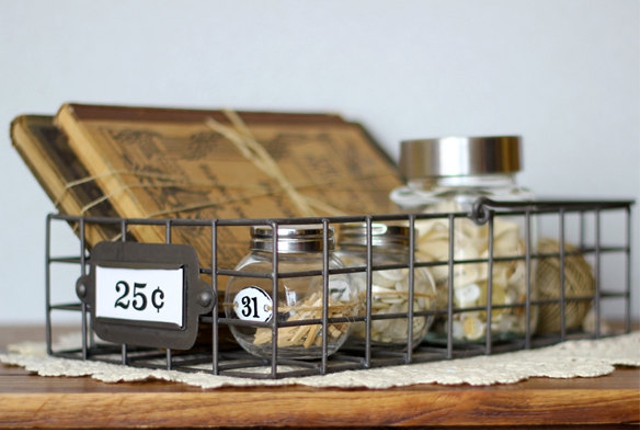
How charming is this vintage metal basket from TimelessFindsVintage? One great thing about a vintage storage item like this one – it doubles as decor! Especially nice if you have limited closet and hide-away places … keep crafty items out in the open in this cute basket. Bonus: it has a handle.

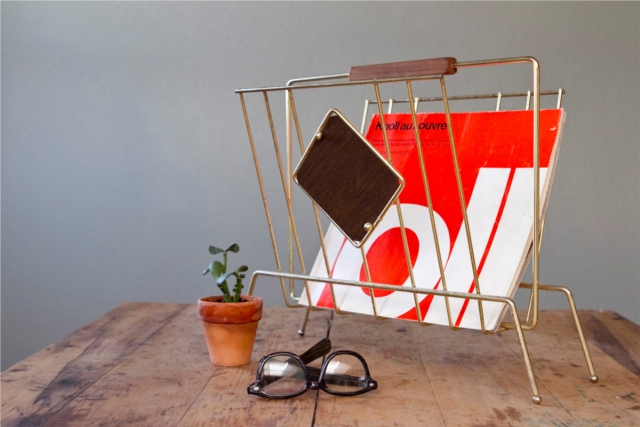
This mid century modern magazine rack from CastandCrew is so sleek! It would add a snazzy retro feel to a room AND give handy storage space. Use it to stylishly store magazines, craft books, mailers, skeins of yarn – you name it!

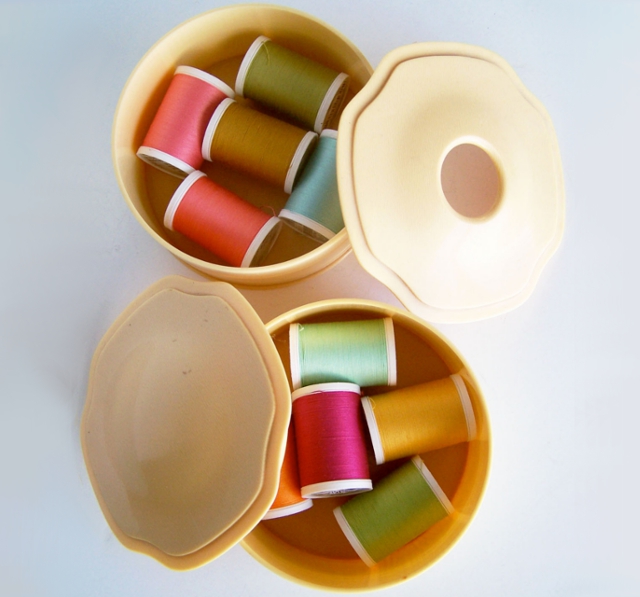
Another fun repurposing idea you might not have thought of before – a vintage vanity set from BusyBreeVintage could be used to house any number of small crafty items! The especially nice thing about these is that they have lids, to hide away contents and neaten your work space.

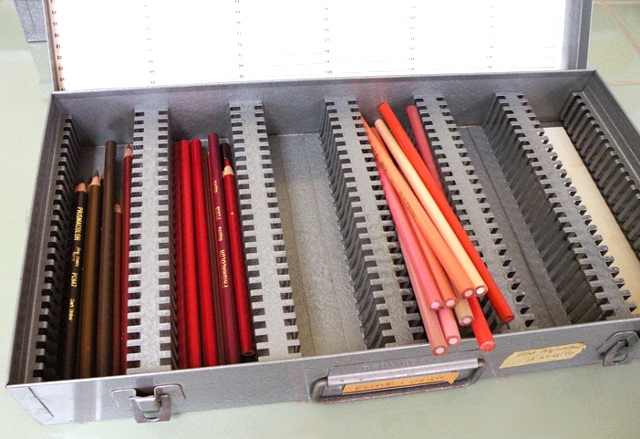
Now this is a vintage item which you probably wouldn’t have much use for its original purpose – but could be extremely handy to get things organized! This vintage photo slide box from heartkeyologie could house colored pencils, or other art supplies … or insert some slides (or little pieces of cardboard) in the slots to create compartments suited to what you’re storing. Make compartments for beads, seam rippers, thimbles, whatever you need!

I don’t know about you, but I don’t really need something to hold my toast (except my belly.) I listed this vintage toast holder in my shop, though, because I think it would make a great little caddy for storing crafty items. There are two blank spaces on either side (probably for butter/jam pots) where you could put pencil holders, and the spiral in the middle is handy for small paper items like stickers. And a handle. I’m fond of handles, in case you haven’t noticed. I like portable.

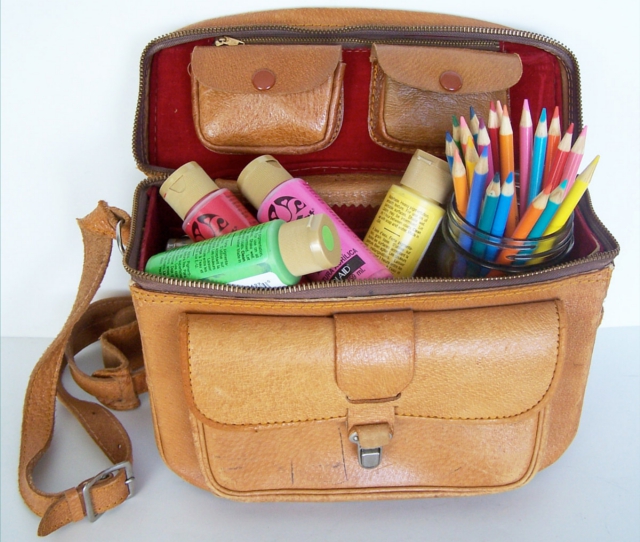
If you want something *truly* portable, though, check out this gorgeous vintage leather camera bag from BusyBreeVintage. Use it to carry your camera – or, as is pictured, to store and carry your art supplies! This would be especially nice if you like to paint outdoors – have you supplies together and ready to go! And, even when you’re not going anywhere, it still looks spiffy with all those art supplies.

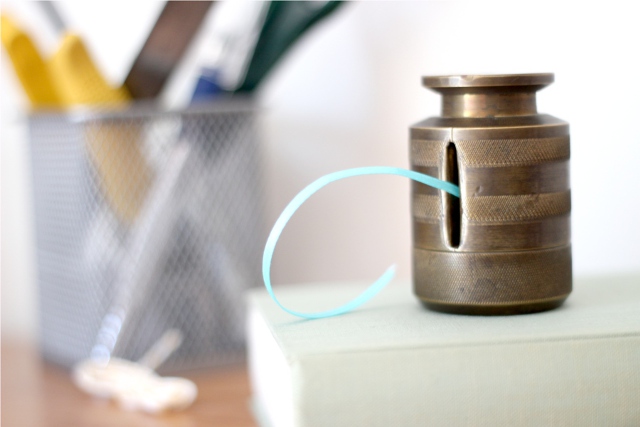
We have tape dispensers – why not dispensers for more items? This is a vintage brass postage stamp dispenser from my shop, but it wouldn’t have to be limited to stamps. Fill it with ribbon, or tickets, or trim, and snip off as needed!

I hope you’ve found these vintage items inspiring for organization!
Do you have other vintage repurposing ideas to help you get organized?
Are you naturally organized, or just trying to learn, like me?
Leave your thoughts and ideas below, I’m always tickled to get comments! :)

Pin It

DIY Planters from Light Fixture Globes

I simply love re-purposing items! I had lightly touched on these planters I made awhile back, upcycled from old light fixture globes, but I wanted to revist it and let you know how I made them. (Note: I love coming up with ideas – but I’m never going to claim to be the best gardener, so see my disclaimer at the bottom of the post!)

DIY Planters - TheFlourishingAbode.com

I’ll be the first to admit I’m not the best gardener. I tend to get excited about plants … then forget to water them, and then remember, and drown them. Ack! However, I’ve had some occasional luck with container gardening, and I wanted to share that idea I had that I think is very pretty. However, I recently read that adding gravel to the bottom of a container doesn’t really help drain plants. So considering my general lack of knowledge with plants, you can take or leave my steps – this is an outline of how I made my planters, but if you know of a better way to approach non-draining terrarium style planters, by all means do that – and please come back and share your tips, because I’d love to hear them! :)

Share your green-thumb tips (or lack of green-thumb woes like me) in the comments below! :)

Pin It