Skip to content

gardening

March’s Secrets:
The Present Month Project

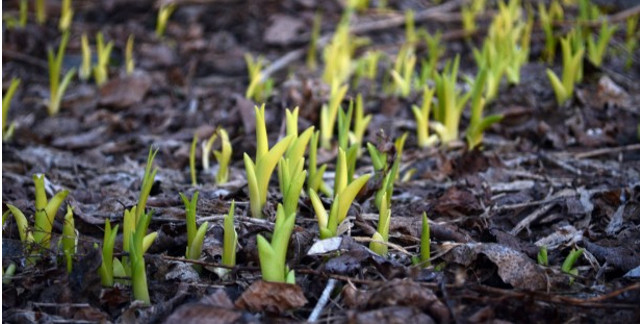
We just hit the first day of Spring – and we just had another snowfall. They say March comes in like a lion and out like a lamb, but that transition is not always a straight smooth line. March keeps you on your toes, looking for those signs of Spring just around the corner. And then when you see those first green shoots sprouting up through the ground? Pure joy.

March Secrets - Present Month Project

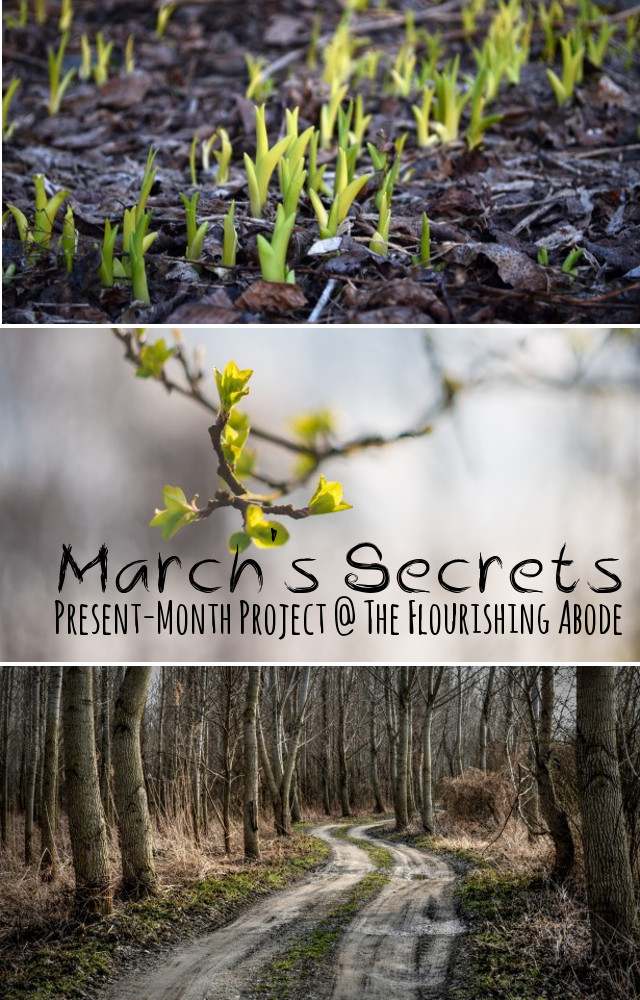
Spring, the beautiful secret you get to re-discover every year in March.

It was actually March that first inspired this entire Present-Month series. Last March, after a brutal winter, there was one particular and unexpected thing that our family loved at that time of year so much that it got my mind whirring on ideas for every time of year. You’ll find out what that particular thing was below in the “Listen” section. :)

So here is March’s Present-Month Project post, all about the unique joys of the current month. As with January and February, the categories of things to enjoy in March will fall into the following categories: TASTE, LISTEN, DO, and LEARN.

taste

Two of my favorite savory foods are in season right now: asparagus and avocados. Delicious!

Asparagus - in season produce for March

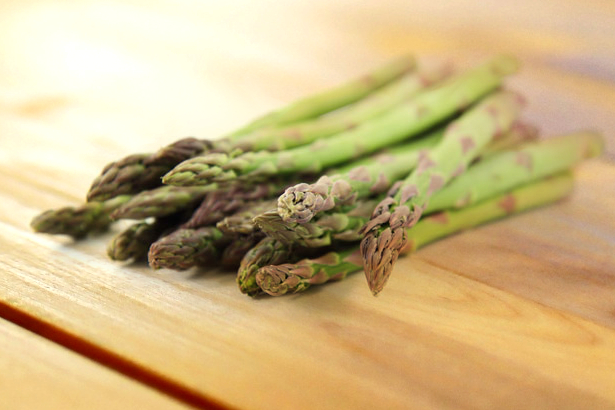
— Asparagus is just a pleasure to eat. There are all sorts of beautiful ways to prepare asparagus (wrapped in prosciutto!), but my favorite way is also very simple. Simply cook on a griddle, seasoned with a little olive oil, garlic, salt and pepper. I love the texture you can get cooking them this way – tender but crisp, with just slight hints of char. And the seasoning is subtle so you can truly enjoy the flavor of the asparagus. Couldn’t be easier!

Avocado - in season March

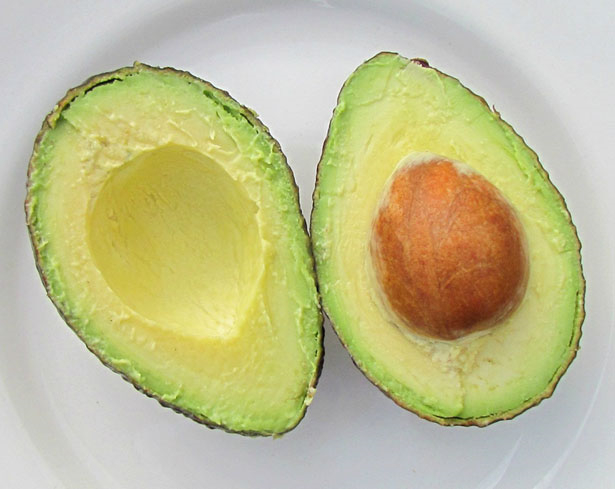
— Avocados are simply amazing – and one of my husband’s favorite foods. Often described as a “superfood”, there are all sorts of great things about avocados. But for my purposes, the two simple things I’m excited about: 1.) they taste amazing and 2.) they are in season. Open up some ripe avocados and toss in your salad, top on your eggs, mash in guacamole, slice on your sandwich, cube in your burritos, spread on your burgers – the list goes on and on. And while in the US avocados are generally used in savory foods, other parts of the world often use them in sweet foods. And let me tell you — a freshly made cold avocado bubble tea, such as I’ve had in a little mom-and-pop Vietnamese market, is a luxurious delicious treat on a warm day.

listen

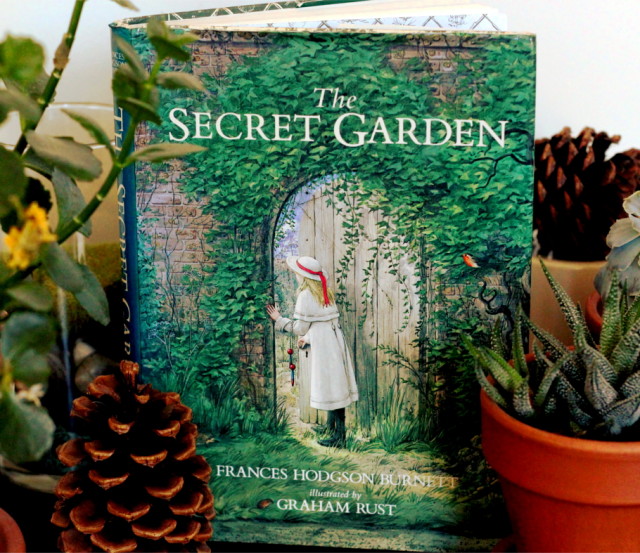
— This is the one that inspired this whole series. Last March, we were still recovering (and shoveling) from blizzard after blizzard, and were eagerly anticipating a Spring that seemed to be tauntingly slow in its approach. Unrelatedly, I was also exploring the free audio book library online, Librivox. I found one of my childhood favorite books, The Secret Garden, by Frances Hodgson Burnett, and we started listening to it as a family whenever we were driving somewhere.

Secret Garden - Best listen for March

It was so perfect.

Even if you’ve read it before (you probably have), it’s worth another listen at beginning of spring. Consider: The main character, Mary Lennox, has just moved to England’s cold and windswept moors at the end of winter. Having lived in the sticky tropics, she has never experienced the onset of Spring. And having been spoiled, she’s has never really had to wait for anything she wanted. She plays outside in the cold wind, and keeps hearing about Spring, wondering what it will be – and then as it begins, she immerses herself in learning how to care and nurture for the secret garden she discovered hidden on the manor grounds. It is the perfect listen for March. All the eager anticipation for Spring, and then the joys of the beautiful growing things, and the renewal and refreshing of the children in the book … it could not be more timely than to start listening to it in March!

The audio recording on Librivox is excellent and free: The Secret Garden Ver. 2. (There is more than one audio recording of the Secret Garden on Librivox, but version 2 is the best.) It’s fun to listen to as a family, all of us including my husband enjoyed it. It also gave us the opportunity to discuss with the kids that the ‘magic’ the children talk about making and fixing things is just pretend, that it’s actually God who creates the world and who is the architect of Spring. The story is a beautiful classic, and March is the perfect time of year to listen to it – and the narrators do an excellent job. There are free apps to listen to Librivox books on your smart phone, or you can listen online. Either way, start giving it a listen in March, and enjoy!

Listen to The Secret Garden - March's Secrets - Seasonal Activities

do

— Spring cleaning!! Spring organizing!! Spring decorating!! You know that amazing feeling when you can finally have the windows open, bringing in fresh breezes, sunshine, and the sounds of chirping birds? I love it. And then when you turn around from that window, and see the dust and mess from a snuggled-in winter home … well, it’s not hard to see why spring-cleaning is a thing. Digging in and doing a lot of the deeper cleaning that might not get done as often, or more deeply organizing parts of the home that tend to accumulate clutter, or swapping out heavier winter linens and décor for lighter breezier spring options – all are work, but make the home so much more pleasant.
March - Spring Cleaning inspiration from Gardenmis
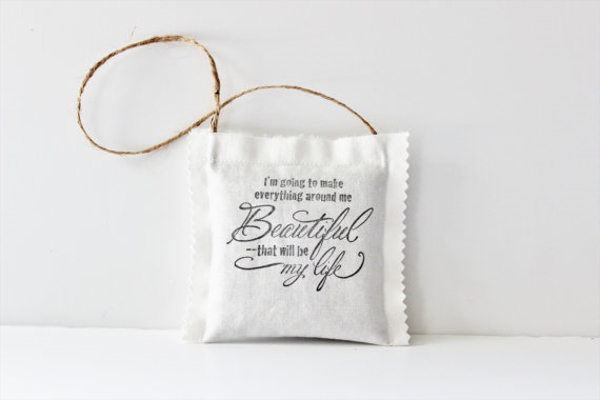
Spring scents can also help freshen up the home. Here is a lovely quote on a lavender sachet from a handmade shop I love, Gardenmis.

I’ve seen various types of guidelines and check-lists for spring cleaning and organizing a home, but living in apartments often gives me different types of spaces than a traditional house, and I find that the division of tasks often doesn’t fit my space. Plus, home to home will vary in particular needs anyway. So, instead of following someone else’s step-by-step plan, I plan to go around our home and take notes: What areas need a deep clean? Where are places that are clutter magnets? Of the clutter – what categories of things need to be assigned homes, and what types of things need to be gotten rid of? What are spaces that could be better utilized if they were reorganized? And so forth. Once I have a list of tasks, I can divide them up into manageable chunks that I can fit into my schedule. And then it’s hello spring-time indoors as well as outdoors!

Spring decor from Peony & Thistle
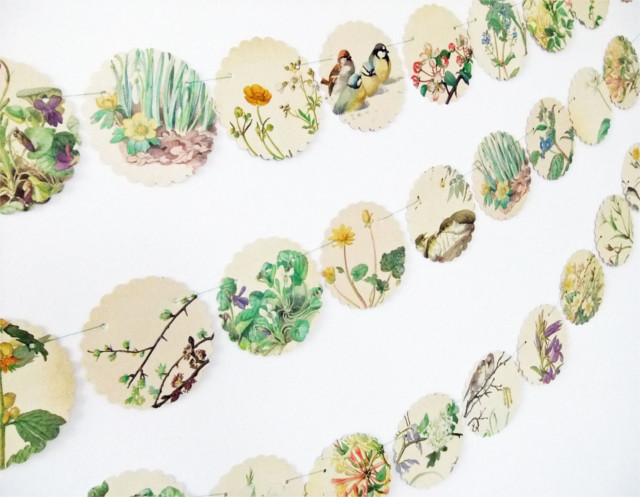
A beautiful paper garland from the handmade shop Peony & Thistle. Wouldn’t this make the inside feel so spring-timey? Yes, I think so too.

learn

— It’s time to think about gardening! Exactly when to start what plants will vary by location – the end of frost here is much later than down south — so learn what types of plants you can start where you are. Or, if you’re like me and don’t have any outdoor space, learn about what types of plants can do well indoors! Herbs are a great choice. For the first time, I have plants in our home that have been growing for a year. I’m so excited! And I’m planning to start more now that the warmer weather is coming – a little herb garden, as well as just pretty succulents and greenery to freshen up the apartment. I always considered myself to have a black thumb, but I’ve been learning more and more about how to keep my plants alive, and I love having them in the apartment, especially since we don’t have a yard. There is something amazing about seeing the way God’s creation works, and the plant that can grow from such a small seed. This is the time of year to get into it, so check out some books, find a good gardening site, visit local greenhouses, and learn about how and when to get your garden growing – whether a backyard vegetable garden, or flower beds, or window boxes, or indoor container plants!

Vintage Gardening Books from BookBundle - March Seasonal Finds
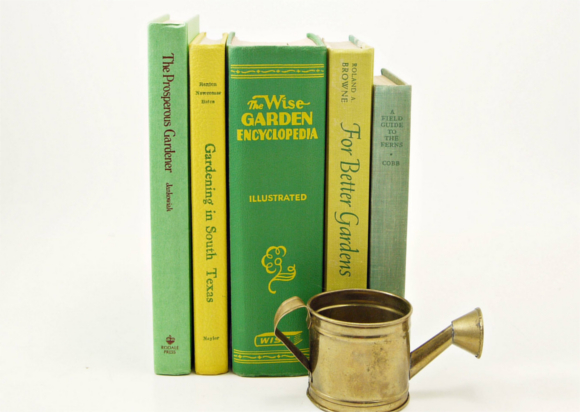
Beautiful vintage gardening books from the vintage shop, BookBundle.

March Seasonal Produce and more - Present Month Project

So, from asparagus and avocados, to listening to the excellent free audio book of the Secret Garden, to working on spring cleaning, to planning your garden, there are so many things to enjoy this during time while March is easing us into spring.

Do you have anything you would add to the list of things to enjoy in March? Leave your thoughts in the comments below, I’d love to hear from you!

Hack Challenge: Week 3! DIY Hanging Planter

It’s week 3 of the hack challenge! And I must admit, it was a close call this week to get a project done.
But, ta da, here it is!

I wasn’t quite sure how I was going to get any project finished for this week’s post done while we are out of town … I had a back up plan in mind, but I’m glad I didn’t have to use it because I wasn’t terribly thrilled about. Fortunately, my sister in law up here in New England was having a craft night at her house this week, and I realized it would be the perfect opportunity to work on a hack challenge project! First, though, a trip to the local thrift store was in order. I’ve been asked how I come up with these project ideas – well, basically I go to a thrift store or hardware store or somewhere else that has interesting items I might be able to upcycle … and I hunt there until that “aha!” moment. This time, I was at the thrift store and spotted this:

A row full of old wooden wall mount candle holders. Tip: when in doubt, pick something up, turn it upside down and figure out what to do with it then. ;)

This week’s project turns one of these candle holders upside down and suspends a little creamer pitcher from it to create a unique small hanging planter. Aha! :)

For this project you will need:

Supplies:

– A wall mount candle holder. Make sure it is one that has the actual candle holder part secured on with a screw. (Most are like that, so it’s not hard to find.) I chose one with a mirror, but it certainly doesn’t have to have a mirror. Just pick one you like.

– A small creamer pitcher. Or small jar, etc., as long as it has a handle. Try to find one that has a handle which is weighted toward the top. In other words, if you just hang it on your finger by the handle, it should still be facing mostly upward, not completely sideways or upside down. If the handle is toward the bottom of the creamer, it will face downward, and would spill the contents if hanging. You want one with a handle toward the top so the contents will stay inside when it is hanging.

– Wire. I used about an 19 gauge wire. You definitely want it to be sturdy, because of the weight it will be supporting – but it also needs to be pliable for tight wrapping.

– Pebbles. This is for drainage in the bottom of your planter.

– Plants. Just whatever you like! I think something that trails some would be pretty due to the way the pitcher will look like it is almost pouring out the plant. Like ivy, or a trailing succulent, etc. Nothing large, this is a small planter.

– Soil. Whatever type of soil is appropriate for the plants you chose.

Tools you will need:

– A screwdriver. It will need to fit the screw that secures the candle holder.

– Wire pliers/wire cutter. For the wire. Um, yeah, pretty straightforward. :)

And now that you have everything you need, here’s how to make it!

UPCYCLED HANGING PLANTER TUTORIAL:

Step 1: In the bottom of the little cup that holds the candle, there should be a screw. Unscrew it completely.

Step 2: Since you will be hanging the entire finished project upside down from the original orientation of the candle holder, remove the hanging bracket on the back of the candle holder, and attach it to the other end, so it can hang the direction you want.

Step 2: (Photographed below) Using the wire pliers, tightly wrap around the screw (the one that had attached the candle holder) a couple times between the head of the screw and where the threading begins. The end of the wire should not be in these tight loops. There should be several inches of wire coming out from one end of the loops, and the rest of the wire should continue out from the loops. Bend both continuing segments upward so they go up over the head of the screw. Tightly spiral wrap the shorter end of the wire around the other wire. If after several tight wraps you still have too much wire, cut the extra length off of the SHORT wire. Reattach the candle holder, and securely screw back in the wire wrapped screw.

Step 3: (Photographed below) Loop the wire that now extends downward from the candle holder a few times tightly around the handle of the creamer. Then, in the same manner as on the screw, use the wire pliers just above the creamer’s handle to very tightly wrap the continuing wire back around the wire the hangs down from the candle holder. Don’t skimp on the number of loops, and don’t let them be loose. This is what is securing the wire from unraveling and dropping the creamer, so make sure your wire wrapping is nice and tight!

Step 4: Place a layer of small pebbles in the bottom of the creamer for water drainage. Add soil, make holes for your plant(s), loose the plant’s roots and place the plant in the planter. Place more soil on top of the roots, and gently water your plants according to their needs.

Step 5: Hang your new upcycled planter on the wall and enjoy!

A couple additional ideas that people who saw me working on this project mentioned:
– If you wanted, you could paint the wooden candle holder before attaching the creamer.
– To make it a little artsy, in addition to the structural wire wrapping, you could do some free form wire wrapping around the entire creamer.

I hope you enjoyed this week’s diy home decor project!
If you did, you might also be interested a previous planter project I made out of old light fixture globes, or in the other hack challenge posts.

I’m curious – if you were going to paint the candle holder, what color would you paint it? Leave a comment below, I love to hear from you!

Adventure Challenge: Week 6! Photography Hunt

Time for week six of the adventure-a-week challenge! This time was a little different because there wasn’t just one set aside time for the adventure, but instead it was spread out over several days. The goal? Find and photograph all the colors of the rainbow in springtime plants for this Spring photography challenge!

Right now is a perfect time around here for this – all the flowers are blooming and the weather is just lovely. I actually had been planning on something different for this week, but when I saw all the colors popping up and blooming, I knew we had to try to find them all. And it was more challenging than I expected! Blue and orange can be a little trickier to find. Part of the time we just kept our eyes open everywhere we went for the colors – and part of the time we went for walks and drives specifically looking for them. And always with a camera on hand! It was a fun hunt! And makes for a great photography subject, of course. Here is our spectrum, and then below it are a a few ideas and photography tips:

If you want to add another dimension to the project here are a few ideas, whether you want to do it on your own, or with kids…

To make this more challenging, you can set limits on where you can find the colors. For instance, you could try to find all of them within a set area, like along one road, or in an urban setting where they might be harder to find. Or, you could set limits in a different way – for instance, you could set botanical gardens off limits, or try to only find flowers that are growing in the wild. Any limits like this can make the project more challenging!

— If you have small children who don’t know their colors yet, this can be a fun way to teach colors! Or, if you’re like me, and your kids are old enough to know their colors, they can have a lot of fun helping you hunt for them.

— Or, this can be a fun project to just take off on your own and get to know your camera better! Some of my shots I was more pleased with then others, so I am still learning, but here are a few photography tips that might help:

Natural light is the best lighting for photography – but direct sunlight is not. Bright and direct sunlight causes harsh shadows and reflective whites. An overcast day can be perfect for getting great shots – or if you’re shooting something small like a flower, try standing so that your shadow falls over the plant. That way there is plenty of natural light, but not direct sunlight on your subject.

— If you have a point and shoot, try using your macro setting – it is usually shown with a flower icon. I use a DSLR camera, but I don’t have a macro lens yet, so my pictures are shot from farther away, and then cropped down to just the flower. Not optimal. It would be better to shoot closer to the subject.

— Whether you shoot an up close shot or you crop it afterwards (or both) try to have most of the final version taken up by the color you’re photographing. That way when you put all the photos together, it will make a more clear “rainbow” of colors.

I hope this inspires you to go outside and enjoy the beauty of spring! To see all the rest of the posts in this adventure a week challenge, you can click here.

And I’ve got an exciting announcement since this adventure challenge is almost over, about what the next challenge will be! I’ll be sharing that on Monday, so be sure to come back for that. :) If you’d like to stay in touch for future posts, be sure to subscribe to my blog!

Post you thoughts in the comments below, I love to hear from you! :)

DIY Planters from Light Fixture Globes

I simply love re-purposing items! I had lightly touched on these planters I made awhile back, upcycled from old light fixture globes, but I wanted to revist it and let you know how I made them. (Note: I love coming up with ideas – but I’m never going to claim to be the best gardener, so see my disclaimer at the bottom of the post!)

DIY Planters - TheFlourishingAbode.com

I’ll be the first to admit I’m not the best gardener. I tend to get excited about plants … then forget to water them, and then remember, and drown them. Ack! However, I’ve had some occasional luck with container gardening, and I wanted to share that idea I had that I think is very pretty. However, I recently read that adding gravel to the bottom of a container doesn’t really help drain plants. So considering my general lack of knowledge with plants, you can take or leave my steps – this is an outline of how I made my planters, but if you know of a better way to approach non-draining terrarium style planters, by all means do that – and please come back and share your tips, because I’d love to hear them! :)

Share your green-thumb tips (or lack of green-thumb woes like me) in the comments below! :)

Pin It

Went exploring – and found some beautiful inspiration!

A little spot I found – doesn’t this look like the perfect place to read a book?

I *love* to go exploring. Just finding what my local area has to offer – beautiful spaces to wander in, unique mom and pop businesses, interesting niches to discover. Of course, you already know this about me since I’ve talked about it before.  But we went exploring in a small nearby town this week and I came across this great idea I just HAD to share with you!

So, Maryville is a small town just a few miles south of us, and I definitely demonstrate that I am not native to this area by pronouncing it “Maryville” instead of “Mahr-vul”.  But its a charming little town, which I had never been to until my awesome husband Tim scouted out the historic little downtown for our last anniversary and took me to a gorgeous old art-deco style theatre turned coffee house there. Aaaaaah, SO fun! Yep, he knows just what I like.

The little area we explored – Maryville’s Bicentenial Park

We decided to go exploring there the other day and scout out an area we had stopped by briefly the day we went to the coffee shop.  The library is located in a picturesque area called “Bicentenial Park”, with a small river, lovely bridges, and walking trails. My favorite find, though, which I thinks is SUCH a great idea and really wanted to tell you about was actually connected to the library: A Shakespeare inspired garden.

Now what is a Shakespeare garden you ask?  The plants in the little garden were actually all mentioned in Shakespeare’s plays! Small signs told the plant names and in which play they were mentioned. Loving books as I do, I was in LOVE with this idea!

My mind started whirring – what other kinds of themed gardens could you do? You could choose another author or literary theme … or you could think broader.  What about a musical garden? Plants with music names (like trumpet flowers) … or plants mentioned in music!  A Coldplay garden occurred to me … I know of songs like “Violet Hill” and “Strawberry Swing”. You could do all sorts of themes!

Some more photos from wandering around this little area….

I love the old repurposed railroad salvaged materials here!


Fountains and the under side of bridges: LOVE!

Have you been wandering or exploring lately? Have you founds any inspiration?
If you were going to do a themed garden, what kind of theme would you do?
Tell me your thoughts in the comments!!