Skip to content

food

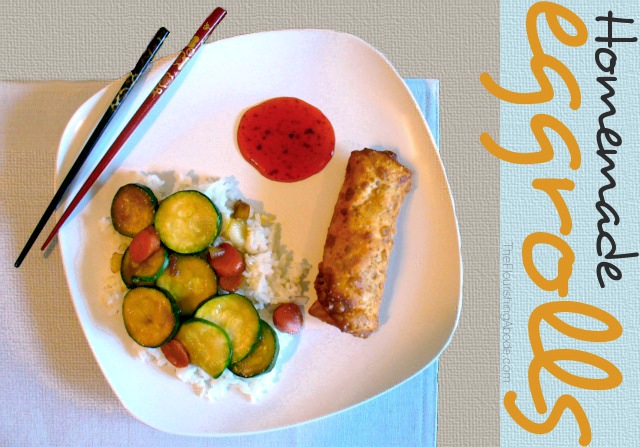
Forget take-out, make egg rolls at home!

I love to cook, and I feel that almost everything is better homemade – except Chinese take-out. For all my efforts and trials, I just cannot make General Tso’s like take-out. Or hot and sour soup. When I was pregnant with my little one, I craaaved hot and sour soup like nobody’s business. I even wrote an ode to hot and sour soup. (Yeah, I’ll throw it in at the end of the post, just so you can laugh at me, so be sure not to miss it.) But then when I tried to make it, it literally smelled like a cow’s barn. And that wasn’t my weird pregnancy nose – my husband agreed. It went down the sink. Usually I feel like if I choose to, I can tackle most food “genres” in the kitchen, and prefer homemade – but Chinese take out? Nah, let me just call in an order.

But the exception to this exception is egg rolls. I definitely prefer my homemade egg rolls, and now you can make them too! I’m not claiming these are authentic to anywhere, or anything like that – and I’m not going to claim that anything deep fried is healthy. I’m just going to claim that I think they are delicious and prefer them to take-out egg rolls!

Note: Pleeeeeese be careful when deep frying. Bad stuff can happen if you do it wrong. I’m including some safety tips, but use common sense and realize I’m not an expert by any means, and if you haven’t done deep frying before, I’d recommend reading up on how to do it.
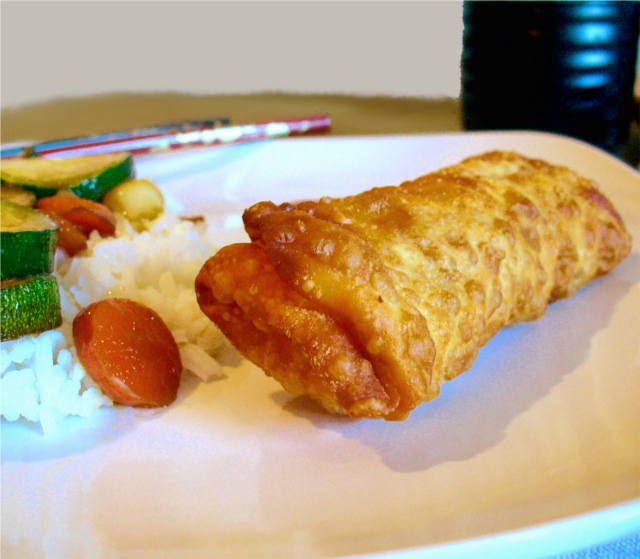
Egg Rolls Recipe, from TheFlourishingAbode.com

Ingredients:
Small head of Cabbage
1-2 Carrots
3-4 Mushrooms
¼ cup Cooked Pork (optional)
1 Tablespoon Soy Sauce
2 Tablespoons Teriyaki Sauce
1/8 teaspoon Ground Ginger
¼ teaspoon Garlic Powder
3 Tablespoon Brown Sugar
¼ teaspoon Sriracha Sauce
Egg roll wrappers
Canola Oil

Tools needed:
Small bowl of water
Large wok or similar
Platter, Plate or Tray
Paper Towels
Large Metal slotted spoon or metal tongs

1- Cooking with hot oil can be dangerous. Read safety tips on deep frying and cooking with oil, below.* Also, read through the entire recipe before beginning to know what to expect, as once frying begins timing is important.

2- Very thinly slice/shave cabbage as you would for coleslaw, until you have about 3 cups of cabbage. Grate carrots to make about ¾ cup. Slice mushrooms into very small slivered pieces, similar in shape to the carrots and cabbage, about ¾ cup. Shred pork into small pulled pieces, about ¼ cup (Optional). Combine all of these in a mixing bowl.

3- In a small bowl, whisk together soy sauce, teriyaki sauce, ground ginger, garlic powder, brown sugar and sriracha until well blended. Pour over cabbage mixture and toss until evenly distributed to make the egg roll filling.

4- Place about 3 tablespoons of egg roll filling in the center of an egg roll wrapper. Angle wrapper so that one of the corners is facing you, then take the left and right corners, and fold them to the middle. Take the corner pointing at you and fold it to the middle, then roll the whole egg roll toward the top corner, handling delicately. Dab a bit of water on the egg roll where the top point will land. Press corner gently onto wet spot, then dab a little more water on top of the corner, spreading the moisture over the edges of the corner where it meets the egg roll. Don’t get the egg roll excessively wet, however, and set aside. Let dry while you repeat on the rest of the egg rolls, about 10-15 in total.

5- Prepare a platter with a few layers of paper towels to set the cooked egg rolls on to absorb excess oil. Have a large slotted metal spoon or metal tongs ready to use – avoid plastic utensils as they will melt in the oil.

6- In a large wok, slowly heat enough Canola oil to half fill wok. If you have a cooking thermometer, monitor the oil and slowly let the oil heat up to maintain a temperature of 375 degrees while cooking, but before adding egg rolls bring the temperature about 15 degrees higher, as the egg rolls will lower the temperature of the oil when added.

7- If you are not using a thermometer, you can tear an egg roll wrapper into strips, and gently place a strip into the oil. If it sinks and doesn’t bubble and crisp up to a light brown right away, the oil is not hot enough- cooking your egg rolls in oil that is too cool will result in the egg rolls absorbing to much oil and getting soggy. If the test strip of egg roll wrapper turns dark brown and burns, the oil is too hot, so lower the heat. Properly cooked egg roll wrapper strips are delicious as wonton crisps.

8- Make sure the egg rolls are not dripping wet from where you dabbed them with water, as putting water in the oil will cause splattering, which is dangerous.

9- When oil is ready, gently slide one egg roll into the oil with the metal spoon or metal tongs, taking care not to splash or splatter.

10- The egg roll should float if the oil is the proper temperature. Pretty quickly you will be able to see the submerged half of the egg roll becoming light brown, bubbly and crisp. Using your metal utensil, gently roll egg rolls over to cook the other side. Gently slide in a second egg roll. Continually monitor the temperature of the oil.

11- As soon as the first egg roll is light brown and crispy/bubbly all over, promptly remove from the oil with your metal utensil. Do not allow to burn or sit in the oil for too long and absorb more oil than necessary. Briefly hold the egg roll just above the oil to allow most of the excess oil to drain off back into the wok. Place the egg roll on the paper toweled platter.

12- Gently roll over the second egg roll, and gently add in another egg roll. This begins a cycle where the second side of one egg roll will be cooking while the first side of another egg roll cooks. If you stay in this pattern, it will be easy to keep track of the doneness of the egg rolls. Only have two egg rolls in at a time – do not over crowd the oil as it will cause the oil’s temperature to drop too rapidly.

13- Repeat steps 8-12 until all the egg rolls are cooked. Continually monitor the temperature of the oil and use safe frying practices.

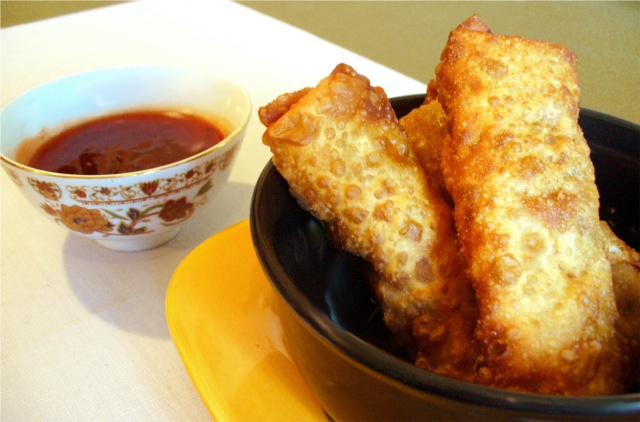
14- Serve egg rolls while still warm. Delicious dipped in sweet and sour sauce! Enjoy!

* Always be very careful when working with hot oil. Never leave oil unattended. Turn any handles away from the edge of the stove, and keep small children away from hot oil. Do not wear long loose sleeves while frying. Do not have any water near enough the oil to be able to spill into the oil as this will cause an explosion. Using a cooking thermometer is recommended– maintain a cooking temperature of 375 degrees Fahrenheit, heating the oil to about 15 degrees higher than this before food is added, because it will cool the oil when added. The smoke point of Canola oil is 468 degrees Fahrenheit, so stay well below this temperature. (Click here for this and more information on safely frying in Canola oil.) If you use a different oil, it will have a lower smoke point, so be aware of your oil’s smoke point, and use it safely. Reused oil always has a lower smoke point, so educate yourself about the state of your oil. Use any and all necessary safety precautions, whether mentioned here or not.
And now, for your entertainment, here is my very own “Ode to Hot and Sour Soup”, written tongue-in-cheek during a time of deep craving:

Oh, luscious bowl
Of soup, hot and sour!
So deft with my spoon
would I gladly devour
the glorious broth,
floating bits, undefined,
and yet without knowledge
I shall be satisfied.
Oh, such a succulent
treat to be eaten!
Pray, give me no coffee
e’en with sugar sweetened!
And no mashed potatoes
Though creamy and beaten-
Give me naught but my soup
Oriental in flavor,
And each wondrous bite
will I joyously savor!

Yeah, yeah, I know, I’m weird. :) Anyway, I hope you enjoy the recipe!

Have any of you figured out how to make take-out at home? I can do stir-fry and curry and stuff like that, but not good-ol’ take out classics like General Tso’s and hot and sour soup. If you have tips, let me know!

Or any general thoughts/comments/pointing-and-laughing, or whatever you feel like – you know I enjoy hearing from you, so leave your comment below! :)

Pin It

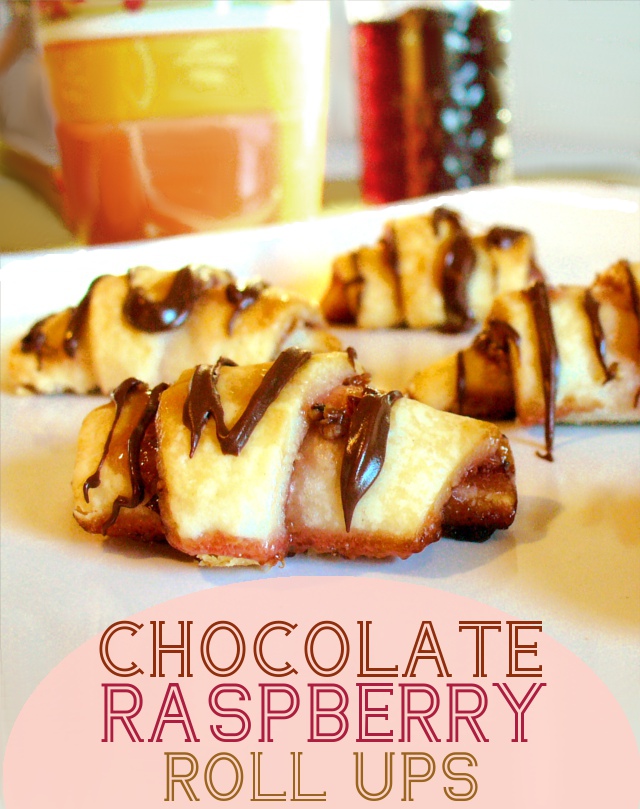
Chocolate Raspberry Rollups Recipe

These are a simple little roll-up I came up with – they’re not overly sweet. They would make a nice mini-pastry for a special breakfast. Or serve with coffee for a subtly sweet dessert. Take care not to burn the walnuts – they don’t need very long in the pan at all.

1 Pie Crust
1 Tablespoon Butter
2 Tablespoons Brown Sugar
Scant 1/8 cup very finely chopped walnuts
¼ cup Raspberry Jam or Preserves (not jelly)
¼ cup Semisweet Chocolate Chips

1- Preheat oven to 350 degrees.
2- Roll out pie crust on a cutting board. Spread jam evenly over crust almost to the edges, and set aside.
3- In a small skillet over medium low heat, melt butter. Add the very finely chopped walnuts and the brown sugar, and sauté just long enough to coat the nuts. Immediately remove pan from heat and sprinkle evenly over raspberry jam.
4- Slice crust pie-style into 16 triangles. Take each triangle and starting at the outside roll up, then set on a cookie sheet, making sure the small point of the rollup is facing down.
5- Bake about 12-16 minutes at 350 degrees. Move to a tray or plate.
6- Once the rollups are cooled, carefully melt the chocolate chips and drizzle on top in a zig zag pattern.
7- Enjoy! Makes 16 rollups.

Obviously, you could make any number of variations on this, besides raspberry/walnut/chocolate, just use your imagination! Have any ideas?
Post your ideas and thoughts in the comments below!

Pin It

Tea: It doesn’t have to be formal & girly

(Sorry for my lack of blog-posts last week … I was in Florida! If I was more organized and had planned ahead more I would have had blog posts pre-written and scheduled to post while I was away. But .. well, that didn’t happen. But the week in FL was awesome – it was a road trip with my extended family, I got see my siblings at college, attend a week of Bible lectures, and see my brother in the Spring musical. WooT!)
And now I’ve returned from the 80+ degree weather back to the chilly snowy days of February. Right before I go out of town, I try not buy new groceries and instead use up what I have in the house so that I don’t have food just sitting around and spoiling while I am gone. Which is a good plan, I think, but also means when you get back into town, there’s not much on hand. So I’m planning out this week’s menu today and I’m about to head out to the store.

I don’t know how you plan your meals, but I often think in food “genres”. I have a friend who never makes the same meat twice in a row … if it was chicken last night, it can’t be chicken tonight. Personally, I don’t mind repeating the same meats, because there are endless varieties of how to prepare them – but I do like to mix up cooking styles. Maybe Italian one night, Indian the next night, and Japanese another. Of course, the week’s cooking rarely goes strictly according to the predetermined schedule, but that’s how it plays out on my list.

One “genre” of meal that I like to do sometimes is tea. Tea the meal, not just tea the drink, that is. I think tea as a meal gets overlooked sometimes because (at least in America) tea as a meal is seen as being very girly. People tend to think of Victorian style tea parties, big hats and gloves. But it doesn’t have to be that way! We have tea in a much less girly way, and tea for supper is a special treat in our house – even my husband enjoys it.

I’m certainly not going to claim to prepare an authentic high tea.  Think of it more as being inspired by tea.  Typically, when I make tea as a meal, I break down the components into 4 “S” categories: sandwiches, scones, snacks, and sweets.  And then, of course, there is also the tea itself. But there are a variety of things you can prepare based on this loose idea of tea as a meal, and so I’m going to offer up a list of ideas to get your mind rolling.  I like to make one item from each category, but you  could do it any way you choose. Here are  a few ideas from each category:

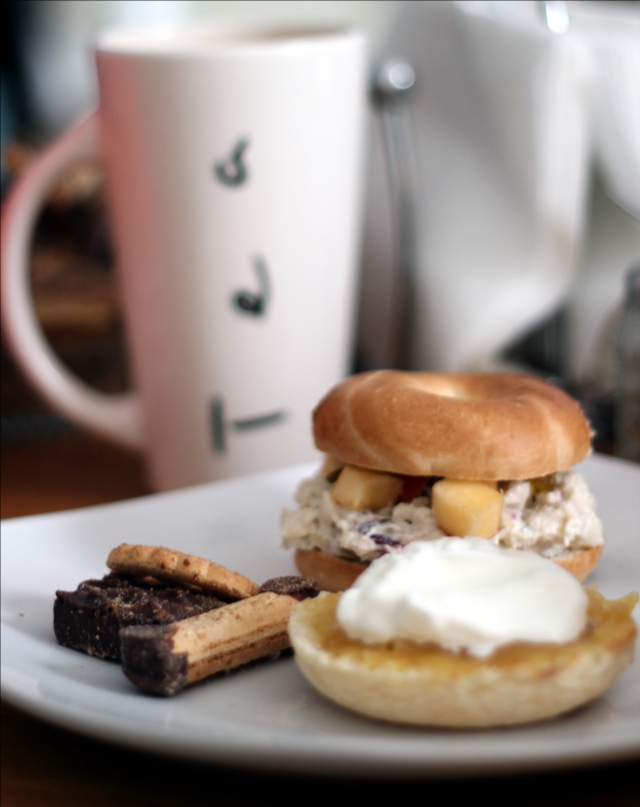
– Chicken salad and diced apples on a bagel (as pictured above)

-Cucumber sandwiches (mix cream cheese w/ a little dill and garlic, spread on bread, add sliced cucumbers)

-Sliced chicken with avocado slices, and tomatoes in pitas

-BLTs on english muffins

-Chicken cooked with curry spices on bread, topped w/ cucumbers, sliced bell peppers and chutney

-Ham and swiss, diced onions, dijon mustard and poppyseeds baked in rolls

-Guacamole, bacon, tomatoes, and bean sprouts on sliced french bread

-Etc.!

-Fresh fruit (grapes, pineapple, sliced apples, strawberries, or pears, etc.)

-Fresh vegetables (baby carrots, cherry tomatoes, cucumber slices, etc.)

-Variety of cheeses and crackers

-Hummus and pita triangles

-Spinach artichoke dip

-Quiches (can make mini quiches, or save time and make one full size)

-Fresh salsa

-Assorted pickles (sweet pickles, dill pickles, pickled peppers, etc.)

-Etc.!

(Note: Scones are very easy to make! I’ll have to share a recipe in a later post.)

-Traditional scones, served with lemon curd (a sweet lemon spread), clotted cream (a creamy mixture somewhere inbetween butter and whipped cream) and strawberry preserves on the side. This is my favorite!

– Glazed lemon poppyseed scones

-Pumpkin scones with whipped maple butter

-Blueberry scones with lemon curd

-Maple scones with apple butter

-Chocolate chip scones with clotted cream

-Etc.!

-Tea wafer cookies

-Banana bread

-Earl grey cookies

-Small candies or assorted cookies

-Nutella (to spread on fruit or scones)

-Lemon curd/clotted cream/fruit preserves (to go on scones)

-Cupcakes

-Etc.!

Serve your favorite tea, or just have hot water available and let each person make their own!  Here are a few of my favorite teas…

-Assam. A dark full bodied tea … sometimes called “the coffee of teas”. My favorite. :)

-Irish breakfast tea. This is a rich black tea, and reminds me of Assam, but is easier to find.

-Fruit and herbal teas.  Nice to have on hand if you want something a little lighter – I’m partial to peach.

-White tea. Light and refreshing, but can be pricey.

-Green tea. Warm and comforting with a unique earthy flavor.

-And plenty more! I tend to favor black teas, but I like to have a variety in the house. :)

What do you think?
I think one of the nice things about it is that there a quick options in each category, so it can be thrown together quickly … or you can opt for more time-intensive options for special occasions.  I might do this tea menu for Valentine’s Day tomorrow: chicken, tomato and avocado sandwiches, fresh fruit, traditional scones with clotted cream and lemon curd, and tea wafer cookies, with Irish breakfast tea.

Do you ever have tea as a meal? Do you think you might give it a try? Tell me what you think in the comments, below!

Pin It

It was a lovely day: WinterFest 2012

Happy Winterfest
Yes, snow! This is my little girl playing in the snow the day before WinterFest.
snowflakes and twinkle lights
We decorated the walls with twinkle lights and snowflakes we made.
winterfest decor
Why not combine storage and decor? I kept bows in a big bowl on the book shelf. :)
cooking winterfesteve
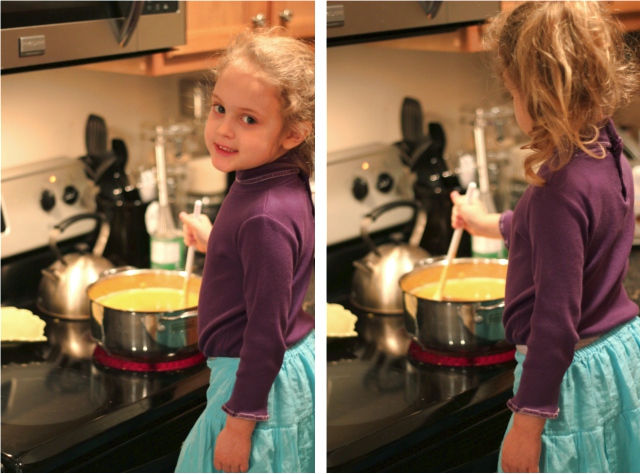
My little one love to help stir while I am cooking, she's my little helper!
winterfest eve dinner
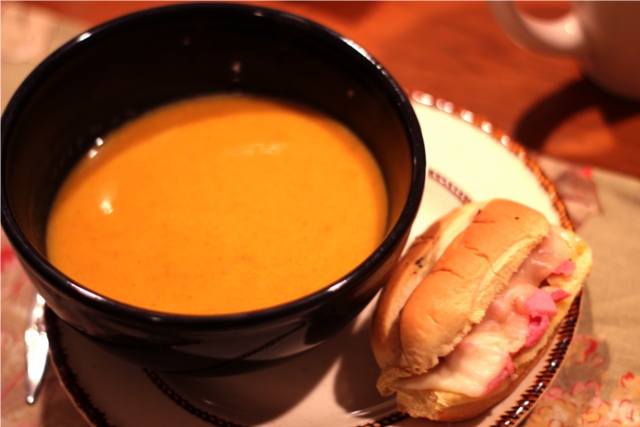
For dinner on WinterFest-Eve, I made Curried Butternut Squash Soup and little poppyseed ham and swiss sandwiches. Soup and sandwiches make great winter meals!


Tim cooking

My husband, Tim, makes breakfast on WinterFest … this year he made blini, a thin Russian pancake
(you can see his recipe is taped up on the microwave)…

Tim makes blini
... and they were sooooooooo delicious!


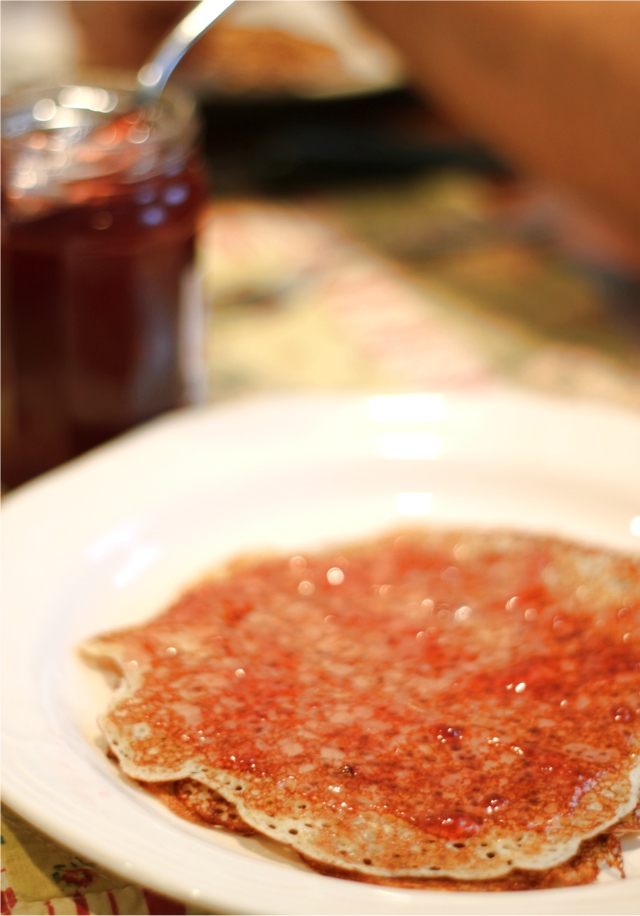
blini

 Apparently, they are eaten both savory (with sour cream and fish) or sweet (with fruit spreads).
My favorite was with a little sour cream and blackberry jam … ahh, it was SO good.

eating blini
Our daughter loved the blini too. :)
april cooking
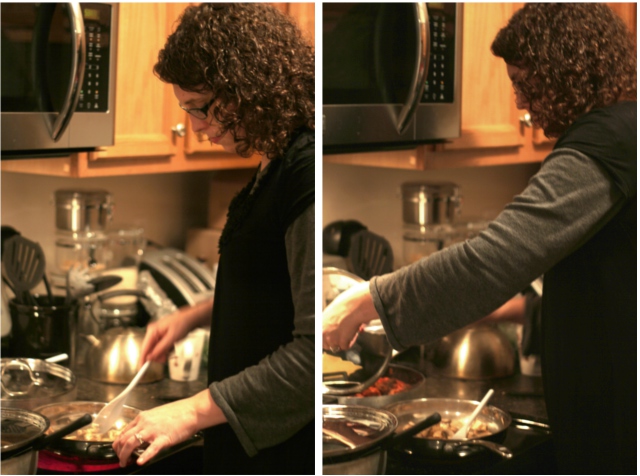
Then, after breakfast, I got to work on cooking the Russian dinner.


clues
In the meantime, my little one was hunting down the clues we had hidden for her to find throughout the day.
dinner
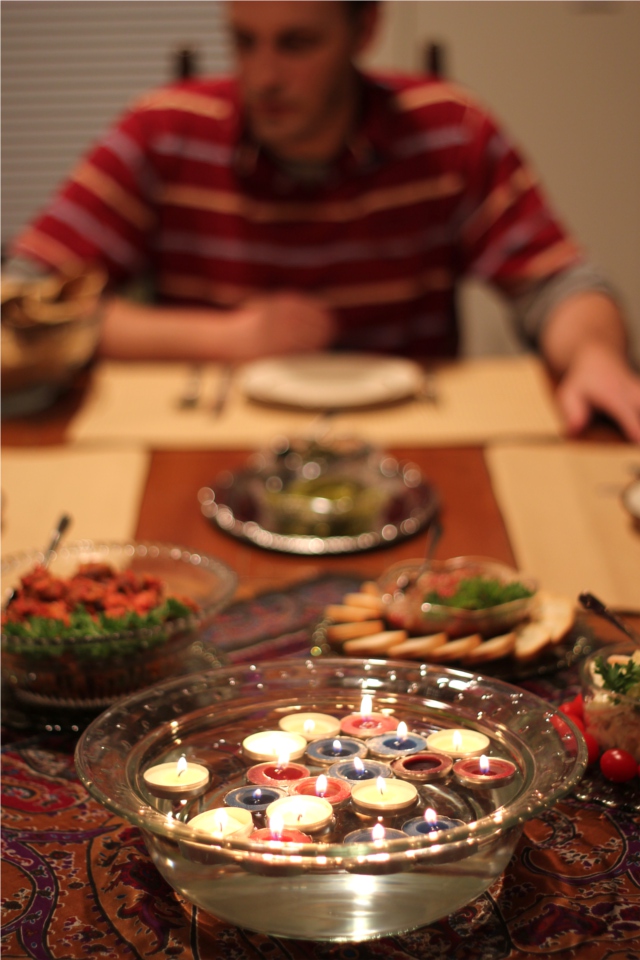
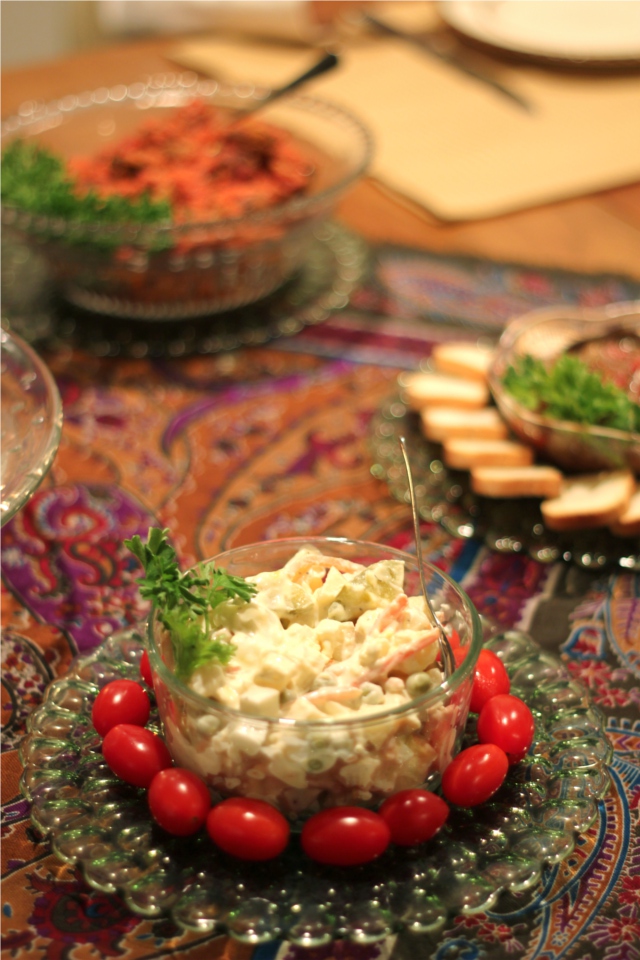
Finally it was time for dinner! First there was a spread of Russian zakuski (kind of like appetizers you eat throughout the whole meal).

zakuski

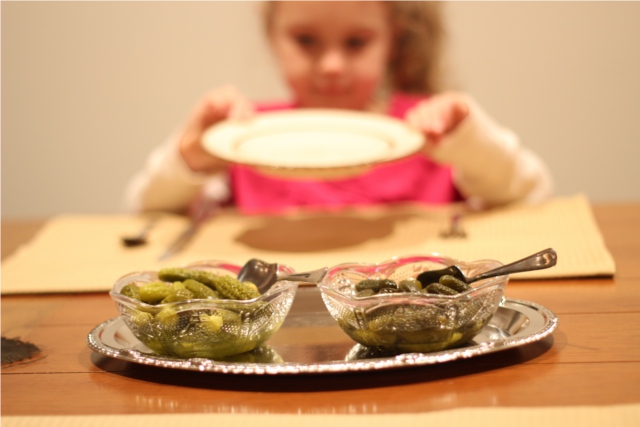
pickles

It turns out various pickles are an essential part of a big Russian meal – my daughter put them into pretty little bowls, and enjoyed them very much. :)

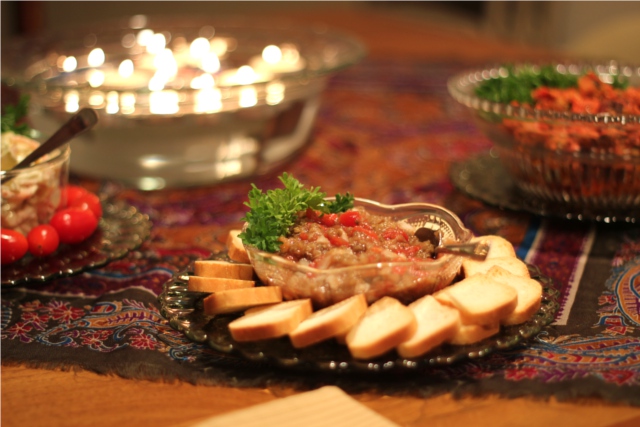
zakuski

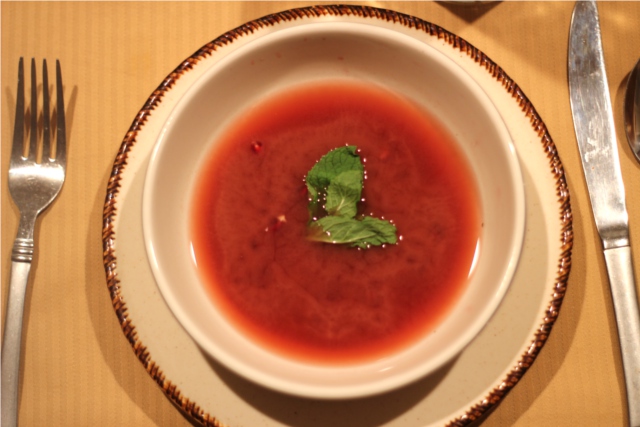
soup
First we had Pomegranate Broth Soup, from a Russian cookbook. It was ... interesting...


tart soup
... maybe a little tart for my daughter. :) She was a good sport though!

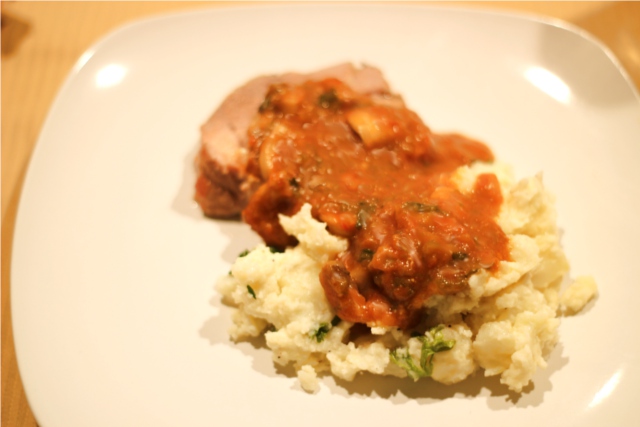
pork and potatoes

The main course was roast pork paprikash with garlic smashed potatoes, and a delicious sauce made from the vegetables cooked with the meat. We loved it! Not very photogenic, though.

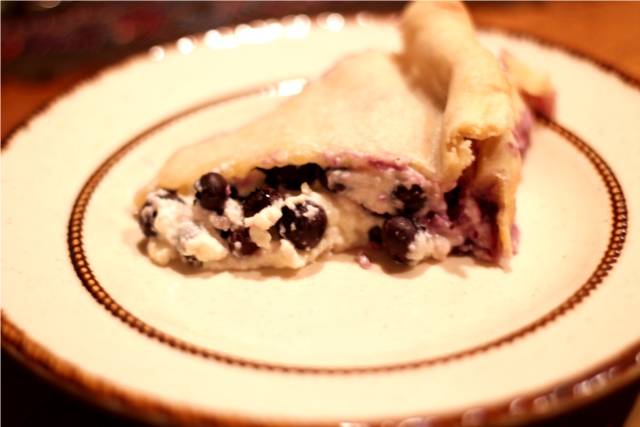
pie
Dessert was a cheese and blueberry pie. I totally cheated and used the wrong kind of crust as opposed to authentic Russian crust, but it tasted good, so just don't tell anyone. ;)

clues

After supper, she found the last of a set of five clues about Russian nesting dolls I had hidden for her;
she was very excited because now she could put them all together…

clues 2

She had to put the nesting doll clues in order of size;
each one had a letter inside, and once they were in order….

clues 3
... she could read the word they made: SNOW!
clue 4
Yep, she knew where she needed to go to find the last clue - out in the snow!

bundled up

Time to get bundled up! She and Daddy went outside;
I lagged inside a minute behind to get everything set up while they went out to hunt for the last clue!

last clue
Found it!


go inside
... it said to go inside for a WinterFest surprise ...


presents!
Presents! In ice blue and cranberry red, of course. :)
legos
We exchanged gifts - one of the biggest hits was the box of legos ... I think my husband was almost as excited about them as she was!

clues and gifts

On the left are all the WinterFest clues from throughout day!
We also really liked the Russian dolls my Mom let us use, and the cards my younger siblings made.

I love being a momma!
It was definitely a day of special memories that we enjoyed spending together. Happy WinterFest!

What’s a birthday party without cake?

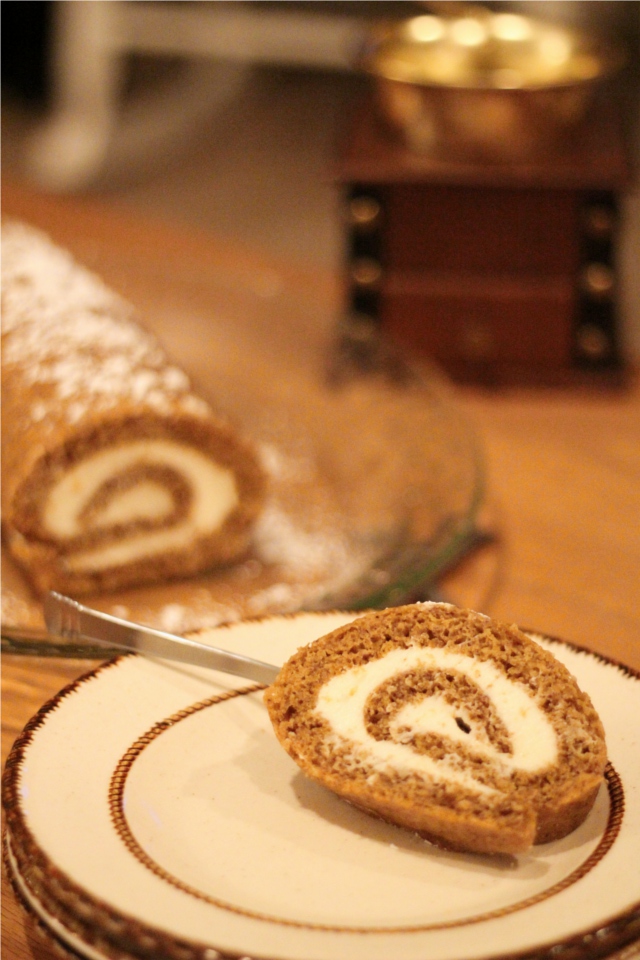
Or in this case, pumpkin roll? It’s the end of FlourishCafe’s birthday week, but, of course, the proper way to celebrate the completion of year is always with a delicious dessert!  Ah, traditions. :)

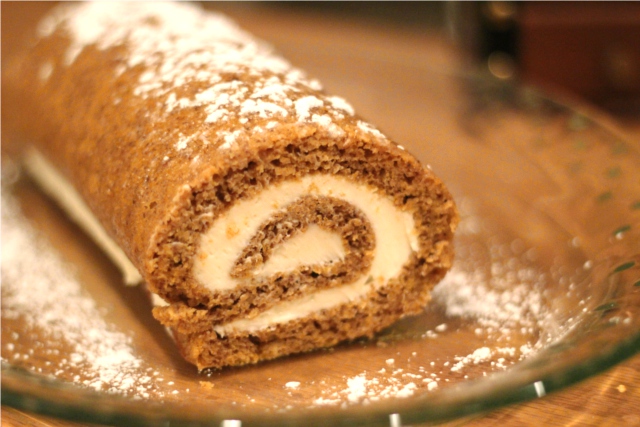
Birthday Pumpkin Roll

I had never made a pumpkin roll until my husband requested one for his birthday – and I was surprised as how easy it actually was! Its a great autumn or winter dessert, and looks pretty to boot.  I’m including the recipe I used at the end of this post.

Thanks for celebrating FlourishCafe’s birthday with me this week – and don’t forget to enter my art giveaway … it ends tonight! In the meantime, here’s a slice of pumpkin roll for you!

Here is the recipe I used … nice and easy! :)

Libby’s® Pumpkin Roll with Cream Cheese Filling from Allrecipes.com
Ingredients

  • 1/4 cup powdered sugar (to sprinkle on towel)
  • 3/4 cup all-purpose flour
  • 1/2 teaspoon baking powder
  • 1/2 teaspoon baking soda
  • 1/2 teaspoon ground cinnamon
  • 1/2 teaspoon ground cloves
  • 1/4 teaspoon salt
  • 3 large eggs
  • 1 cup granulated sugar
  • 2/3 cup LIBBY’S® 100% Pure Pumpkin
  • 1 cup walnuts, chopped (optional)
  • 1 (8 ounce) package cream cheese, softened
  • 1 cup powdered sugar, sifted
  • 6 tablespoons butter or margarine, softened
  • 1 teaspoon vanilla extract
  • 1/4 cup powdered sugar (optional)

Directions

  1. PREHEAT oven to 375 degrees F. Grease 15 x 10-inch jelly-roll pan; line with wax paper. Grease and flour paper. Sprinkle towel with powdered sugar.
  2. COMBINE flour, baking powder, baking soda, cinnamon, cloves and salt in small bowl. Beat eggs and sugar in large mixer bowl until thick. Beat in pumpkin. Stir in flour mixture. Spread evenly into prepared pan. Sprinkle with nuts.
  3. BAKE for 13 to 15 minutes or until top of cake springs back when touched. Immediately loosen and turn cake onto prepared towel. Carefully peel off paper. Roll up cake and towel together, starting with narrow end. Cool on wire rack.
  4. BEAT cream cheese, powdered sugar, butter and vanilla extract in small mixer bowl until smooth. Carefully unroll cake; remove towel. Spread cream cheese mixture over cake. Reroll cake. Wrap in plastic wrap and refrigerate at least one hour. Sprinkle with powdered sugar before serving, if desired.
Enjoy! :)
What’s your birthday dessert of choice?

Om nom nom: Frozen Chocolate Banana Coins

I just love chocolate and bananas – it is such a great combination! This is something I came up with this summer – a quick and easy treat using (what else?) chocolate and bananas.  Just make sure you use the shell hardening chocolate syrup … that kind that hardens when you pour it over ice cream.  It wouldn’t work with just regular chocolate syrup. Hope you enjoy! My little girl loved these – its a great kitchen project to do with little ones because it is so easy. :)

Frozen Chocolate Banana Coins

What are some of your favorite quick and easy snacks?
Let me know in the comments! I’m always looking for ideas. :)

Pin It

Om nom nom: Quick Hors d’oeuvres

Small plates and unusual flavors of soda

I don’t make appetizers very often.  I don’t know, it just seems like a lot of work for something “extra” before a meal.  Sure, I love to eat them, but in cooking, I’d rather make a big pot of curry, or a wok full of stir fry.  I like my food big and bold!

But sometimes for a more formal dinner, or if you’re serving a lot of people, small bites can be a good way to go. Its easier to be able to serve a lot of different dishes and have enough of them all to go around if each serving is, …. well, tiny. :)  And people can always go back for more, but you don’t end up with plates piled high with giant servings of unfinished food at the end of the night, as sometimes happens if servings are very large.

So here are a couple hors d’oeuvre ideas that look good, taste great, and are REALLY easy to make:

Slice the tops off of cherry tomatoes, and gently scoop out the inside. Lay them upside down on some paper towels to drain out some of the extra liquid.  Fill with chicken salad, and garnish with something leafy like parsley. Easy peasy! You can always jazz up the chicken salad a little more with some chutney and a little curry powder.

The one on the left: Smoked cheese and fresh avocado on toothpicks.  Um, how easy is that?! But it is SO good.  As with anything so simple though, the key is quality ingredients – after all, in something as easy as this, there’s nothing else for it to hide behind!  Make sure your avocado is ripe (it should be a little soft when squeezed, not hard) and don’t slice up the avocado ahead of time, or it will turn brown.

Are you a small plates or big plates kind of person?
Do you have easy appetizer ideas to share?
Tell me about it in the comments!!
Pin It

Om nom nom: An under appreciated cooking staple

My “The Cook Gets to Lick the Spoon” Illustration

I knew someone once who said they liked their food bland. Um … that’s definitely NOT how I like my food. I like colorful spices, bold flavors, and bright flavors. I’m sure that each cook has their own set of flavors and spices that they consider staples – but one that I consider a staple that seems to be under appreciated in general: the lime.

Candied Lime Peel by HarmlessColor

Flavors that can be used in both sweet a savory cooking are some of my favorites. Cinnamon, mango, allspice … and of course, lime. Of course, we all know of key lime pie, and the occasional slices of lime as garnish, but how often do you cook with lime?

The first time I realized just how essential lime can be to a dish was when my Dad stopped at a tiny little Hispanic grocery/restaurant to try their tacos. It was just a corn tortilla with some shredded pork, maybe a little cilantro – and plenty of lime. And it was deeeeelicious.

Some are just a few ideas on ways to use lime…

Little Limes Fine Art Photograph by AmeliaKayPhotography

{ — Squeeze lime juice in with fresh diced onion, jalapeno, green pepper, tomato and cilantro for a refreshing salsa. }

{ — Sauté squash with lime juice, cumin, oregano, a little cayenne, add stewed tomatoes & serve over yellow rice. }

{ — Kaffir lime leaves are excellent in Thai curry. }

{ — Whisk a couple eggs with about ½ cup of sugar in a pan over low heat, add ¼ cup lime juice and a half stick of butter and cook about 10 minutes, stirring often. Chill for at least an hour. Makes a sweet delicious spread. }

{ — In a blender, add stewed tomatoes, fresh garlic cloves, and generous amounts of lime juice. Toss in a skillet with sautéed chicken and black beans. }

{ — Add lime zest to a basic sugar cookie recipe. }

{ — Add lime juice or lime slices to iced tea. }

Bright Lime and Yellow Pot Holders by xxxRedStitcHxxx

Do you use limes often in your cooking?
What are some of your flavor staples?
Tell me about it in the comments!

{ and don’t forget – today’s the last day to enter my vintage raincoat giveaway!! }

Omnomnom: Grilling Onions

Some things just go together. Salt and pepper, Fred and Ginger, movies and popcorn, ninjas and pirates.
Ok, maybe that last one is more of a feud than a pairing.

But recently we discovered a food pairing so delicious, I don’t know why these two aren’t as inseparable as salt and pepper—- Steak and grilled onion.

Meet Tim: resident grilling expert and husband

Ohhhhhh, its SO good. I mean, at restaurants steak sauce is generally offered, but I really think there should always be grilled onion. Try it the next time you grill, and I think you’ll be hooked. Choose a very mild or sweet onion, like vidalias, and cut it in half, then quarter. Place right on the grill when you’re cooking the second side of the steak (or earlier, if its a thin cut – you want some nice charred edges and caramelization of the onion). Just be careful when you turn the onions over to not let the pieces slide though the grill into the fire.

If you cooked the onion long enough, it should be very mellow with just a little bite. Grab a big bite of the onion and the steak together.

Deeeeeeevooooooooooooour.

Ah, I love the grilling time of year.

Yep, Tim’s pointing at you. What are some of your favorite food pairings? Tell me about it in the comments! :)

Battle Pineapple

I love to cook and experiment with new flavors in the kitchen- particularly when I get to try my hand at new flavors from another country. However, the flair of their local fare often comes from ingredients that are easier to obtain there than here. I’m hesitant to shell out a lot of money for some unusual foreign ingredient if I don’t know how to use it very well or even if I will like it!

Such was the case, as some of you may know, when I tried to make Hot and Sour Soup. If not, let’s just say that my inordinately strong pregnancy craving for Hot and Sour Soup was effectively crushed by the resulting swill.

And so, usually, my longing for culinary creativity must simply find another outlet, but somewhere in the back of my mind, I still long to travel the world through the flavors on my plate.

Such longings are sometimes nurtured and coaxed by the wondrousness that is Iron Chef America. Two chefs are given 1 hour to prepare four courses for a panel of judges- but every dish must contain the one “secret ingredient” which is revealed immediately before the cooking battle begins. FASCINATING!

A while back, I had Iron Chef on in the background while I was working. It was “Battle Pineapple” and each chef was doing his best to craft each dish to incorporate pineapple. Very interesting! I wasn’t looking at the tv at the time, so I never saw what it looked like, or what was in it, but I heard the commentator mention that one of the chefs was making a pineapple salsa.

Pineapple salsa.

Pineapple salsa!!!

PINEAPPLE SALSA!!!!!!!!!!!!!

Ahhh, all the culinary gears in my mind started whirring. I knew I was going to make a meal based on pineapple salsa. It just sounded so … gloriously delicious! But what would you eat with pineapple salsa?

Caribbean jerk chicken, of course. I just knew it.

Had I ever made jerk seasoning? No.
Had I ever even tasted anything Caribbean jerk? Nope.
Did I even know quite what Caribbean jerk seasoning was?? Nada.
But I knew it would be perfect with pineapple salsa … which I also had never tasted.

And then – fate. I was at the store, and there were beautiful fresh pineapples at beautifully low prices. I snatched one. My little herb/patio garden has been flourishing lately and I knew I had jalapenos and tomatoes ready to pick, as well as some fresh herbs for seasoning. Pineapple salsa, you are about to become a reality! But that little nagging question was still in the back of my mind- what exactly WAS this jerk seasoning that I was going to make to go with it?

Fear crept in – would I need some strange ingredients? Would it be outrageously expensive? Would I be serving pineapple salsa … with nothing else? I tried to squelch the butterflies in my stomach and started Googling Caribbean jerk seasoning.

What is it? Can I make it???? Will this work?!?! MY POOR PINEAPPLE!!!!!! I don’t think I can convey to you just how agitated I was.

And then … there was some beautiful singing and flowers were blooming and sunlight was streaming down on my face …. I had almost everything I needed either in my garden or on hand already! I only had to buy ginger and brown sugar- both of which I knew I would use in other ways as well. I bounded away to the grocery store.

Because of all my agitation over whether I could reasonably make jerk seasoning, I never had a chance to worry about how it would taste … even though I wasn’t strictly following any recipe- I made my own up based on the various recipes I read online. But somehow I knew it had to work. The only question was what to have on the side.

At the store, I found some beautiful baby portabella mushrooms, and so the meal was complete in my mind. With the crazy zesty, spicy and tropical flavors in the pineapple salsa and the jerk chicken, I wanted something earthy and mellow to balance it out. Knowing what I already had on hand in the kitchen, such as some broccoli that needed to be used, I could picture the final plate in my mind-

Carribean jerk chicken over rice, served with pineapple salsa
Caramelized onions and sauteed mushrooms seasoned with thyme
Broccoli sauteed with garlic

I grabbed the mushrooms, and after a long hunt for the practically hidden basket of ginger root, I headed home.

The night before I planned to have this exciting dinner, I made the marinade for the chicken – and then there ensued the results from forgetting to take my contacts out before dicing the jalapenos. = Ouch.

Then comes the day to eat the long anticipated pineapple salsa. I gathered my fresh ingredients … its so nice to have an herb garden! Fresh ingredients are not only more flavorful and more fun to cook with; they are also just more appealing. Compare:

No, never mind, there is no comparison!

fresh is greater than driedin flourishcafe

The dishes came together and the kitchen was filled with a warm spiciness. If you, like me, didn’t know what was in jerk seasoning, some of the strongest flavors come from hot peppers, cinnamon, nutmeg, cloves, allspice and ginger. Recipes vary, but these were some of the curious and aromatic scents filling the air. The pineapple salsa looked beautiful- just petite dice some fresh pineapple, ripe tomatoes, sweet onions, jalapenos, and cilantro and you will see. Everything came together, and we sat down to eat. For the first time, I was suddenly afraid it wouldn’t go together- it might not taste good! It might be terrible! What have I done?! This is CRAZY!!!!

Crazy, yes. Crazy DELICIOUS! My sixth sense had been right along. The pineapple salsa and the Caribbean jerk chicken were simply perfect together. Tim, my husband, raved. I savored the meal. I traveled to Jamaica and back. It was a lovely trip.

Have you ever had a culinary epiphany? Or a culinary disaster – like my Hot and Sour Soup? Tell me about it in the comments, below!