Skip to content

art

Gift giving guides

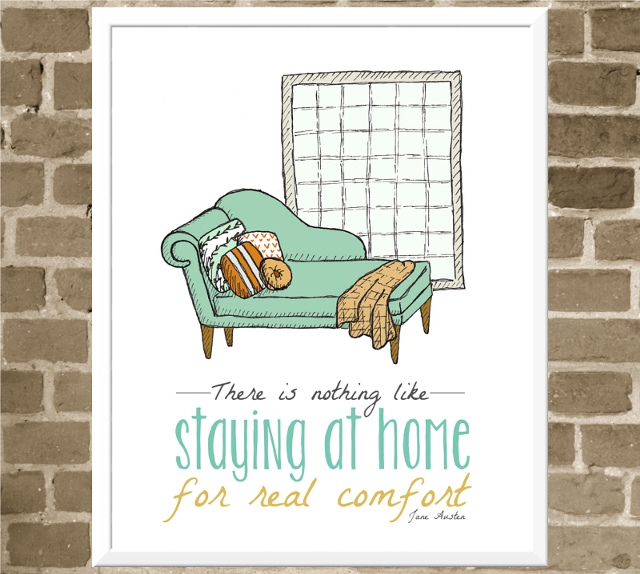
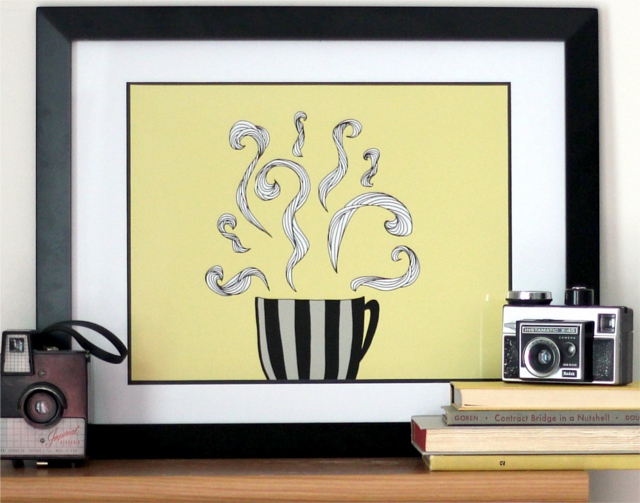
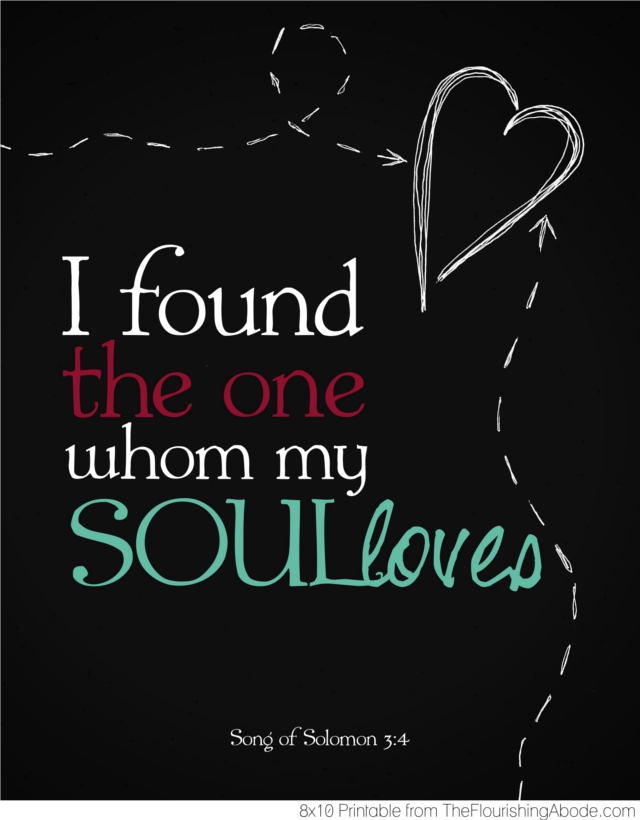
As the gift-giving season approaches, sometimes it can be difficult to know what to get for people. When I design a new piece in my shop, I usually have a specific type of person in mind who would like it – for instance, I’ll make something to appeal to gardeners, or a design specifically for a bibliophile, or a print that I think guys who cook would like, and so on. So I thought it would be helpful to break down into categories some things I have designed that could appeal to certain types of people on your gift giving list! (Plus, if you buy it this weekend while I have my buy-one-get-one-free deal going on, you can get something free for yourself in the process!) All while supporting small business this holiday season. Here are some ideas….

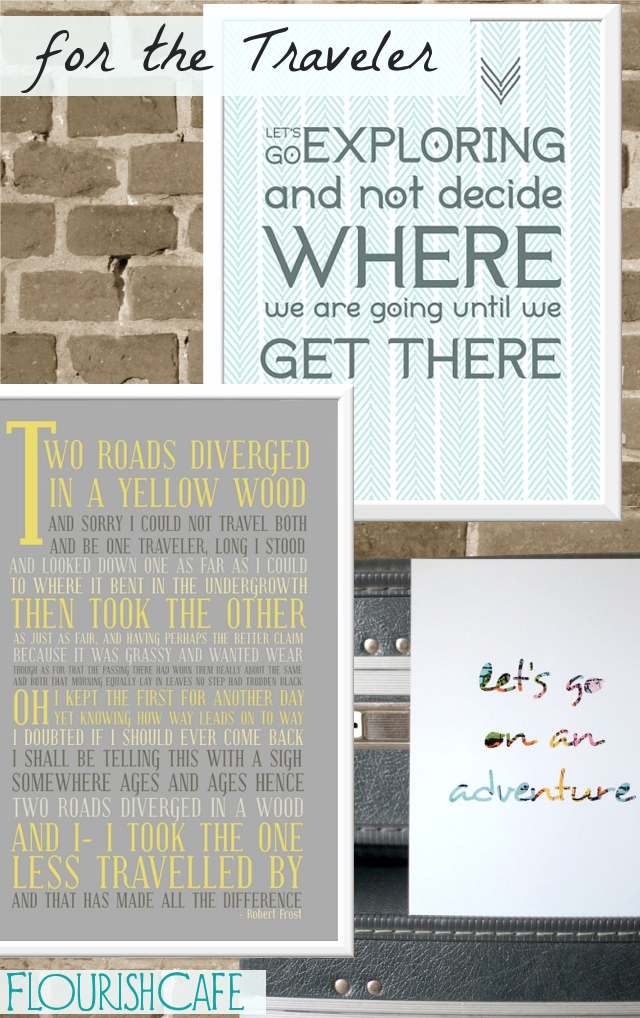
Gifts for the traveler…

Let’s go exploring print
– Road Less Travelled poster
– Adventure print
– More travel related prints

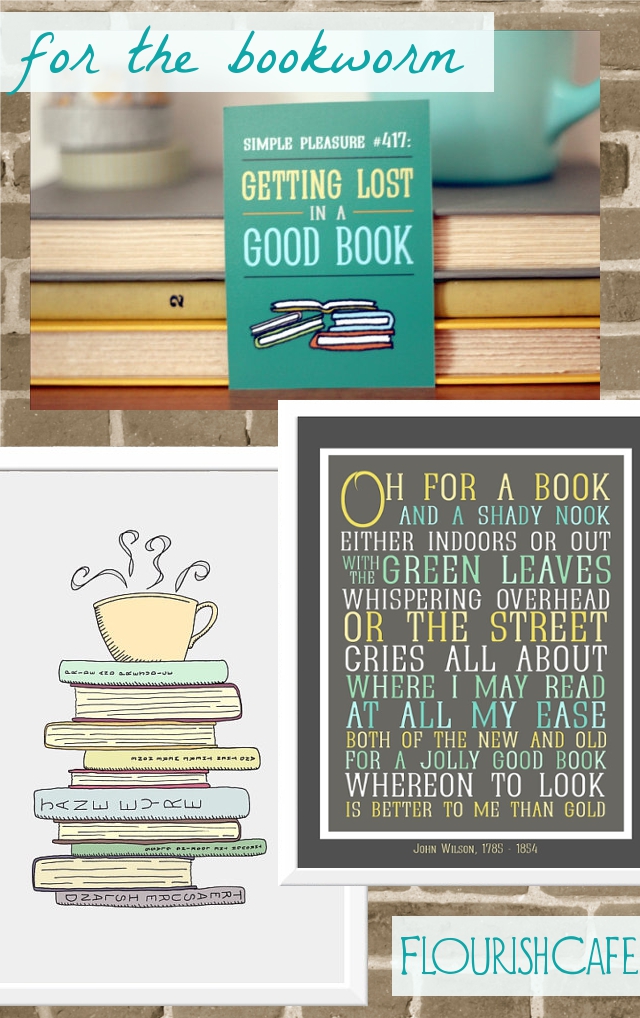
Gifts for the bibliophile …

– Lost in a Good Book mini print
– Oh for a Book print
– I Love Books and Coffee print
– Other reading related prints

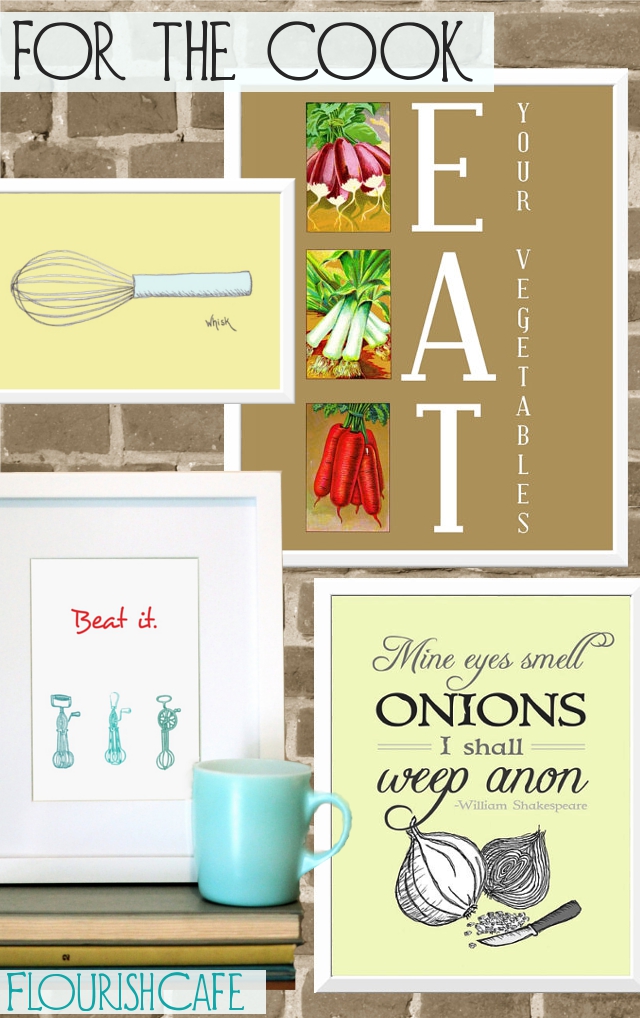
Gifts for the home chef …

– Eat your vegetables poster
– Whisk print
– Beat It print
– Onions quote print
– Other food related finds

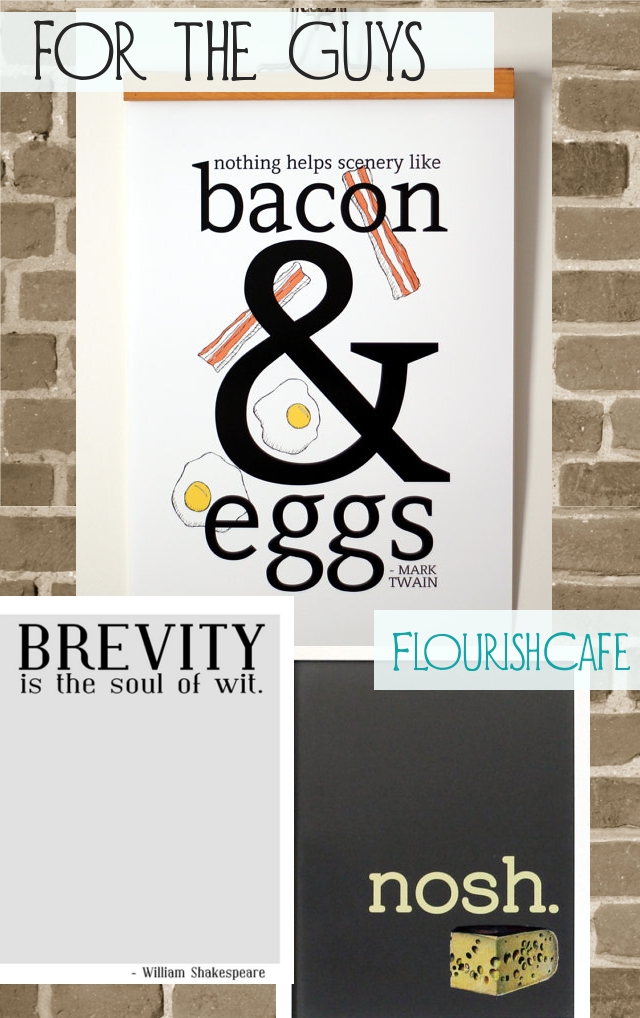
Gifts for guys …

– Bacon and Eggs poster
– Brevity print
– Nosh print
– Other prints for men

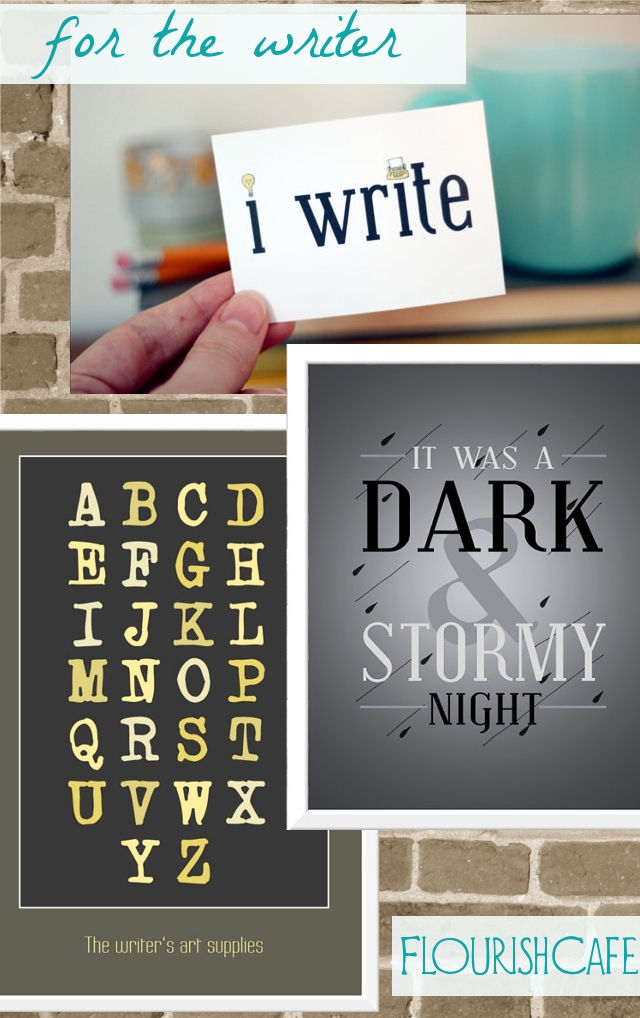
Gifts for the writer…

– I Write mini print
– Dark and Stormy Night print
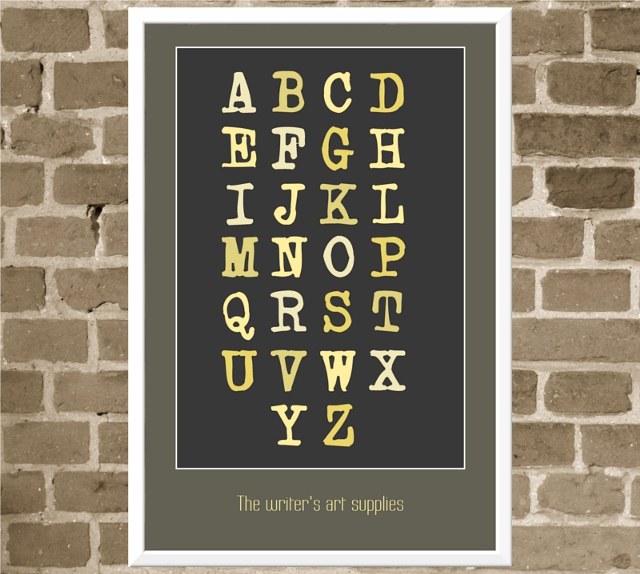
– Writer’s Art Supplies poster
– Other writing related prints

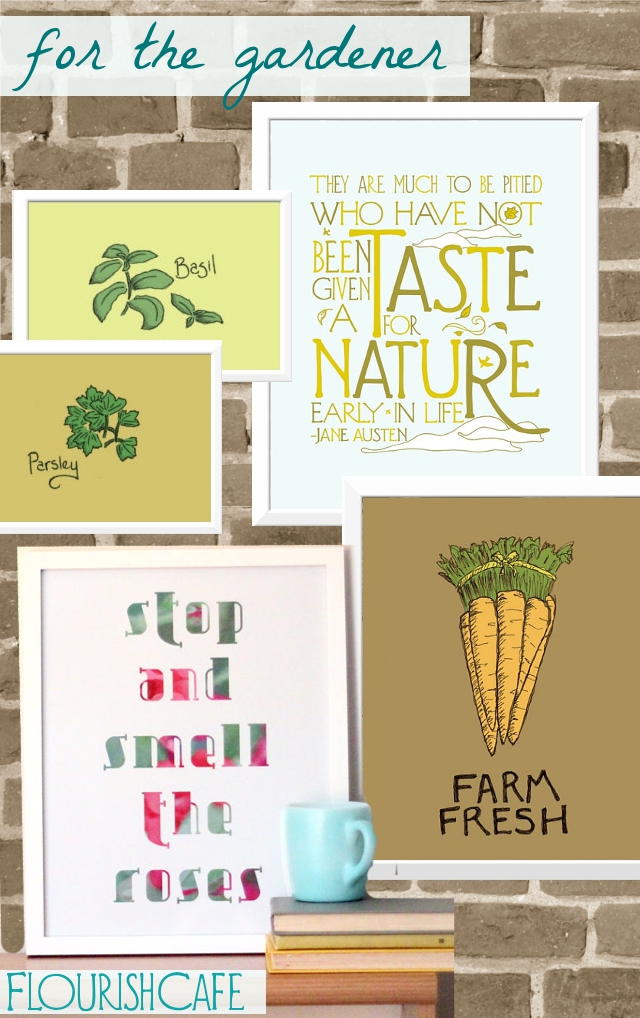
Gifts for the gardener …

– Herb prints
– Taste of Nature print
– Farm Fresh print
– Stop and smell the roses print
– Other outdoors related prints

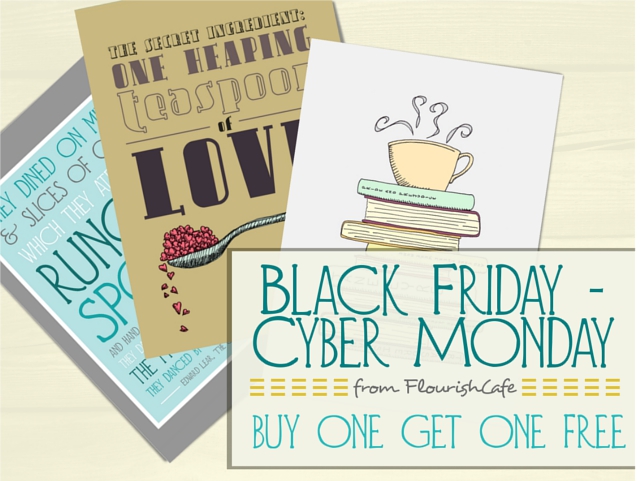
And don’t forget – today through Monday (11/23 – 11/26) for Black Friday and Cyber Monday I am having a buy one get one free special in my shop! Just mention in the “message to seller” at checkout which print of equal or lesser value that you want for free.

Happy shopping and happy holidays!

Curious, too – how many of you do Black Friday/Cyber Monday type shopping?

Black Friday – Cyber Monday Preview for FlourishCafe!

Black Friday is almost here! Closely followed, of course, by Cyber Monday. I’m very excited to announce that for the entire time from Black Friday through Cyber Monday (11/23/12 – 11/26/12) my entire shop, FlourishCafe, will be buy one get one free.

So how does it work? Just purchase the print(s) you are wanting, and then in the “message to seller” section at check out, simply link to the other print(s) you would like to get for free. If you buy one print, you get one free. If you buy five prints, you get five free! The only stipulation is that the free prints much be of equal or lesser value to the purchased print.

I hope this will be useful to you in your holiday shopping! :)

I’ve also been adding some new and exciting things to my shop! (Some of which will also give you some discounts.) Here are some of the changes….

— some new designs:

— some new ways of purchasing prints! For instance, if you’re interested in purchasing more than one print, you can get a discount for getting multiple prints. Or, if you see a print in my shop that you would like in a smaller size, I can do that for no additional cost. Here are a couple examples:


(you can see various options for custom sets and resizing, here)

— and some prints which I am planning to discontinue at the end of the year, and so I want to get rid of any inventory of those prints, and they are available at a very steep discount until then. You can check out all the clearance prints, here.

So happy holidays from FlourishCafe! And if you want to get some buy-one-get-one-free prints, make sure you catch the deal this weekend, Black Friday through Cyber Monday (11/23 – 11/26). Happy shopping!

Where is special to you? Custom map art…

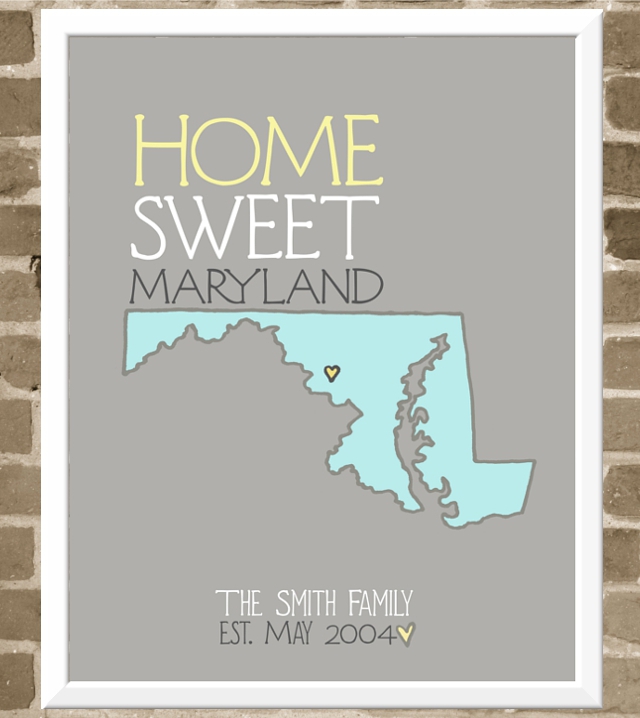
I love maps. And I love when customers give me great ideas for new prints to offer. :) I had someone request a custom map art print to give as a gift to a young couple to commemorate the location where they got engaged! It was such a sweet project, that I thought it would be nice to offer custom map prints for others as well.

I made this as an example if you wanted a print to show your home state, or it could also show the place where you got married, or where your child was born, or a favorite destination from your travels .. any special location you would like turned in to a print! Or, of course, like the project that got me started on this in the first place – you could create a custom print for someone else, which could make a truly unique gift, as the holidays will start approaching before you know it. You get to choose the colors, the text, the location, etc. The details are here.

Where is a place that is special to you? Now that we have moved, I think I might just have to make one of these for our family, with a heart over Boston. :)

BOSTON!!

Today we arrive in Boston! WooT! Fun stuff – you know, like unloading the moving truck. I can’t wait to start exploring the city! In the meantime, here are some Boston-themed finds from Etsy – links below so you can check them out more fully. I think it is amazing to see where different artisans draw their inspiration from, whether it is a geographical location, or something more abstract, the possibilities are endless. And these all sing “Boston” to me. Don’t you wish you were here? ;)

1. Embroidered Necklace by MerriweatherCouncil 2. Boston Mapcut by StudioKMO
3. Vintage Dunkin’ Donuts Thermos by Tribute212 4. Boston Sky Line by ElizabethThomasPhoto
5. Vintage Boston Map by bananastrudel 6. Lobster Print Linen Napkins by madderroot
7. Jigsaw Puzzle Brooch by ME2Designs 8. Boston Skyline by FrescaPhoto

Have you ever been to Boston? Leave your thoughts and comments below, I love to hear from you!

August’s Half-Off Print (+ our moving date!)

Time to announce August’s print-of-the-month for half off! And also let you know that since it’s getting to the end of the summer, this is the last month I’ll be doing this. Also – I wanted to let you know we have a moving date! Lord willing, the day we are leaving for Boston will be August 25th!! WooT! I am SO excited!! However, I will probably be closing up my shop sometime around the 19th or 20th. So if you want the print-of-the-month, or anything else from my shop before we move, you probably will want to do that sooner rather then later.

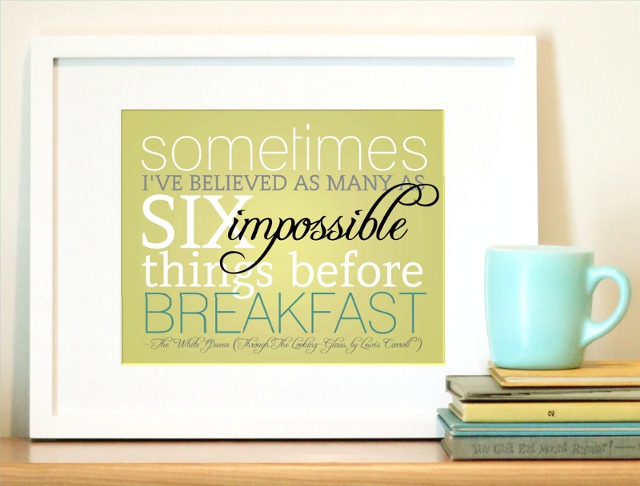
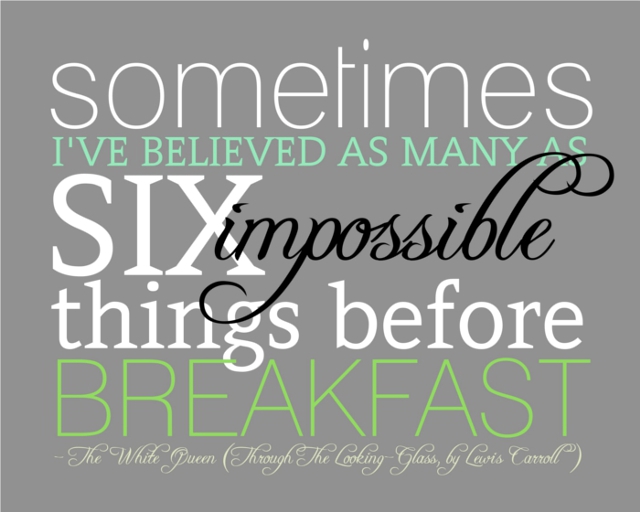
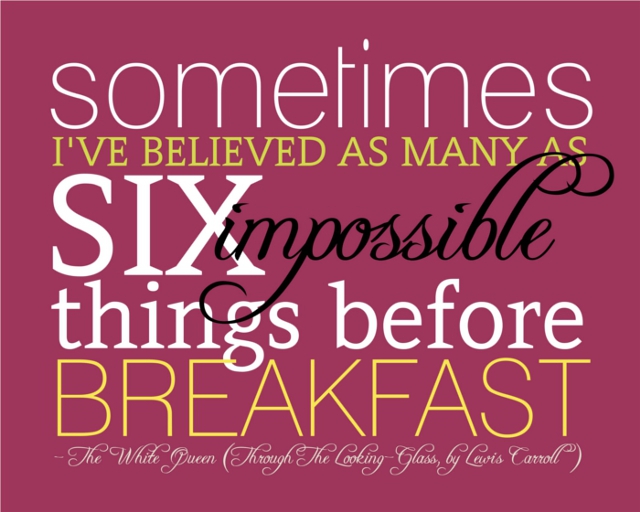
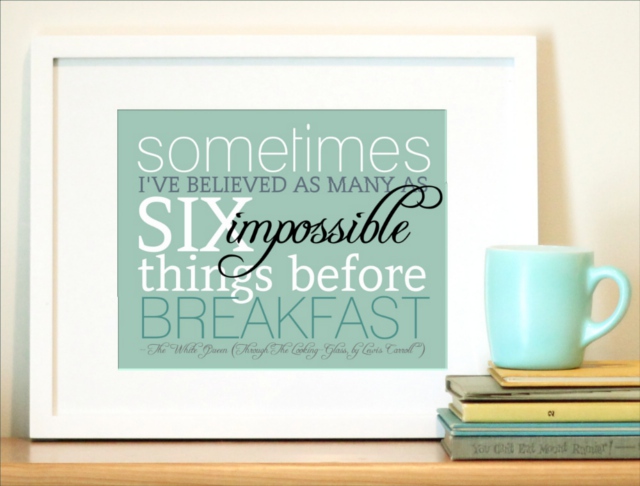
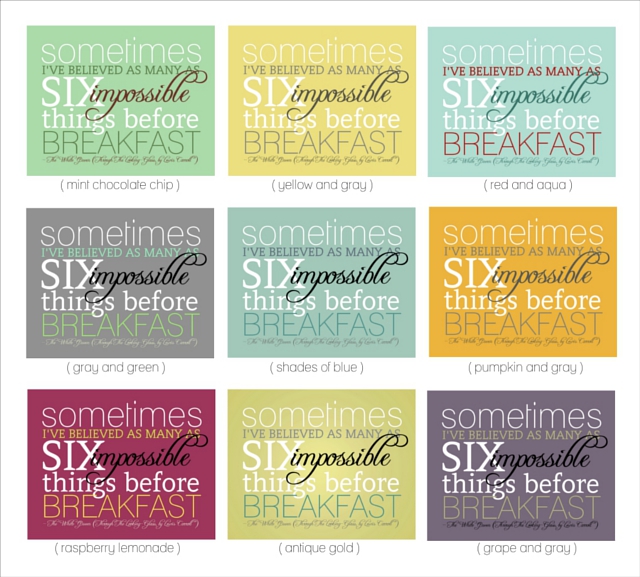
Anyway! Enough chit-chat .. here’s August’s print of the month! It’s my “Six Impossible Things” print, which is a quote from one of my favorite books, Lewis Carroll’s “Through the Looking-Glass”. It’s 8×10, so it’s usually $25, but with the discount it is $12.50. Eek! And any of the colors variations are available for the discount. :) Just use the coupon code FROMTHEABODE

You can click here to see all the options for this print in my shop. The coupon code is valid only on this print, and only while my shop is open during the month of August. I’ll be opening back up shortly after we move, but it might be the beginning of September. Also, the moving sale coupon code LETSMOVE is still good for 30% off any vintage items in my shop (I don’t want to take it all with me!) – but only for a few more days until I remove all the vintage from my shop. I’ll probably keep the vintage section closed for quite some time.

So, naturally things are pretty hectic here as we’re trying to pack some things … and get rid of even more as we continue to downsize for our move. Busy, but happy. How is your summer going?
Leave your thoughts and comments below, I love to hear from you!

DIY Blog Design: Making your own graphics!

Ok, so we had a lot of groundwork to set before we got to this point – but at last we’re able to start designing our graphics! WooT! :D
If you’re new to this series, it’s a 10 part event that happens each Friday – so if you haven’t seen the previous posts, I’d recommend you go back and check them out to be able to get the most out of this post.
Part 1: Discover your branding with “The Drawing Board” Printable
Part 2: WordPress vs. Blogger
Part 3: Design Tips + Design Worksheet
Part 4: Themes, Coding and Stylesheets

And now, today, part 5 – we actually get to start making graphics! Several people expressed an interest in learning how I turned my hand drawn illustrations into graphics for my site – so I’ll be explaining that, plus talking about using photography for graphics (which is the medium I am using for the graphics I’m making for Lori’s site) as well as tips that I hope you’ll find helpful for whatever medium you are using. Let’s jump in! :)

Alright – first step, pull out your branding printable from part 1 and review your target readership and branding statement; keep it in mind in every step of designing your graphics. And look back at your design worksheet from part 3 – remind yourself of your design choice limits (like your medium, colors, etc.) as well as the design tips I included on that sheet. Make sure you stay true to your design choices as you start making your graphics.

So, as I’ve mentioned before, my friend Lori from In My Kitchen, In My Life has kindly let me use her blog as the demonstration for doing this redesign and move to WordPress. The branding statement we came up with from her branding printable was “Classic and cultured, done simply and down to earth”. On her design sheet I chose colors, fonts and the medium of photography. I consider these choices to be the “paints” I have filled my design palette with – whenever I need to design something for her site, these will be the “paints” I will use.
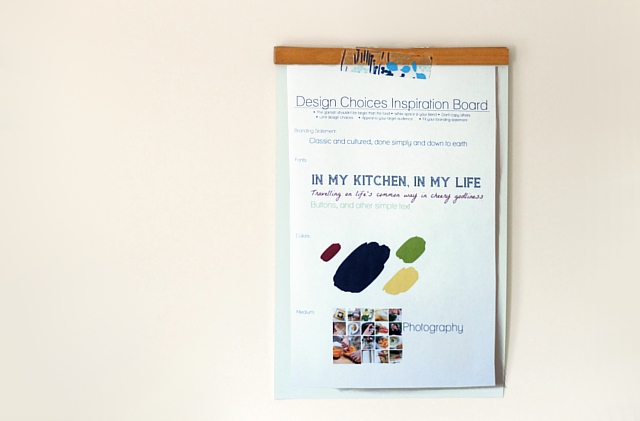
Today we’re going to work on designing a header. After the importance of not having a background that overwhelms your content, I would say what you put in the header is probably the single most important graphic on your site. First impressions really do make a big difference – and the header is right at the top. The header is actually the whole area right there at the top of your page … and often people have a banner there, which is what I’m going to be putting on Lori’s site. As I mentioned above, I’m using photography as the medium for her design.

A few pointers to bear in mind while making your banner:
– make sure your blog name is large enough and easy to read
– consider including your tagline on your banner to help people know what your site it about right away, but if it doesn’t work on your banner, it is not a requirement
– don’t forget the previous pointers on the effectual use of white space – sometimes less is more
– make sure the main colors in your banner are colors from your design choices
– ask yourself “does this banner fit my branding statement?”
– look back at your branding printable and look at what you wrote that you wanted to be people’s first reaction to your site — and realize that the banner is probably the first thing they will see and react to on your site

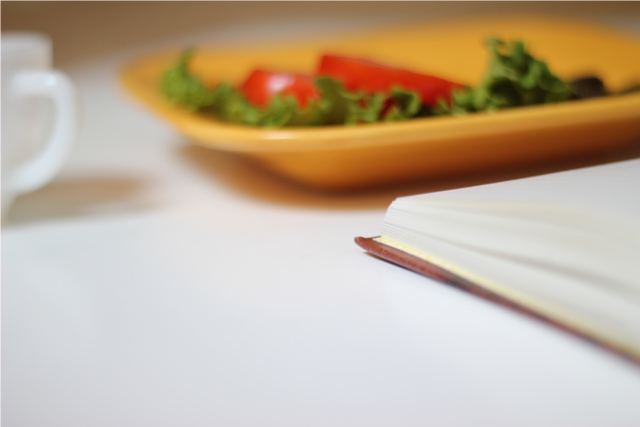
So, the next step is to just start playing around. Admission: I am a graphic designer … but that doesn’t mean the very first draft of a design comes out fabulous. Don’t expect the first try to be perfect. Don’t worry about messing up. Just have fun and play around with your ideas! If your medium is painting, try some different techniques, maybe some that are messier, and some that are neater. If your medium is pen and ink, cover your papers with assorted drawings – you can always just crop out the ones you don’t want! If your medium is photography, like I am doing for Lori’s blog, try a variety of shots – different angles, different distances, different photography subjects. And just to show you kind of how it goes, here are an assortment of photos I took just to try out some different ideas for Lori’s banner.

Some rough draft photos:
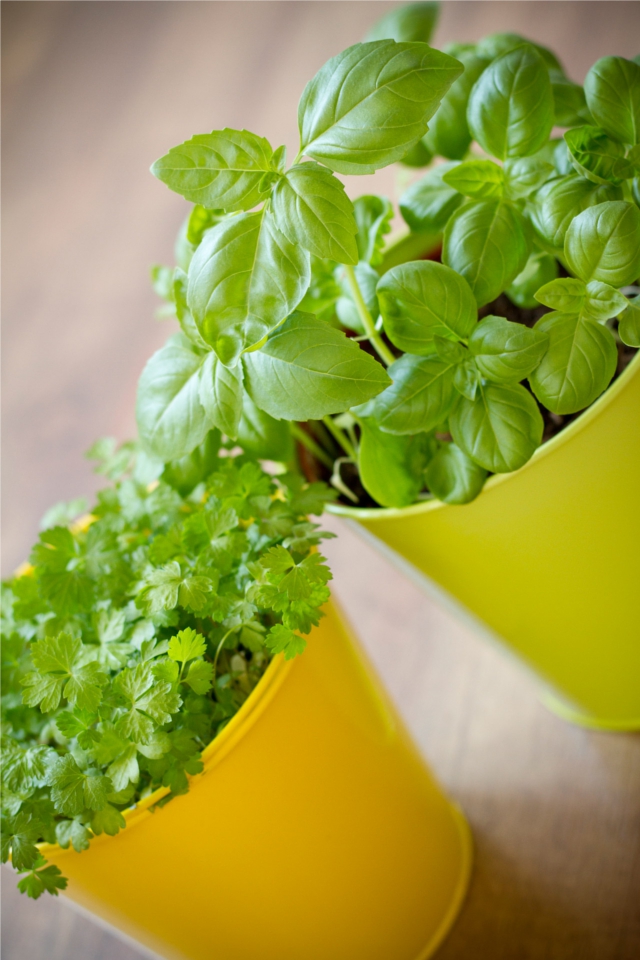
I wanted to take a photo of some basil and try that out, but I didn’t have any basil. Here is a tip if photography is your medium – try checking out some public domain photo sites. PLEASE bear in mind that just because a photo is on the internet, that does NOT mean it is public domain – even photos on the internet are protected by copyright and you can be sued for taking copyrighted photos. However, there are some sites where photographers choose to make their photos available in the public domain, which means they are no longer under copyright, and you can use them for both commercial and personal use. Just *make sure* the site states they are in the public domain – assume they are copyrighted unless the site specifically says otherwise. A good example is publicdomainpictures.net where they state that you can use their photos for person and commercial use for free – and I found a photo of some herbs there:
And, as I mentioned, I’ll also be showing how turn your hand-drawn illustrations into graphics … here is a sheet where I was sketching some images for graphics for my site:

So now we have a whole bunch of rough drafts – the sampling above is just a few of the many photos I took for Lori’s site and illustrations I drew for my site.The next step is to take those and enhance them into actual graphics in your image editing software. If you have Photoshop – great! If not … well, neither do I. It’s simply not affordable on my budget. However, there is a program called GIMP that is a completely free download from GIMP.org which I highly recommend. I’ll say up-front, it’s not the easiest program to learn. BUT, really, you don’t need to know how to do everything. I’ll give you a few pointers on some of the features … and even if you never learned anything beyond this, I think you would still find the program tremendously helpful. But chances are once you started using it, you’d learn more as you go.

First off, here is the explanation of how I take my hand-drawn illustrations and turn them into graphics. This assumes you’ve already drawn your art (like my feather you saw I drew, above) and have it in the scanner and the instructions are meant for that – but many of the steps and tools are useful for any type of image editing:
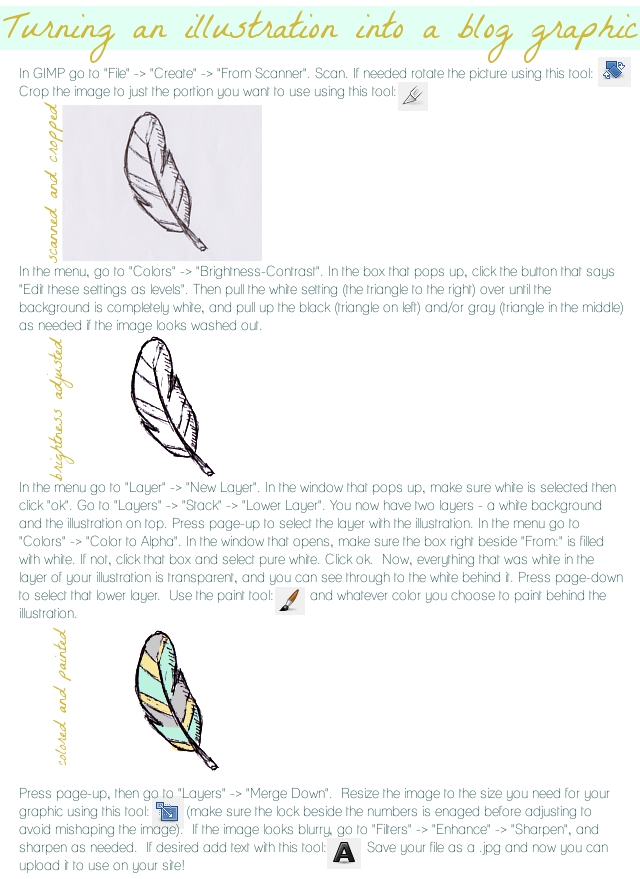
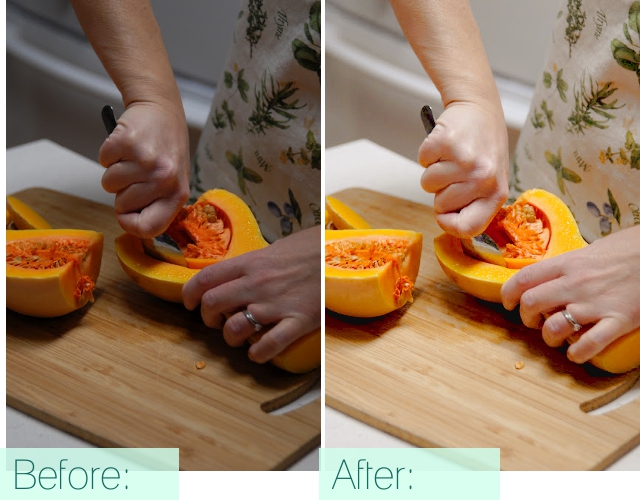
For photography, which is the medium I’m using for Lori’s blog, many of these tools are what I’m using as well. Be sure that in editing brightness/contrast that you click the “edit these settings as levels” button before adjusting anything, especially in photography. You probably won’t want to alter the levels quite as harshly in a photo as you would in a black and white line drawing, either. A couple other helpful tools for editing photography are on the “Color” menu: Color Balance and Hue/Saturation. As long as I’ve taken the photos in shaded natural lighting (for instance, taking a photo inside right by a window), these three (brightness/contrast, color balance, and hue/saturation) are usually all I need. See the difference these few can make? This is a lovely photo Lori had on her blog that I may be incorporating into her design that I touched up with these tools:
Plus, of course in a banner, you’ll use text overlay. Like I mentioned before – play around and have fun with it! Here are a couple banners I made to try out on Lori’s blog:
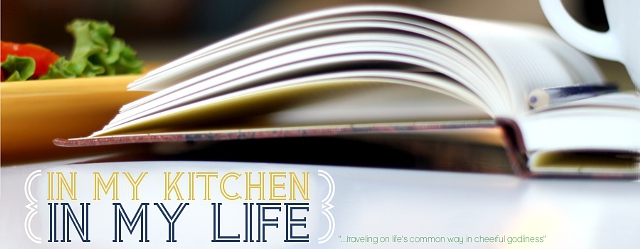
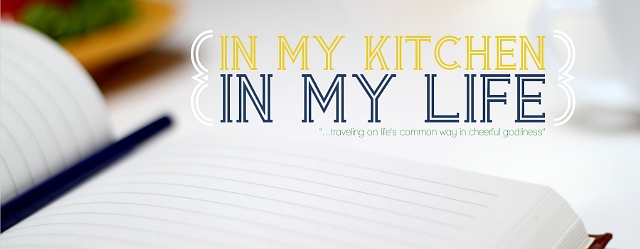
But in the end, I decided they weren’t quite working. So I started using the herb photo from the public domain site. This is a good example of where cropping can be effective. I really only used a small portion of that photo – and even then, I blurred out a significant portion of it to white so that the words would really pop. In the end, I felt this one best spoke to her blog and branding, and also represented her colors best. Here’s the final result:

Though, of course, that is just a smaller version there – you can see how it looks full size on Lori’s site by clicking here: In My Kitchen, In My Life.

Also, if you’re using WordPress and the theme which I recommended last week, you can click here for simple instructions on the code you need to put in to give your site a banner.

I hope you’ve found these tips and pointers helpful – and that you’ll have fun working on your new graphics!
What medium are you using for your blog graphics? Share your thoughts below, I love to hear from you!

To check out the next posts in this series, you can see them here:
Part 6: 7 Blog Layout Tips to Engage your Reader
Part 7: Blog Page: The Must-haves and the Panache
Part 8: 25 Tips for using WordPress

One Item, Multiple Upcycles – Hack Challenge 6!

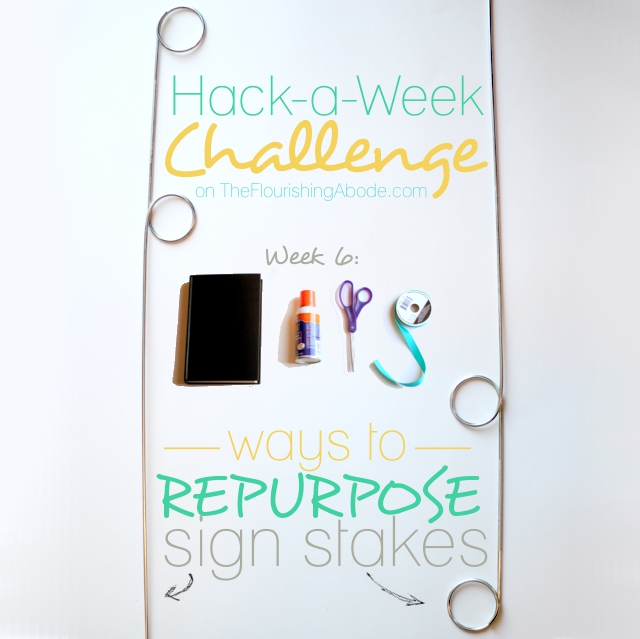
A couple weeks ago for the Hack-a-Week Challenge, I took the idea of a no-assembly-required hack and posted several ideas on that theme. This week is another multiple idea post, but this time all of the ideas revolve around upcycling the same item: a sign stake. You can pick one up at the hardware store for about a dollar, and ram it into the ground, and use the two coils to hold up a sign (as it is intended to be used) … or you can buy two and think outside the box on how to use them!

A couple points … You might prefer to spray paint them first, but since I was using the same ones for different projects, I just left the neutral metallic. And if they sit too low to the ground for your preference, you could insert them into two planters, instead of the ground, to make them higher and also be able to display indoors. Here are the repurposing ideas I came up with…

‣ ‣ ‣ IDEA #1: Bunting Holder!

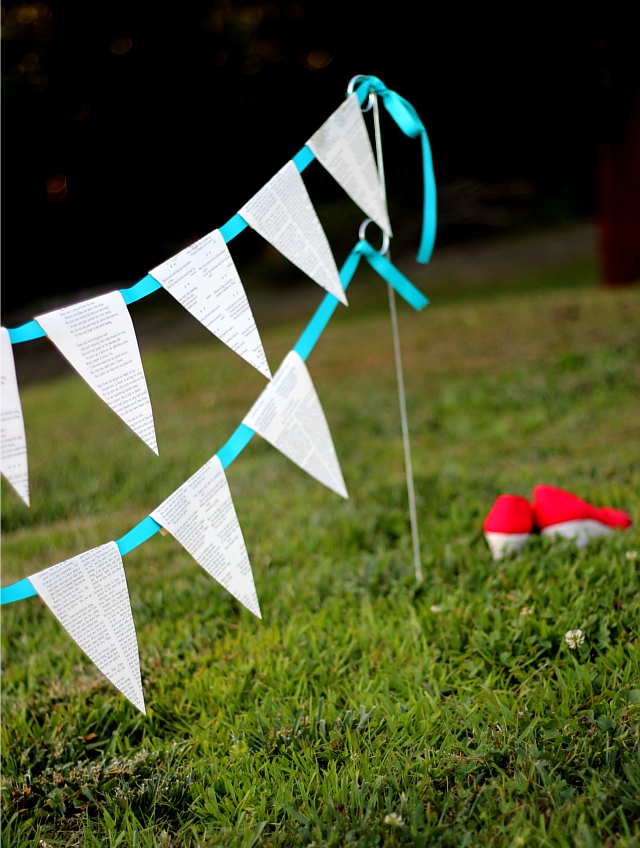
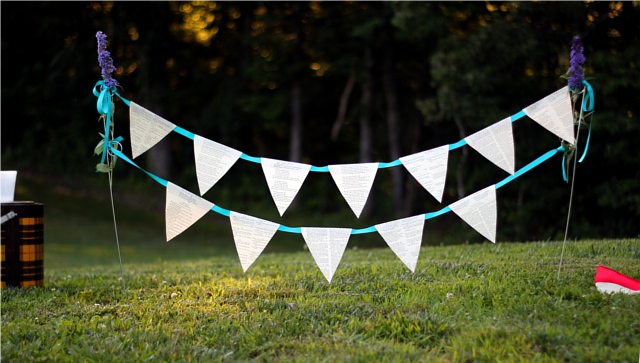
I simply love buntings, but the two things that generally stop me from making/displaying them are that 1: time-consuming sewing is involved, and 2: I don’t seem to have any handy ways to hang them. But this bunting setup solves both of those problems!

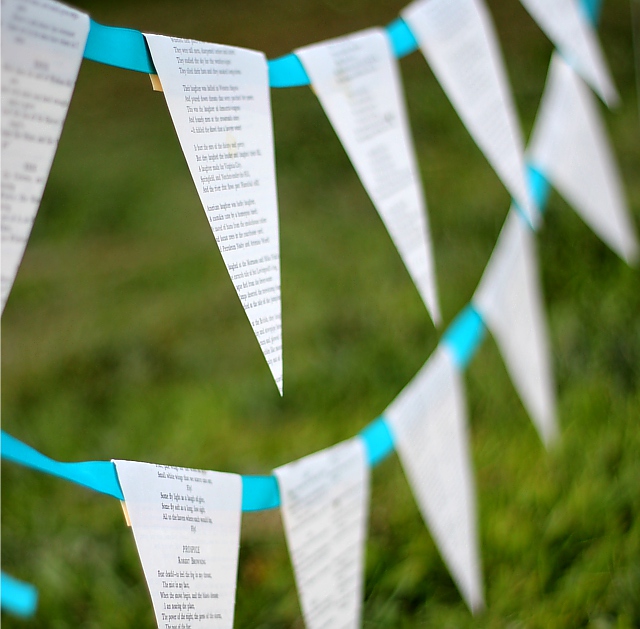
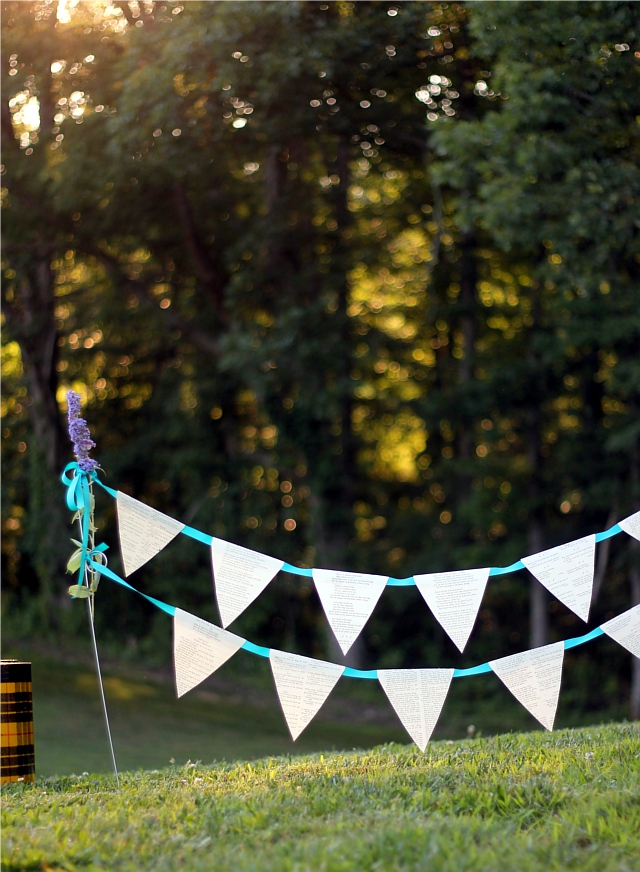
Instead of a fabric bunting, this is made from book pages and ribbon, so it is a completely no-sew project. Simply find a book that is no longer used for reading (you can find plenty of beat-up books at the thrift store), remove pages from the book, and then cut out the shape you need for the bunting pennants. For the kind of bunting I made here, it’s just a triangle with the top side extended and reshaped to be able to fold over the ribbon and still have enough overlap past the ribbon to have a gluing surface to hold it together. Then just spread glue on that top edge, and fold each bunting piece over the ribbon – and you have your bunting! I made two lengths, because the sign posts have two loops, and I liked the idea of a double layer. Stick the sign posts in the ground, and tie on the bunting. If you want to make the metal loops less noticable, you can just weave something decorative through them – for instance, I used a couple long stemmed flowers:

Now, isn’t that cheery?

‣ ‣ ‣ IDEA #2: Have a kid’s painting party!

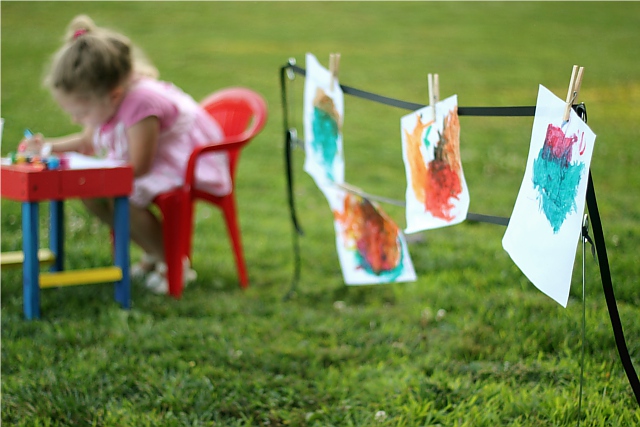
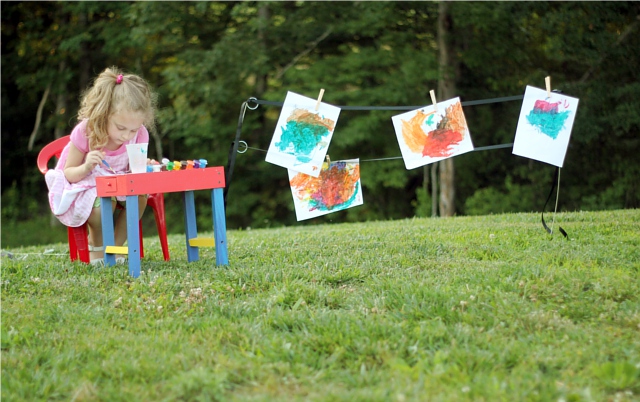
My little one loves to paint. Our apartment has carpet in every single room – and in most rooms, very light carpet. So basically any painting has to happen outside! Which is a lovely place to paint, of course, but the main problem is that the wind likes to sweep away the freshly made masterpieces. But stick a couple sign stakes in the ground, tie on some ribbon, gather art supplies and invite some other kids over to have a painting party! Display the new paintings, as they dry, by attaching them with clothespins to the ribbon. Depending on how many kids you have, you may want more than one “drying rack”, but the good news is that they are so cheap to make.

My little girl loved it. :)

‣ ‣ ‣ IDEA #3: Crafty display!

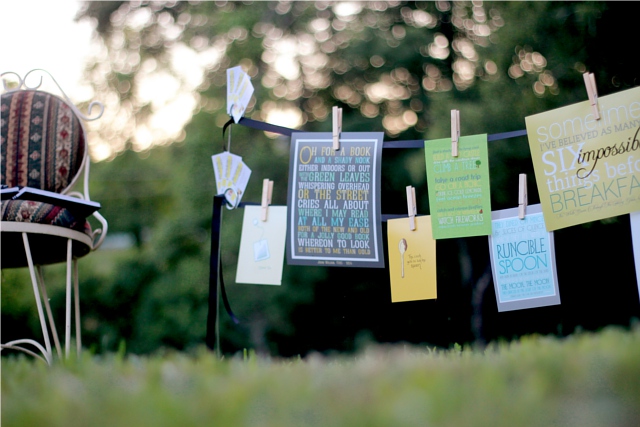
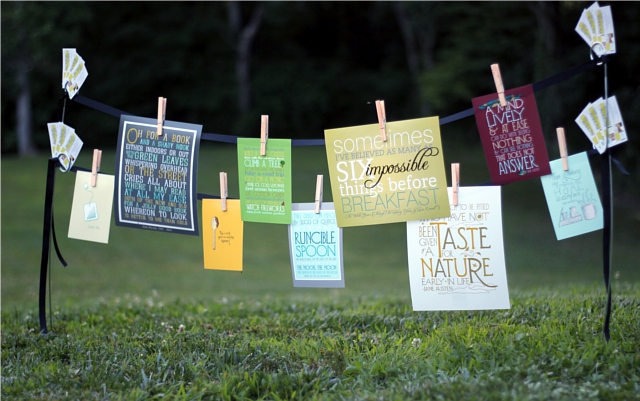
Displaying art is not just for little kids, of course. Sometimes you have your own art and such to display … such as if you have a craft booth at a farmer’s market or fair. And it wouldn’t be limited to hanging art .. you could hang signs or info about your goods, or even fliers for people to take. But it might be a new and eye catching way to display your crafty wares. Here it is, with some of my own prints from my shop, FlourishCafe.

‣ ‣ ‣ IDEA #4: Wedding sign!

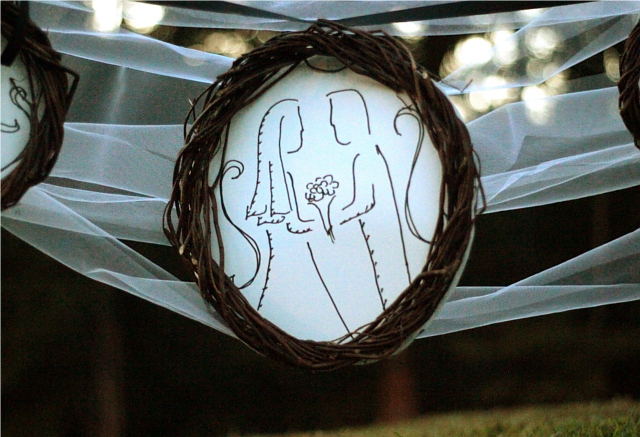
One of the things I learned in getting ready for our wedding, almost six years ago, was that anything labelled “wedding” or “bridal” automatically cost twice as much as the same exact item not labelled “wedding”. For instance, white wedding table cloths vs. just white table cloths. There may be no discernible difference between them except for the fact that one has the word wedding on the label, but it’s generally going to cost a lot more. As a result, I found that buying non-official-wedding-items-that-were-still-white-and-looked-just-like-wedding-items and using them for the wedding was a lot more cost effective. The same idea struck me with these. Now I’m sure you would want to disguise them or paint them, but at an outdoor wedding (like mine was) I imagine the stakes in the ground with swags of tulle going back and forth, with bows at either side, and maybe a sign hanging in the middle that says “Seating this way” or “take a program”, and have a basket of programs next to it, etc. For this particular example, I recreated a quick version of the illustration I made for our wedding invitations and attached it to the back of a light-weight willow wreath, and hung it in front of sways of tulle. Unfortunately the light was failing as I was working on this last night, and so I didn’t get a decent shot of the whole thing, but I’m sure you get the picture. Here is a shot, though, of the “framed” illustration hung between the sign stakes:

Tim liked seeing it. :)

Anyway, those are a few ideas for ways to repurpose a simple item – a sign stake!
Which is your favorite? Or do you have another idea to share?
Let me know in the comments below, I love to hear from you! :)

News and Changes!

I’ve been making some changes to The Flourishing Abode, to make it easier for you to use, and to help keep it running! I’m pretty excited about some of these changes, and so I wanted to share them with you. There’s a ton of great stuff I want to tell you about ranging from free classic vintage clothes, to a DIY gallery, to a exclusive deal for my readers, to milkweed kisses. Um, I guess you’ll have to read on to understand that last one.

‣‣‣ First (and this is just a small change, but might make it easier to navigate and find posts on certain subjects) there is a new “Categories” drop down menu over on the sidebar, just below the search bar. Basically, you choose any topic from the menu, and it will bring up a list of all posts on that topic! Handy. :)

‣‣‣ Second (and this is one I’m very excited about!), The Flourishing Abode now has sponsors! These lovely sites help me to be able to keep my blog running. You can see their links over on the sidebar, right below the “Sponsor” bar … obviously. ;) But I thought this would be kind of fun – I went through each of their sites and decided to share a “you shouldn’t miss this” find from each site. So here you go!

If you love vintage clothing, you should definitely be aware that over on the “Dressed Her Days Vintage” blog, she is GIVING AWAY a series of gorgeous pieces from her vintage collection. (Hard to beat free and classy, eh?)

If you like the yellows in my blog design, then you shouldn’t miss the mustard scarf in the knit section on Neckstyles.
(I love yellow!)

If you love tea (like me!), then you should be sure to check out this lovely teapot pastels painting by Cynthia Haase Art.
(Mmm, tea….)

If you’d like a free pastry from Panera bread, and find out about other deals and coupons, then Frugal Living and Having Fun will be right up your alley.
(Panera pastry? Um, yes, please!)

If you’re looking for something simply beautiful and fresh, you should see this summery painting from Finnell Fine Art.
(“Old Garden Rose” … ahhhh.)

If you want to see something that just makes you feel cheery when you see it, then you should check out this adorable “fete” bunting embroidery by CatShyCrafts.
(Cuteness … to the max!)

If you like foxes and whimsy (and foxes have been so trendy lately!), you should see this lovely piece by Bettina’s Tree House. (Who wouldn’t want to kiss milkweed seeds after seeing that?)

If you enjoy things that smell good (and, I mean, who likes the alternative?) I’ll tell you I’ve bought from Gardenmis before and loved it … and these lavender map sachets are calling my name. (Sachets: “Apriiiil…”)

If you like vintage jewelry, then you should definitely see this beautiful vintage cameo pin from Vogel Haus Vintage.
(Unless I buy it first…)

If you like zebra print (fun!), then you should definitely see this zebra dinner set from Made 4 Home … and I have to say, it’s an awfully good price, too. (Hm, I should probably put some clever play on word about stripes here, but I’m drawing a blank. Check it out and suggest your own witty line.;)

(By the way, if you are interested in sponsoring The Flourishing Abode, you can check out the information here.)

‣‣‣ Third (and I’m also very excited about this one) – I’ve set up a visual gallery of all my DIY, how to, and tutorial posts! Do you see the light bulb icon right below my banner? Previously, that led to a fairly boring list of links. Now, though, after a weekend of designing and coding, it’s a visual gallery of projects! Here’s is a sneak peek of how it looks:

There are over 30 of my own original projects and how-to’s there – each picture links to the tutorial or tip post. I hope you’ll enjoy it, and find lots of fun projects and inspiration! :) Click the light bulb under the banner … or just click here.

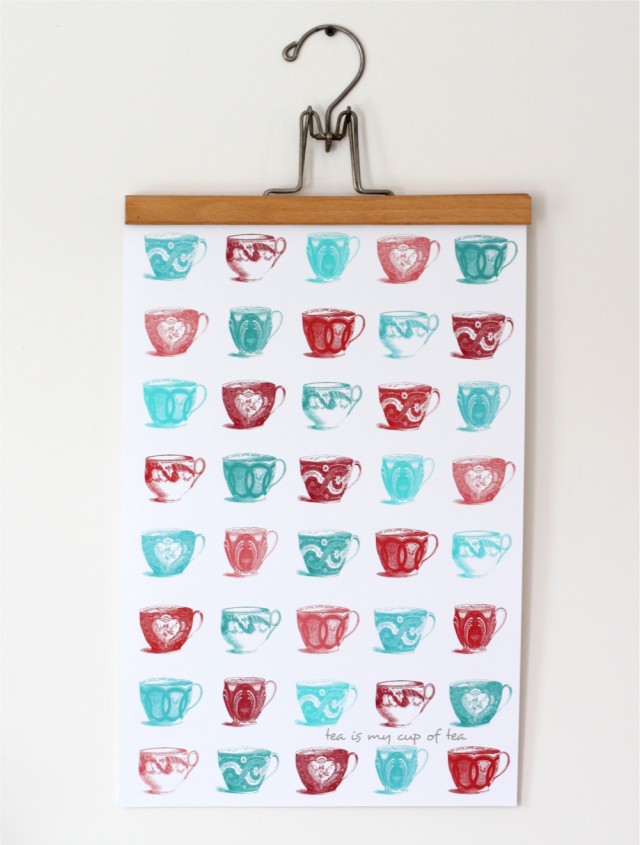
‣‣‣ Fourth (and last) – I’ve decided as a special thank-you to all my readers here on The Flourishing Abode, that each month this summer I’ll be picking one print from my FlourishCafe shop, and offering a ridiculous 50% off coupon here on my blog for that print for the entire month! Here is June’s print (it’s one of my favorites..):

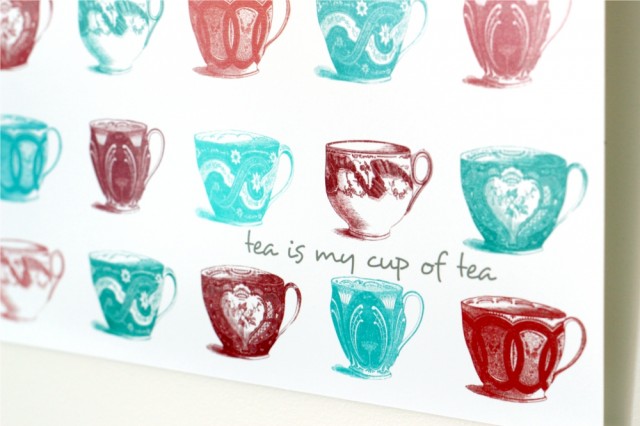
Just use the coupon code FROMTHEABODE for 50% off this print, just for the rest of the month of June. (This coupon is valid ONLY for the “Tea is my cup of tea” poster, shown above, and ONLY in the month of June, 2012 – so snatch it up if you want it! Any other prints you wish to purchase must be bought in a separate transaction.)

So that’s the news and changes around here – I hope you’ve found some fun new things!
Is there something you’d like to see here on my blog? Maybe a blog topic you’d be interested to read about? (I noticed recently that there were some searches on my blog for curly hair care … hm, maybe!)
Leave your thoughts and comments below – I do a little happy dance in my mind each time I get a new comment. :)

Adventure Challenge: Week 7! DIY Art Rubbings

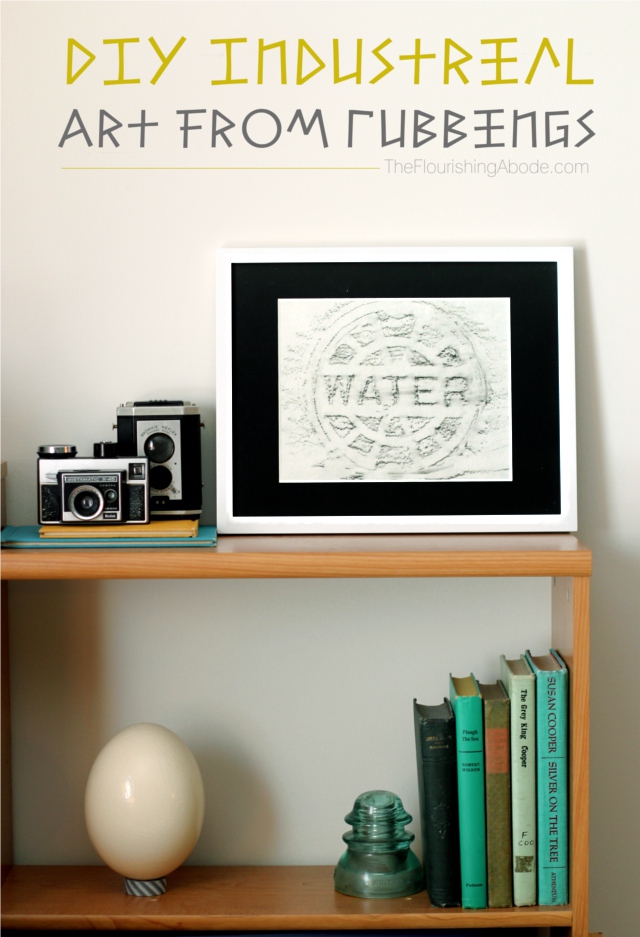
This week, for our Adventure-a-Week challenge, our adventure doubles as a craft project as well. I was in a used book store one time and saw a book on “rubbings” and it captured my attention, and we gave it a try for this week’s adventure. So grab your art supplies and head outside!

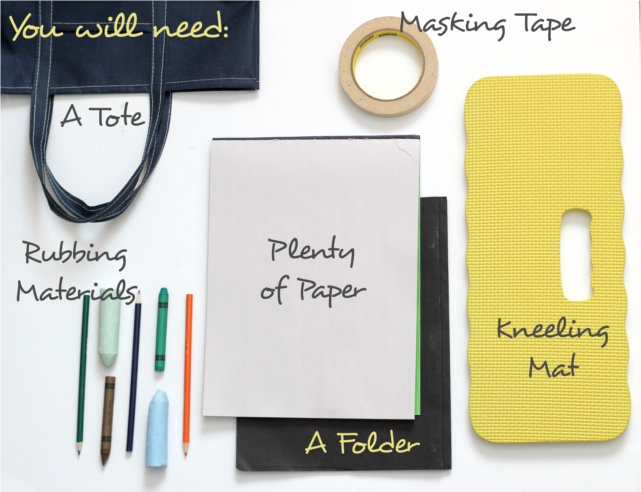
For this week’s activity you will need…

– Paper. And plenty of it. I found that I like using very thin paper, personally. I bought a cheap sketchpad and I really liked the texture and thinness of the paper for this project.

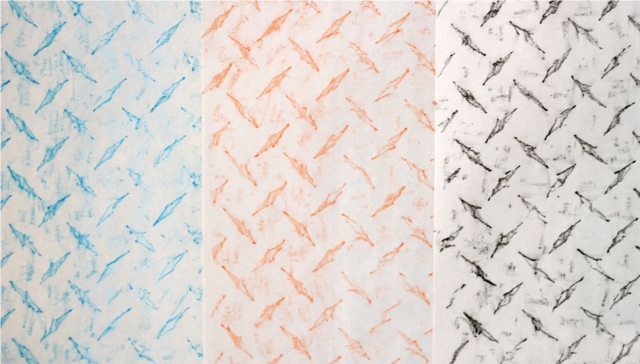
– Rubbing Materials. There are all sorts of rubbing materials you could use! Take a bunch with you and try them out to see what you prefer. Graphite, colored pencils, pastels, chalks, wax, you name it! Although I didn’t expect it, I ended up preferring crayons for larger pieces. Colored pencils were nice for more detailed/smaller items.

– A Kneeling Pad. If you’re going to be crouching on sidewalks and streets making your rubbings, it’s a little more comfortable if you have something under your knees.

– A Folder. Or something to put your finished rubbings in to prevent them from getting bent up and wrinkled.

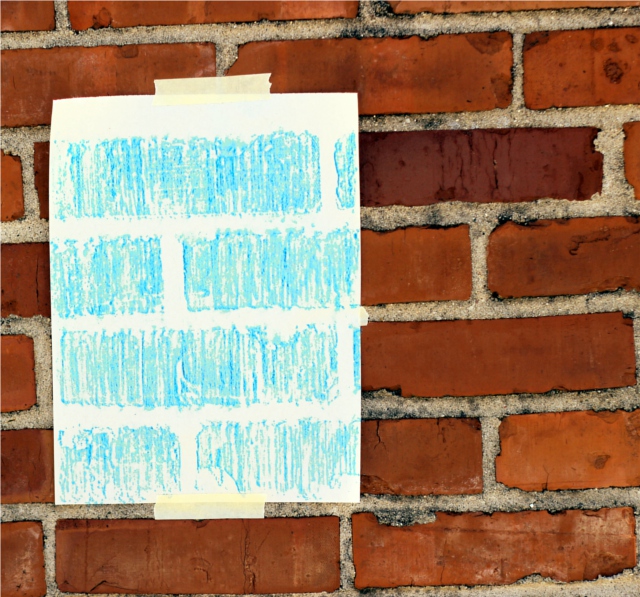
– Masking Tape. You need for your paper to lay very still while making a rubbing, and I found masking tape to work very well. It’s especially helpful for working on vertical surfaces, of course, but even on a flat horizontal surface, it is a good idea. Be aware, though, that depending on the kind of paper you are using, the area with the masking tape may need to be trimmed away. This is usually fine because of the nature of rubbings, often the edges are not the most attractive part, anyway, and can be cut away.

– A Tote. Or something similar to carry all these supplies!

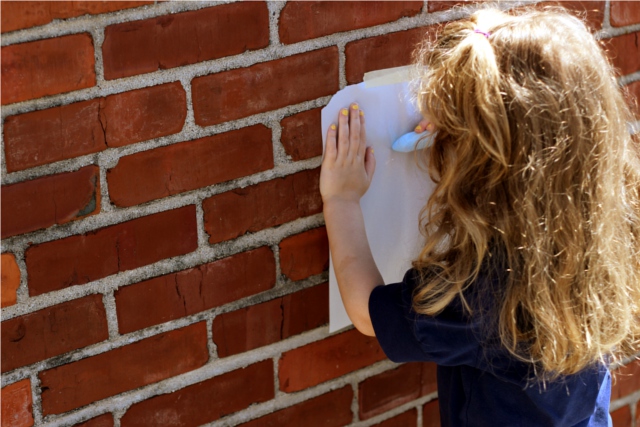
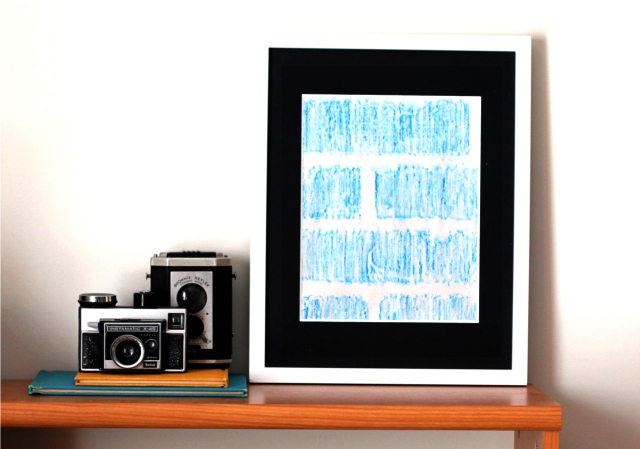
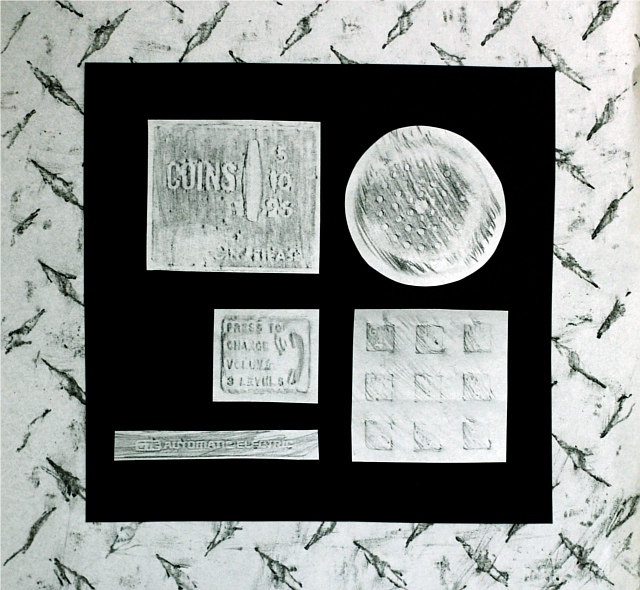
You could do a variety of themes out of rubbings – such as, a nature theme where you make rubbings of leaves and feathers and other natural objects. But I wanted to do a more urban/industrial theme. Of course, this works best if you live in a fairly urban area … which I do not. However, even so we were able to find some interesting subjects for rubbings. Try man hole covers, engraved signs, and plaques for more definite rubbings, or try brick walls, metal plates and concrete for more textural subjects. Be aware, though, that you need to know what you are allowed to make rubbings of – it is illegal some places to make rubbings of gravestones, and, of course, you shouldn’t wander onto private property to make rubbings. Still, it is an interesting way to wander around a town, looking for interesting spots to make into rubbings – you notice all sorts of things you wouldn’t have seen before.

You can even make a collection of small rubbings all from different aspects of one particular subject. It might be fun to make rubbings this way, put them together and see how quickly people can figure out what it was. I’m sure you can easily tell what this was!

A few tips on making rubbings…

Don’t use a sharp point of whatever art medium you are using, but rather use a blunt point or use it on an extreme angle.

Start out marking lightly – if you press too hard, you’ll just be drawing on top of the surface, not really picking up the texture. But if you start lightly and gradually get to darker/harder strokes, you’ll get a better feel for what works well.

While making the rubbing, try to keep your hand moving in the same plane. In other words, if you’re rubbing right to left, don’t suddenly switch to up and down, or you’ll probably end up with some unattractive competing lines.

This is probably an activity better for adults or older children … small children can have fun just drawing on their pages, but probably will have trouble gently pulling the textures into relief on the page.

Go exploring and think outside the box on what you can make into rubbings!

I hope you enjoy it!
Have you ever made rubbings at home, for instance of pennies and household items?
What about heading out and about to look for more unusual items to turn into rubbings?
Leave your thoughts and comments below!